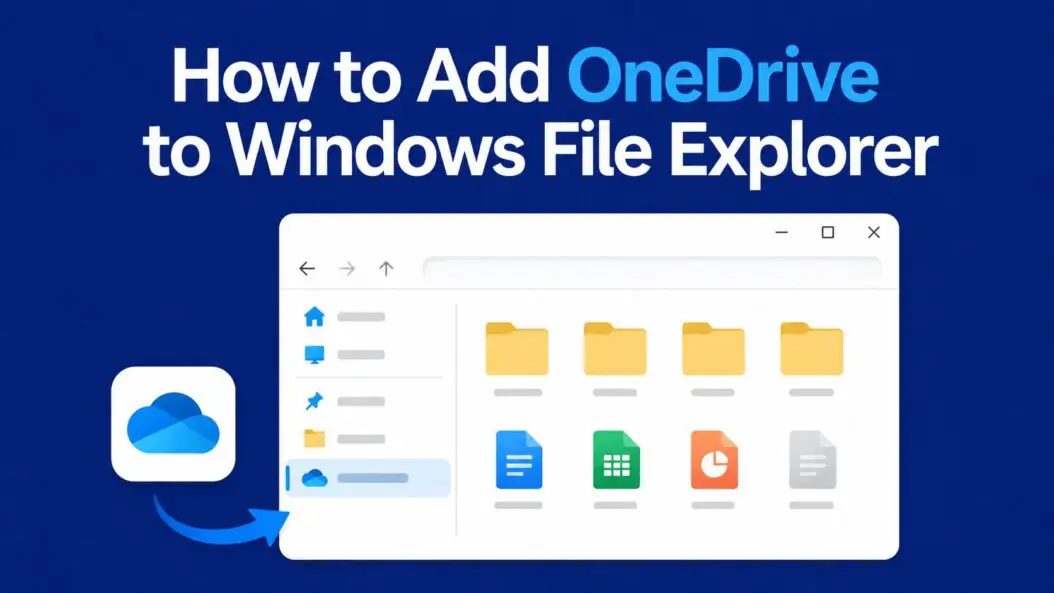
Adding OneDrive to Windows File Explorer takes under two minutes: install the OneDrive desktop app, sign in with your Microsoft account, and the OneDrive folder appears automatically in the File Explorer left sidebar under “Quick Access” and as a standalone entry.
Why OneDrive Disappears from Windows File Explorer
OneDrive vanishes from File Explorer for four main reasons, and knowing which one applies to you determines the fastest fix.
The most common cause is that the OneDrive sync client is not running. The app must be active in the background for the folder to appear in the sidebar. If you end the OneDrive process through Task Manager or it crashes silently, the icon disappears without warning.
The second cause is a missing or uninstalled OneDrive app. Certain Windows 10 LTSC (Long-Term Servicing Channel) editions and some third-party PC images ship without OneDrive preinstalled. A clean install using a stripped ISO can also remove it.
Third, IT administrators frequently disable OneDrive through Group Policy on managed corporate devices. If you are on a company machine and OneDrive has never appeared, this is likely the cause, and you will need admin access or IT support to reverse it.
Fourth, a corrupted registry key can break the File Explorer integration even when OneDrive is installed and running normally. The folder exists on disk but the sidebar entry is gone.
Method 1: Install or Reinstall the OneDrive App
This method works for personal PCs where OneDrive was never installed, was uninstalled, or stopped functioning after a Windows update.
Check Whether OneDrive Is Already Installed
Before downloading anything, check if the app is already on your system:
- Press Windows + R, type
%localappdata%\Microsoft\OneDrive, and press Enter. - If File Explorer opens a folder containing
OneDrive.exe, the app is installed but not running. - Double-click
OneDrive.exeto launch it. The OneDrive icon appears in the system tray within 10 to 15 seconds, and the folder re-appears in File Explorer automatically.
If that path does not exist, the app is not installed and you need to download it.
Download and Install OneDrive
- Go to https://www.microsoft.com/en-us/microsoft-365/onedrive/download and click Download.
- Run the downloaded
OneDriveSetup.exefile. No administrator rights are required because OneDrive installs per-user, not system-wide. - Sign in with your Microsoft account when prompted.
- Choose your OneDrive folder location. The default is
C:\Users\YourName\OneDrive. You can change this to another drive if your system drive is low on space. - Complete the setup wizard. OneDrive syncs your cloud files and immediately adds the folder to File Explorer.
Expected result: After setup completes, you see a OneDrive entry in the File Explorer left panel. Synced files show a green checkmark; cloud-only files show a blue cloud icon.
Verify the Installation
Open File Explorer with Windows + E. In the left sidebar, look for:
- OneDrive – Personal (for Microsoft accounts)
- OneDrive – [Company Name] (for Microsoft 365 work or school accounts)
If both are present, syncing is active and setup is complete.
Method 2: Re-enable OneDrive via Group Policy (Windows 10/11 Pro and Enterprise)
Group Policy is the correct tool when an administrator previously disabled OneDrive across the system. This method requires local administrator rights.
Access Group Policy Editor
- Press Windows + R, type
gpedit.msc, and press Enter. - In the left panel, navigate to: Computer Configuration > Administrative Templates > Windows Components > OneDrive
Change the Policy Setting
- Double-click “Prevent the usage of OneDrive for file storage” in the right panel.
- Change the setting from Enabled to Not Configured.
- Click Apply, then OK.
- Restart your PC.
After the restart, OneDrive is no longer blocked at the system level. Launch OneDrive from the Start menu and sign in. The File Explorer integration re-activates automatically.
Note: If this policy is applied via domain Group Policy from a corporate server (not local policy), your IT department controls it and changing local policy will not override it. Contact IT in that case.
Method 3: Add OneDrive Back Using Registry Editor
Use this method when OneDrive is installed and running but the File Explorer sidebar entry is still missing. This is a targeted fix for corrupted or missing registry keys.
Warning: Editing the Windows Registry incorrectly can cause system instability. Back up the registry before making changes by going to File > Export in Registry Editor.
Restore the OneDrive Namespace Entry
- Press Windows + R, type
regedit, and press Enter. Accept the UAC prompt. - Navigate to this key:
HKEY_CURRENT_USER\SOFTWARE\Microsoft\Windows\CurrentVersion\Explorer\Desktop\NameSpace- Look for a subkey named
{018D5C66-4533-4307-9B53-224DE2ED1FE6}. This is the OneDrive Personal namespace identifier. - If the key is missing, right-click NameSpace, select New > Key, and name it exactly:
{018D5C66-4533-4307-9B53-224DE2ED1FE6} - Click on the new key. In the right panel, double-click the (Default) value and set it to:
OneDrive - Close Registry Editor and restart File Explorer (right-click the taskbar, select Task Manager, find Windows Explorer, right-click it, and choose Restart).
For OneDrive for Business (work accounts), the namespace key is different:
{04271989-C4D2-4B46-9F94-7714869F82E7}Create this key using the same steps above and set its default value to OneDrive - Business.
Method 4: Add a Work or School OneDrive Account Alongside Personal
Windows supports running two OneDrive accounts simultaneously: one personal (Microsoft account) and one work or school (Microsoft 365). Both appear as separate entries in File Explorer.
Add a Second Account
- Click the OneDrive cloud icon in the system tray (bottom-right corner). If you do not see it, click the up arrow to show hidden icons.
- Click the gear icon (Settings), then select Settings.
- Go to the Account tab.
- Click Add an account.
- Enter your work or school email address and sign in using your organization credentials.
- Choose a local folder for this account. It cannot be the same folder as your personal OneDrive. The default suggestion is
C:\Users\YourName\OneDrive - CompanyName. - Complete the setup wizard.
Expected result in File Explorer: You now see two separate entries:
| Account Type | File Explorer Label |
|---|---|
| Personal Microsoft account | OneDrive – Personal |
| Work or school account | OneDrive – [Organization Name] |
Each account syncs independently. Files you add to one folder do not appear in the other unless you explicitly share them.
Switching Between Accounts
You do not need to “switch” between accounts. Both are active simultaneously. Click either entry in File Explorer to browse its contents. The system tray shows two OneDrive icons when both accounts are connected.
How to Pin OneDrive to Quick Access in File Explorer
Quick Access is the top section of the File Explorer sidebar that shows your most-used folders. Pinning OneDrive here gives you one-click access without scrolling.
- Open File Explorer and locate OneDrive in the left sidebar.
- Right-click the OneDrive entry.
- Select Pin to Quick Access.
OneDrive now appears at the top of your File Explorer sidebar under Quick Access, even if the main OneDrive entry is further down the list.
To remove it from Quick Access without uninstalling OneDrive, right-click the pinned entry and select Unpin from Quick Access.
Fixing Common OneDrive File Explorer Problems
OneDrive Icon Shows a Red X
A red X on the OneDrive icon means sync has stopped, typically because of a sign-in problem or a file conflict.
- Click the OneDrive icon in the system tray.
- Click Sign in if prompted, or click the error message to see which files are blocked.
- Common causes: a file name contains characters OneDrive does not allow (such as
?,*,",<,>), or a file exceeds the 250 GB size limit per file.
OneDrive Folder Is Missing Even After Reinstallation
If you reinstalled OneDrive but the folder still does not appear in File Explorer, reset the app completely:
- Press Windows + R and run:
%localappdata%\Microsoft\OneDrive\onedrive.exe /reset- Wait 60 seconds. OneDrive relaunches automatically.
- If it does not relaunch on its own, run
%localappdata%\Microsoft\OneDrive\onedrive.exemanually.
The reset clears the sync database and re-establishes the File Explorer integration without deleting any cloud files.
OneDrive Takes Up Too Much Local Storage
By default, OneDrive uses Files On-Demand, which means files stored in the cloud appear in File Explorer but do not download until you open them. If this feature is disabled, OneDrive downloads everything locally.
To confirm Files On-Demand is active:
- Right-click the OneDrive tray icon and open Settings.
- Go to the Sync and backup tab (Windows 11) or Settings tab (Windows 10).
- Check that Save space and download files as you use them is enabled.
With Files On-Demand active, cloud-only files show a blue cloud icon. Files available offline show a green checkmark. Files currently syncing show circular arrows.
File Explorer Crashes When Clicking OneDrive
This is usually caused by an outdated OneDrive client. Update it:
- Click the OneDrive tray icon.
- Click the gear icon and select Settings.
- Go to About and check the version number.
- OneDrive auto-updates in the background. If yours is significantly behind, download the latest installer from Microsoft and run it over the existing installation. It updates without uninstalling your synced files.
OneDrive Integration Methods at a Glance
| Situation | Best Method | Time Required |
|---|---|---|
| OneDrive not installed | Download and install the app | 3 to 5 minutes |
| App installed but folder missing | Restart OneDrive.exe | Under 1 minute |
| Disabled by Group Policy | Edit gpedit.msc | 5 minutes + restart |
| Registry entry missing | Add namespace key in regedit | 5 minutes |
| Need work + personal accounts | Add account in OneDrive settings | 3 minutes |
| Sync errors blocking folder | Run onedrive.exe /reset | 2 minutes |
Next Steps
You now have OneDrive integrated into Windows File Explorer using whichever method matched your situation. For most users, the fastest path is confirming the app is installed and running, which resolves the missing folder in under a minute.
If you manage multiple PCs, consider setting OneDrive to start automatically at login: open OneDrive Settings > Account and enable Start OneDrive automatically when I sign in to Windows. This prevents the folder from disappearing after reboots.
For advanced sync control, explore Selective Sync under OneDrive Settings, which lets you choose exactly which cloud folders download to a specific device, useful when working with limited disk space on a laptop while keeping full sync on a desktop.
