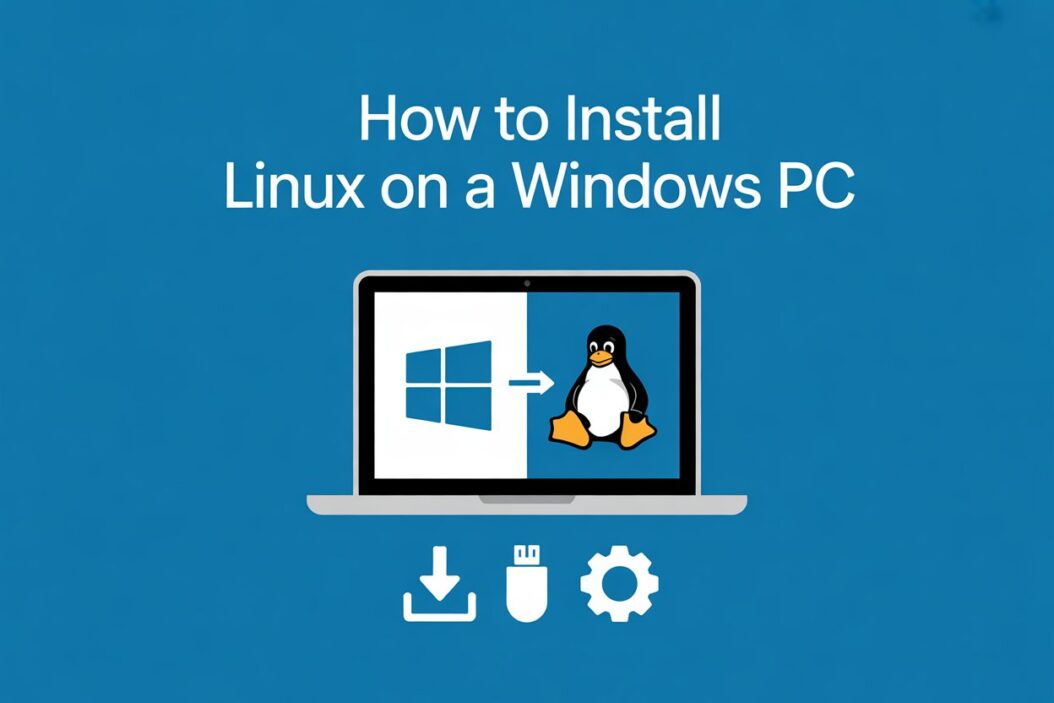
You can install Linux on a Windows PC without losing your files or your Windows installation. Most people do it in under an hour. The process involves creating a bootable USB drive, shrinking your Windows partition, and installing Linux alongside Windows as a dual boot setup.
What You Need Before Starting
Get these ready before touching anything else:
- A USB drive with at least 8GB of space (your files on it will be erased)
- A stable internet connection to download the Linux ISO
- At least 25GB of free disk space on your Windows drive
- About 45 to 60 minutes of time
Back up your important files first. Not because installation usually goes wrong, but because “usually” is not “always.” An external drive or cloud backup takes 10 minutes and saves you from a bad day.
Choosing the Right Linux Distribution
This is where most beginners get stuck. There are hundreds of Linux distros, but for someone coming from Windows, the choice is simple.
| Distro | Best For | Difficulty |
|---|---|---|
| Ubuntu 24.04 LTS | First-time Linux users | Easy |
| Linux Mint 22 | Users who want Windows-like feel | Easy |
| Fedora 40 | Users who want modern software | Moderate |
| Pop!_OS | Developers and gamers | Easy |
| Manjaro | Users who want rolling releases | Moderate |
I recommend Linux Mint for most people switching from Windows. The interface is familiar, hardware support is excellent, and it just works. Ubuntu is a close second and has the largest community for troubleshooting.
Download the ISO file from the official website of whichever distro you pick. Always download from the official source. Never from third-party mirrors you found randomly.
Step 1: Create a Bootable USB Drive
You need a tool to write the ISO onto your USB drive. Rufus is the best option for Windows users in 2026. It’s free, fast, and simple.
Steps to create your bootable USB:
- Download Rufus and open it (no installation needed)
- Plug in your USB drive
- Under “Device,” select your USB drive
- Under “Boot selection,” click SELECT and choose your downloaded ISO file
- Leave everything else at default
- Click START
- If it asks about ISO mode vs DD mode, choose ISO mode for most distros
- Wait for it to finish, usually 5 to 10 minutes
Your USB drive is now a bootable Linux installer.
Step 2: Free Up Disk Space on Windows
Linux needs its own partition. You create that by shrinking your existing Windows partition.
Here’s how to do it:
- Press Windows + X and click “Disk Management“
- Right-click your main Windows drive (usually C:)
- Click “Shrink Volume”
- In the “Enter the amount of space to shrink” box, type the amount in MB
- For a comfortable Linux install, use 51200 (that’s 50GB)
- Click Shrink
You’ll now see a block of “Unallocated” space in the disk map. That’s where Linux will go. Leave it unallocated, don’t format it.
What If Windows Won’t Let You Shrink Enough Space?
This happens. Windows puts system files in the middle of the drive, blocking shrink operations. The fix is running Disk Cleanup, disabling hibernation temporarily, and moving the pagefile.
A quicker fix: open Command Prompt as Administrator and run cleanmgr /sageset:1 then cleanmgr /sagerun:1. After that, try shrinking again.
Step 3: Disable Fast Startup in Windows
This one is important and often missed.
Windows Fast Startup keeps the drive in a half-hibernated state. If Linux tries to access it in that state, things break. Turn it off before you dual boot.
- Open Control Panel
- Go to Power Options
- Click “Choose what the power buttons do”
- Click “Change settings that are currently unavailable”
- Uncheck “Turn on fast startup”
- Click Save changes
Step 4: Access BIOS and Boot From USB
Restart your PC with the USB drive plugged in.
To enter BIOS, press one of these keys right after your PC starts (before Windows loads):
- Dell: F2 or F12
- HP: F9 or Esc
- Lenovo: F1 or F2
- ASUS: F2 or Delete
- Acer: F2 or Delete
Every manufacturer is slightly different. If you miss it, just restart and try again.
Once in BIOS, find the “Boot Order” or “Boot Priority” setting and move your USB drive to the top. Save and exit. Your PC will now boot from the USB.
Secure Boot and UEFI Settings
Modern PCs use UEFI instead of old BIOS. Most Linux distros in 2026 handle Secure Boot fine, but if your system refuses to boot from USB, go into UEFI settings and either disable Secure Boot or enable it with Linux-compatible keys.
Ubuntu and Linux Mint both support Secure Boot out of the box now, so you likely won’t need to touch this.
Step 5: Install Linux on a Windows PC (The Actual Install)
Once your PC boots from USB, you’ll see the Linux live environment. This is a full working Linux system running from your USB. You can try it before installing anything.
When you’re ready to install, click the “Install” icon on the desktop.
The installer will walk you through:
- Language selection
- Keyboard layout
- Internet connection (connect to Wi-Fi here if you want updates during install)
- Installation type
The installation type screen is the most important part.
Choosing the Installation Type
You’ll see options like:
- Install alongside Windows (recommended for beginners)
- Erase disk and install Linux (this deletes Windows entirely, don’t choose this unless that’s what you want)
- Something else (manual partitioning, for advanced users)
Choose “Install alongside Windows.” The installer will automatically use that unallocated space you created earlier.
If you’re comfortable with manual partitioning, choosing “Something else” gives you more control. You’d create:
- A root partition (/) with ext4 format, at least 20GB
- A swap partition, roughly equal to your RAM size
- An EFI partition if your system uses UEFI (usually 512MB, mount point /boot/efi)
For most people, letting the installer handle it automatically is perfectly fine.
Continue through the installer:
- Set your timezone
- Create your username and password
- Click Install Now
- Wait 15 to 25 minutes for the process to finish
- Remove the USB drive when prompted and restart
Step 6: Understanding the GRUB Boot Menu
After installation, every time you start your PC you’ll see a menu called GRUB. This is the bootloader that lets you choose between Linux and Windows.
It looks something like this:
Ubuntu
Advanced options for Ubuntu
Windows Boot Manager
Use the arrow keys to pick your OS and press Enter. Simple as that.
By default, GRUB waits 10 seconds and then boots Linux. If you want it to boot Windows by default, you can change that in the GRUB settings inside Linux later.
Changing the Default Boot OS
Inside Linux, open Terminal and type:
sudo nano /etc/default/grubChange GRUB_DEFAULT=0 to GRUB_DEFAULT=2 (or whatever number Windows appears at in your GRUB menu, counting from 0).
Then run sudo update-grub and restart.
After Installation: What to Do First
Once you’re inside Linux, do these things before anything else:
Update your system. Open Terminal and run:
sudo apt update && sudo apt upgrade(This command works for Ubuntu and Linux Mint. Fedora users use sudo dnf update)
Install your browser. Firefox comes pre-installed on most distros. For Chrome, download the .deb file from Google’s website and install it.
Check your hardware. Most hardware works automatically in 2026. Wi-Fi cards, Bluetooth, and graphics cards have much better Linux support now than they did a few years ago. If something doesn’t work, search “[your hardware model] Linux driver” and you’ll find a fix.
Install graphics drivers if needed. NVIDIA users should install the proprietary drivers. On Ubuntu/Mint, open “Driver Manager” and it’ll show you available NVIDIA drivers. Pick the recommended one.
Dual Boot vs Full Linux Install vs WSL
Before you commit to dual booting, it’s worth knowing your other options.
| Option | Best For | Keeps Windows? | Difficulty |
|---|---|---|---|
| Dual Boot | Most users wanting full Linux | Yes | Moderate |
| Full Linux Install | Users fully switching to Linux | No | Easy |
| WSL 2 (Windows Subsystem for Linux) | Developers who just need Linux terminal | Yes | Easy |
| Virtual Machine | Testing Linux safely | Yes | Easy |
WSL 2 is actually excellent in 2026 if you’re a developer who just needs a Linux command line. You can run Ubuntu directly inside Windows without any partitioning or rebooting. Microsoft’s official WSL documentation explains the setup in detail and it takes under 5 minutes.
But if you want the full Linux desktop experience, dual booting is still the right move.
Common Problems and How to Fix Them
GRUB doesn’t show up after install, Windows boots directly: This happens when Windows overwrites the bootloader. Boot from your USB again, go into the live environment, and reinstall GRUB using boot-repair. Search “boot-repair Ubuntu” for the exact steps.
Wi-Fi not working after install: Connect via ethernet, then run sudo apt install linux-firmware and restart. Covers most cases.
Screen resolution looks wrong: Install your GPU drivers. On NVIDIA, use the Driver Manager. On AMD, the open-source drivers are usually installed automatically.
Linux can’t read the Windows NTFS partition: Install ntfs-3g by running sudo apt install ntfs-3g. After that, your Windows drive mounts properly.
Clock shows wrong time after switching between Windows and Linux: Linux uses UTC time, Windows uses local time. Fix it in Linux by running:
sudo timedatectl set-local-rtc 1How to Completely Remove Linux Later
Changed your mind? Removing Linux from a dual boot setup takes three steps:
- Boot into Windows
- Open Disk Management, delete the Linux partitions, and extend your Windows partition back into that space
- Fix the bootloader by running
bootrec /fixmbrin Windows Command Prompt (as Administrator) or using a Windows installation USB to repair startup
Windows boots normally after that.
Conclusion
Installing Linux on a Windows PC is genuinely straightforward in 2026. The tools are better, hardware support has improved dramatically, and distros like Linux Mint make the whole experience feel familiar to Windows users.
The key steps are simple: create a bootable USB with Rufus, shrink your Windows partition, disable Fast Startup, boot from USB, and let the installer handle the rest. The GRUB menu takes care of switching between operating systems every time you start your PC.
If you run into a specific error during installation, the Linux community on forums like Ask Ubuntu is one of the most helpful tech communities online. Whatever problem you hit, someone else already solved it and wrote it down.
Frequently Asked Questions
Can I install Linux without a USB drive?
Yes. You can install Linux directly from within Windows using a method called Wubi (for older Ubuntu versions) or by booting via network (PXE boot). In 2026, the most practical USB-free method for most people is using Ventoy on an SD card if your PC has a card reader, or setting up a virtual machine first to learn Linux before committing to a full install. That said, a USB drive is the most reliable and universally supported method by far.
Does installing Linux void my PC warranty?
It depends on your manufacturer. Most consumer laptop brands like Dell, HP, and Lenovo do not void the warranty for installing a different operating system, since it’s a software change. However, some warranties technically cover only the original OS configuration. The safe move is checking your specific warranty documentation. In practice, manufacturers rarely ask about your OS when you send in hardware for repair.
Will my Windows license disappear after dual booting?
No. Your Windows license is tied to your hardware, either stored in your UEFI firmware or linked to your Microsoft account. Installing Linux on a separate partition doesn’t touch your Windows activation. When you boot into Windows, it works exactly as before.
How much RAM do I need to comfortably run Linux?
Linux Mint and Ubuntu run fine on 4GB of RAM for everyday tasks like browsing, documents, and media. If I’m being honest, 8GB is where things get comfortable, especially if you want to run multiple applications at once or do any development work. Lightweight distros like Lubuntu or Xfce-based editions can run on 2GB, but that’s cutting it tight in 2026 with modern websites being as heavy as they are.
Is it safe to access my Windows files from Linux?
Yes, with one caveat. Linux can read and write to Windows NTFS partitions, but I’d suggest not writing to your Windows system files or messing with files that Windows actively uses. Regular files like documents, photos, and videos are completely safe to access from Linux. Just mount the Windows partition in your file manager and treat it like an external drive. The ntfs-3g driver handles this reliably on all major distros.

- Best Ways to Create Custom Templates in Word (A Simple Guide) - June 16, 2026
- How to Find Printer IP Address in Under 2 Minutes - June 15, 2026
- 3 Best Ways to Create Custom Backgrounds in Microsoft Teams - June 15, 2026