If your Windows installation is broken, your system image is corrupted, or you need to add or remove features offline, the DISM command is the tool you need. It runs directly from Command Prompt or PowerShell, it does not need a working Windows environment to function, and it can fix problems that SFC alone cannot touch.
What Is the DISM Command?
DISM stands for Deployment Image Servicing and Management. Microsoft built it as a command-line tool that works on Windows images, whether that image is the live running system, a mounted WIM file, or a VHD. It ships with Windows 8 and later, and it is also included in the Windows Assessment and Deployment Kit (Windows ADK).
System administrators use it to:
- Repair corrupted Windows installations
- Add or remove Windows features and packages
- Mount and modify offline images
- Inject drivers into images before deployment
- Capture and apply disk images
Regular users mostly need it for one thing: fixing a broken Windows system image when SFC reports errors it cannot repair.
Basic DISM Syntax
Every DISM command follows this pattern:
DISM /[Target] /[Command] /[Options]The target tells DISM what image to work on. The command tells it what to do. Options modify the behavior.
Common targets:
| Target | What It Means |
|---|---|
/Online | The currently running Windows installation |
/Image:C:\path | An offline mounted image at that path |
Always run Command Prompt or PowerShell as Administrator. DISM will fail with an access error otherwise.
The Most Important DISM Commands
Check and Repair a Corrupted Windows Image
This is what most people are actually looking for. Run these three commands in order.
Step 1: Check the image health
DISM /Online /Cleanup-Image /CheckHealthThis is a fast check. It reads the component store and reports whether corruption has been flagged. It does not scan deeply, it just checks what is already recorded.
Step 2: Scan for corruption
DISM /Online /Cleanup-Image /ScanHealthThis takes longer, sometimes 10 to 20 minutes. It actually scans the component store for corruption. It does not fix anything, just detects.
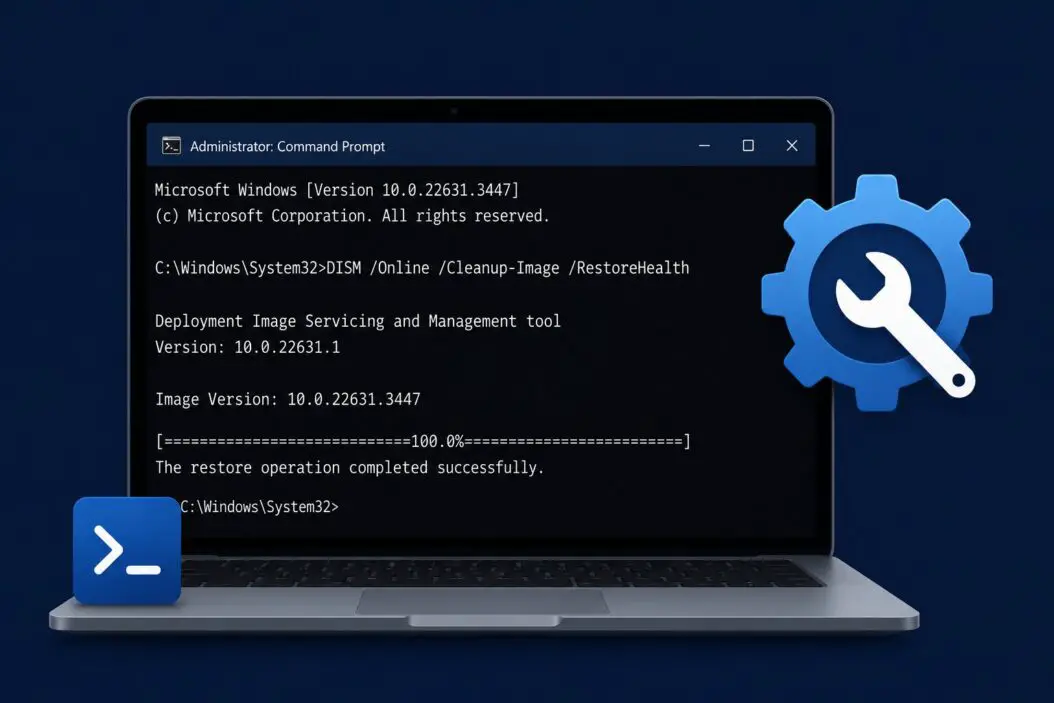
Step 3: Restore the image
DISM /Online /Cleanup-Image /RestoreHealthThis is the fix command. It scans and then automatically downloads replacement files from Windows Update to repair any corruption it finds. Your machine needs internet access for this to work.
If you are offline or Windows Update is not available, you can point DISM to a source:
DISM /Online /Cleanup-Image /RestoreHealth /Source:D:\Sources\install.wim /LimitAccessReplace D:\Sources\install.wim with the path to your Windows installation media. The /LimitAccess flag stops DISM from trying Windows Update as a fallback.
Running DISM Before or After SFC
A common question is which to run first. The answer is DISM first, then SFC.
SFC repairs system files using the component store as its source. If the component store itself is corrupted, SFC cannot fix anything properly. DISM repairs the component store. Once DISM finishes, SFC has clean source files to work from.
The correct order:
DISM /Online /Cleanup-Image /RestoreHealth
sfc /scannow
After both complete, restart your machine.
Working With Offline Windows Images
Mount a WIM File
DISM /Mount-Image /ImageFile:C:\images\install.wim /Index:1 /MountDir:C:\mountUse /ReadOnly at the end if you only want to inspect the image without modifying it.
Check What Editions Are in a WIM
DISM /Get-ImageInfo /ImageFile:C:\images\install.wimThis lists all editions stored in the WIM along with their index numbers. You need the correct index number for most operations.
Unmount and Save Changes
DISM /Unmount-Image /MountDir:C:\mount /CommitUse /Discard instead of /Commit if you want to throw away your changes.
Managing Windows Features With DISM
See All Available Features
DISM /Online /Get-FeaturesFor a specific feature’s details:
DISM /Online /Get-FeatureInfo /FeatureName:TelnetClientEnable a Feature
DISM /Online /Enable-Feature /FeatureName:TelnetClient /AllThe /All flag also enables any parent features that the target depends on.
Disable a Feature
DISM /Online /Disable-Feature /FeatureName:TelnetClientManaging Packages and Updates
Add a Package to an Offline Image
DISM /Image:C:\mount /Add-Package /PackagePath:C:\packages\update.cabRemove a Package
First get the package name:
DISM /Image:C:\mount /Get-PackagesThen remove it:
DISM /Image:C:\mount /Remove-Package /PackageName:Package~31bf3856ad364e35~amd64~~10.0.19041.1List Installed Packages in an Offline Image
DISM /Image:C:\mount /Get-PackagesDriver Management With DISM
One of the most useful scenarios for IT teams is injecting drivers into an image before deployment. A user landing on a machine with no network driver cannot download anything, but if you inject the driver into the image first, it just works.
Add a Driver to an Offline Image
DISM /Image:C:\mount /Add-Driver /Driver:C:\drivers\networkcard.infFor adding an entire folder of drivers at once:
DISM /Image:C:\mount /Add-Driver /Driver:C:\drivers /RecurseList Drivers in an Image
DISM /Image:C:\mount /Get-DriversRemove a Driver
DISM /Image:C:\mount /Remove-Driver /Driver:oem5.infCapturing and Applying Images
Capture a Drive to a WIM File
DISM /Capture-Image /ImageFile:C:\images\backup.wim /CaptureDir:C:\ /Name:"My Backup"This captures the C: drive into a WIM file. Run this from WinPE or from a different volume to avoid capturing the image tool itself.
Apply an Image to a Drive
DISM /Apply-Image /ImageFile:C:\images\install.wim /Index:1 /ApplyDir:D:\Cleanup Operations
Over time the component store grows. DISM can shrink it.
Analyze Component Store Size
DISM /Online /Cleanup-Image /AnalyzeComponentStoreClean Up Superseded Components
DISM /Online /Cleanup-Image /StartComponentCleanupRemove Old Windows Versions After Upgrade
DISM /Online /Cleanup-Image /SPSupersededThis removes the files needed to uninstall service packs. It is not reversible, but it can recover several gigabytes.
DISM Log Files
When DISM fails or gives vague errors, the log file has the real information.
The default log location is:
C:\Windows\Logs\DISM\dism.logOpen it in Notepad or any text editor. Search for Error to jump to the relevant lines. The log shows exactly which component failed and why, which makes troubleshooting much easier than guessing from the command output alone.
You can also specify a custom log path:
DISM /Online /Cleanup-Image /RestoreHealth /LogPath:C:\dismlog.txtCommon DISM Errors and What They Mean
| Error | Likely Cause | Fix |
|---|---|---|
| Error 0x800f081f | Cannot find source files | Point DISM to install media with /Source |
| Error 0x800f0906 | Cannot download from Windows Update | Check internet connection or use local source |
| Error 0x800f0907 | Network policy blocks Windows Update | Use /LimitAccess with a local source |
| Error 1726 | DISM service interrupted | Restart and run again |
| The source files could not be found | Install media path is wrong | Verify the WIM index and path |
For the 0x800f081f error specifically, you need a matching Windows version. If your system runs Windows 11 24H2, your source WIM must also be 24H2. A mismatched version will not work.
DISM vs SFC: Quick Comparison
| Feature | DISM | SFC |
|---|---|---|
| Repairs component store | Yes | No |
| Repairs individual system files | No | Yes |
| Needs internet (by default) | Yes | No |
| Works offline with source | Yes | Yes |
| Run time | 10 to 20 minutes | 5 to 15 minutes |
| Run as admin required | Yes | Yes |
They are complementary. DISM fixes the foundation. SFC fixes the files built on that foundation. You generally want both for a thorough repair.
Running DISM From Windows Recovery Environment
If Windows will not boot at all, you can still run DISM from the recovery environment.
Boot from Windows installation media, select Repair your computer, then open Command Prompt. Identify the drive letter Windows is installed on (it is often D: or E: when booted from media, not C:).
Then run:
DISM /Image:D:\ /Cleanup-Image /RestoreHealth /Source:E:\Sources\install.wimAdjust the drive letters for your situation. This lets you repair a completely unbootable system without reinstalling.
For more advanced Windows deployment scenarios, the Microsoft DISM technical reference is the most complete resource available. And if you are working with Windows imaging for enterprise deployments, the Windows ADK documentation covers the full toolkit that DISM is part of.
DISM Command Quick Reference Table
| Task | Command |
|---|---|
| Check image health | DISM /Online /Cleanup-Image /CheckHealth |
| Scan for corruption | DISM /Online /Cleanup-Image /ScanHealth |
| Repair online image | DISM /Online /Cleanup-Image /RestoreHealth |
| Repair from local source | DISM /Online /Cleanup-Image /RestoreHealth /Source:D:\Sources\install.wim /LimitAccess |
| Mount WIM | DISM /Mount-Image /ImageFile:file.wim /Index:1 /MountDir:C:\mount |
| Unmount and save | DISM /Unmount-Image /MountDir:C:\mount /Commit |
| Enable feature | DISM /Online /Enable-Feature /FeatureName:name /All |
| Add driver offline | DISM /Image:C:\mount /Add-Driver /Driver:driver.inf |
| Clean component store | DISM /Online /Cleanup-Image /StartComponentCleanup |
| View image editions | DISM /Get-ImageInfo /ImageFile:install.wim |
Conclusion
DISM is one of the most capable tools built into Windows, and most people only find out it exists when something breaks. The core repair workflow is straightforward: run ScanHealth to confirm corruption exists, then RestoreHealth to fix it, then follow up with SFC. That sequence handles the majority of Windows component store issues.
For administrators, the real power is in offline image servicing. Being able to inject drivers, add or remove features, and capture or apply images without booting into the target system makes DISM essential for any deployment workflow.
Keep the log file location in mind whenever a command fails. The actual error message is always more informative than what shows up in the console output.
Frequently Asked Questions
Can DISM delete or remove system files I actually need?
DISM does not delete files you need during a repair operation. The RestoreHealth command replaces corrupted files with clean copies. The cleanup commands like StartComponentCleanup only remove superseded versions of components that are no longer needed because newer versions replaced them. Your active system files are not touched.
My DISM repair finished successfully but Windows is still acting broken. What now?
DISM repaired the component store, but individual system files it points to might still be damaged. Run sfc /scannow immediately after DISM completes. SFC uses the now-repaired component store to fix actual system files. If problems persist after both, check your hardware. A failing drive causes file corruption faster than software can repair it.
Does DISM work on Windows 10 and Windows 11 the same way?
The commands are identical across Windows 10 and Windows 11. The tool itself is the same. The only difference that matters is when you use a local source file: the install.wim or install.esd must match your exact Windows version and build number. Using a Windows 10 source on a Windows 11 machine will fail.
How long should DISM RestoreHealth take before I assume it froze?
It commonly sits at certain percentages, especially 20% and 62%, for several minutes without any visible progress. This is normal. On a slow internet connection or an older machine, the full process can take 30 to 45 minutes. Only consider it frozen if there is zero activity for more than an hour and your disk light has been idle the whole time. Do not close the window early.
Can I run DISM on a VHD or VHDX file?
Yes. Mount the VHD first using Disk Management or PowerShell, note the drive letter it gets assigned, then use that as your image target: DISM /Image:E:\ /Cleanup-Image /ScanHealth. Everything works the same as with a physical drive.
