Windows 11 turns your touchscreen into a powerful control center. These seven gestures save you time, reduce mouse clicks, and make navigation feel natural. Here’s what works.
What Are Touch Gestures in Windows 11?
Touch gestures are finger movements on your screen that replace mouse and keyboard actions. Instead of clicking through menus, you swipe, pinch, or tap to open apps, switch windows, and control your PC.
Windows 11 supports multi-touch gestures. That means you can use multiple fingers at once for different commands. Think of it like keyboard shortcuts, but with your hands directly on the screen.
The 7 Most Useful Touch Gestures
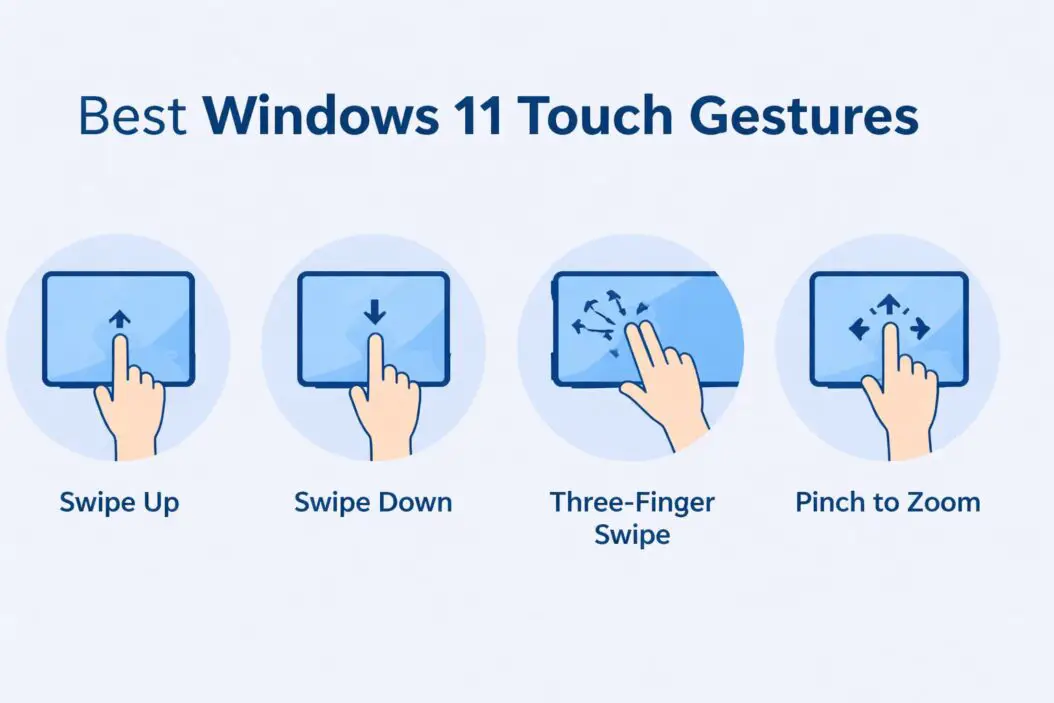
1. Three-Finger Swipe Up: Task View
What it does: Shows all your open windows at once.
How to use it: Place three fingers on the screen. Swipe up quickly.
Why it matters: You see everything you have open. Click any window to jump to it. No more hunting through the taskbar.
This gesture beats Alt+Tab because you see actual window previews, not just icons. You can spot the right document or browser tab instantly.
Pro tip: Swipe up again from Task View to see your virtual desktops. Create separate workspaces for different projects.
2. Three-Finger Swipe Down: Show Desktop
What it does: Minimizes all windows to show your desktop.
How to use it: Three fingers on screen. Swipe down.
Why it matters: Quick access to desktop files and widgets. Swipe up to restore your windows exactly as they were.
I use this dozens of times per day. It’s faster than clicking the tiny show desktop button in the corner.
3. Three-Finger Swipe Left or Right: Switch Between Apps
What it does: Moves between your open applications.
How to use it: Three fingers on screen. Swipe left or right.
Why it matters: Instant app switching without opening Task View. Each swipe moves you one app over.
This works like Alt+Tab but feels more intuitive. Your brain connects the physical swipe direction with moving through your app lineup.
When to use it: When you’re bouncing between two or three apps repeatedly. Email to browser to document, back and forth.
4. Four-Finger Tap: Action Center
What it does: Opens the Quick Settings panel.
How to use it: Tap four fingers on the screen simultaneously.
Why it matters: Instant access to WiFi, Bluetooth, volume, brightness, and other settings. No mouse movement required.
The Action Center also shows your notifications. One tap gives you everything you need to check or adjust.
5. Pinch to Zoom
What it does: Makes content bigger or smaller.
How to use it: Place two fingers on the screen. Spread them apart to zoom in. Pinch them together to zoom out.
Why it matters: Works in browsers, photos, maps, and documents. Natural gesture that everyone knows from smartphones.
Where it works best:
- Photos app (examining image details)
- Microsoft Edge (reading small text)
- Maps (navigating locations)
- PDF documents (reading fine print)
6. Tap and Hold: Right-Click Menu
What it does: Opens context menus with more options.
How to use it: Press and hold one finger on any item for about one second.
Why it matters: Access to cut, copy, paste, rename, delete, and properties without a mouse. Essential for file management.
The circle animation shows you when the menu is about to appear. Once you see it, lift your finger.
Common uses:
- Right-click files in File Explorer
- Access link options in browsers
- Open formatting menus in documents
- Get more options on taskbar icons
7. Two-Finger Scroll
What it does: Scrolls through pages, documents, and lists.
How to use it: Place two fingers on the screen. Slide up to scroll down, slide down to scroll up.
Why it matters: Smooth, precise scrolling without a scroll bar or mouse wheel. Works everywhere in Windows 11.
This gesture is incredibly responsive. Small movements give you fine control. Fast swipes let you jump through long documents.
Speed control: The faster you swipe, the faster it scrolls. Slow, deliberate movements give you pixel-perfect control.
Touch Gesture Comparison Table
| Gesture | Fingers | Motion | Function | Best For |
|---|---|---|---|---|
| Three-finger swipe up | 3 | Upward | Task View | Seeing all windows |
| Three-finger swipe down | 3 | Downward | Show desktop | Accessing desktop files |
| Three-finger swipe left/right | 3 | Horizontal | App switching | Quick app changes |
| Four-finger tap | 4 | Tap | Action Center | Checking settings/notifications |
| Pinch | 2 | Spread/pinch | Zoom in/out | Viewing details |
| Tap and hold | 1 | Press and hold | Right-click menu | File operations |
| Two-finger scroll | 2 | Vertical slide | Scroll content | Reading long pages |
How to Enable Touch Gestures in Windows 11
Most gestures work automatically on touchscreen devices. But you should verify your settings.
Step 1: Open Settings (Windows key + I)
Step 2: Click “Bluetooth & devices“
Step 3: Select “Touch”
Step 4: Make sure “Three-finger gestures” and “Four-finger gestures” are turned on
If you don’t see touch options, your device might not support all gestures. Some older touchscreens only support basic taps and scrolling.
For touchpad gestures: The same gestures work on precision touchpads. Go to Settings > Bluetooth & devices > Touchpad to configure them.
Troubleshooting Common Touch Gesture Problems
Gestures Not Working
Check your drivers: Outdated touchscreen drivers cause gesture failures.
- Right-click Start button
- Select Device Manager
- Expand “Human Interface Devices”
- Right-click your HID-compliant touch screen
- Choose “Update driver”
Restart touch services:
- Press Windows key + R
- Type “services.msc”
- Find “Touch Keyboard and Handwriting Panel Service”
- Right-click and select Restart
Gestures Too Sensitive or Not Responsive
Go to Settings > Bluetooth & devices > Touch > Additional settings. Adjust the touch sensitivity based on your screen type.
For external monitors: Some touch monitors need calibration. Search for “Calibrate the screen” in Settings and follow the prompts.
Three-Finger Gestures Conflict with Drawing Apps
Many drawing applications use three-finger gestures for canvas rotation or zoom. Windows gestures can interfere.
Solution: Disable Windows gestures while using drawing apps. Or check if your drawing app has a “Windows Ink” mode that handles this automatically.
Apps like Adobe Photoshop and Clip Studio Paint have built-in gesture management.
Advanced Tips for Power Users
Customize Gesture Sensitivity
Windows 11 doesn’t have granular sensitivity controls, but you can adjust overall touch responsiveness.
Registry tweaks exist for advanced users, but they’re not officially supported. Stick with the built-in settings unless you’re comfortable with system modifications.
Combine Gestures with Keyboard Shortcuts
The fastest workflow mixes touch and keyboard. Use gestures for navigation, keyboard for commands.
Example workflow:
- Three-finger swipe (switch to browser)
- Ctrl+T (new tab)
- Three-finger swipe (back to document)
- Ctrl+V (paste)
Virtual Desktop Management
Create multiple desktops for different tasks:
- Three-finger swipe up (Task View)
- Click “New desktop” at the top
- Drag apps to different desktops
- Three-finger swipe up, then left/right to switch desktops
This keeps work projects, personal browsing, and entertainment separate. Each desktop maintains its own set of open windows.
Touch Gestures vs. Mouse and Keyboard
| Task | Mouse/Keyboard | Touch Gesture | Winner |
|---|---|---|---|
| Switch apps | Alt+Tab or taskbar clicking | Three-finger swipe | Gesture (faster) |
| Show desktop | Click taskbar corner | Three-finger swipe down | Gesture (more reliable) |
| Zoom | Ctrl+scroll wheel | Pinch | Gesture (more intuitive) |
| Right-click | Right mouse button | Tap and hold | Mouse (quicker) |
| Precise selection | Mouse cursor | Finger tap | Mouse (more accurate) |
| Scrolling | Mouse wheel | Two-finger scroll | Even (preference) |
Touch gestures shine for navigation and view management. Mouse and keyboard win for precision work and text editing.
The best approach uses both. Touch for moving around Windows, mouse for detailed work.
Real-World Usage Scenarios
Scenario 1: Research and Writing
You’re writing a report with multiple browser tabs for research.
- Two-finger scroll through article
- Three-finger swipe right to your document
- Type notes
- Three-finger swipe left back to browser
- Three-finger swipe up to see all your reference tabs
- Tap the one you need
This flow eliminates dozens of mouse movements.
Scenario 2: Photo Editing
You’re sorting through hundreds of vacation photos.
- Open Photos app
- Two-finger scroll through thumbnails quickly
- Tap to open a photo
- Pinch to zoom in on details
- Tap and hold to access “Delete” or “Favorite”
- Swipe left or right to move to next photo
Touch makes photo management visceral and fast.
Scenario 3: Presentation Mode
You’re presenting on a tablet in tent mode.
- Four-finger tap to adjust screen brightness
- Three-finger swipe up to see all your apps
- Tap PowerPoint
- Two-finger scroll through slides in edit mode
- Pinch to zoom on specific content
- Three-finger swipe down if you need desktop files
No mouse needed. Your hands stay on the screen.
Accessibility Benefits
Touch gestures help users with limited mouse control. People with conditions affecting fine motor skills often find broad touch movements easier than precise mouse clicking.
The Windows Accessibility features work alongside touch gestures. You can enable:
- Larger touch targets
- Dwell clicking (hover to click)
- Eye control combined with touch
- Voice commands with gesture confirmation
Windows 11 lets you disable individual gestures that cause accidental inputs. Customize the experience to match your needs.
Battery Life Considerations
Touch gestures use minimal battery compared to running apps. The touchscreen digitizer is always active on modern devices, whether you use gestures or not.
What actually drains battery:
- Screen brightness (biggest factor)
- Background apps
- Wireless connections
- CPU-intensive tasks
Using gestures instead of a wireless mouse actually saves battery by eliminating Bluetooth power draw.
Future of Touch in Windows
Microsoft continues expanding gesture support. Recent Windows 11 updates added:
- Stylus gesture recognition
- Palm rejection improvements
- Haptic feedback on supported hardware
- Gesture customization APIs for developers
Expect more gesture options in 2026 and beyond. The trend moves toward making touch a complete replacement for mouse and keyboard in mobile scenarios.
Frequently Asked Questions
Do touch gestures work on all Windows 11 devices?
Only devices with touchscreens or precision touchpads support gestures. Standard laptops without touch capabilities won’t have these features. Check your device specifications to confirm touchscreen support. Most tablets and 2-in-1 devices include full gesture support out of the box.
Can I customize which gestures do what?
Windows 11 offers limited customization in Settings. You can turn gestures on or off, but you can’t reassign them to different actions. Third-party tools exist for advanced customization, but they’re not officially supported and may cause conflicts with system updates.
Why do my gestures sometimes not work?
Common causes include outdated drivers, disabled settings, or interference from other apps. Screen protectors can also reduce touch sensitivity. Restart your device and update your touchscreen drivers through Device Manager. Check that gestures are enabled in Settings under Bluetooth & devices.
Do gestures work in all applications?
Basic gestures like tap, scroll, and pinch work in almost all apps. Multi-finger gestures (three and four-finger) are system-wide and work regardless of which app is active. Some full-screen games may override gestures while running.
Can I use touch gestures with an external touchscreen monitor?
Yes, if the monitor supports multi-touch input and has proper Windows 11 drivers. Not all touch monitors support advanced gestures beyond basic tapping and scrolling. Check the monitor’s specifications for “10-point touch” or “multi-touch gesture” support for full functionality.
Conclusion
These seven touch gestures transform how you use Windows 11. Three-finger swipes handle navigation. Pinch controls zoom. Four-finger tap opens settings. Two-finger scroll moves through content.
Start with three-finger swipe up and three-finger swipe down. These two gestures alone will change your workflow. Add the others as they become natural.
Touch gestures aren’t gimmicks. They’re faster than mouse navigation for specific tasks. They reduce repetitive strain from mouse movements. They make Windows 11 feel responsive and modern.
Enable them in Settings. Practice for a few days. Your muscle memory will develop quickly. Within a week, you’ll reach for these gestures automatically.
The best interface combines touch, mouse, and keyboard. Use each tool for what it does best. Touch for navigation, mouse for precision, keyboard for commands.
Windows 11 touch gestures give you that flexibility. They make your touchscreen device work the way it should: naturally, quickly, and intuitively.
