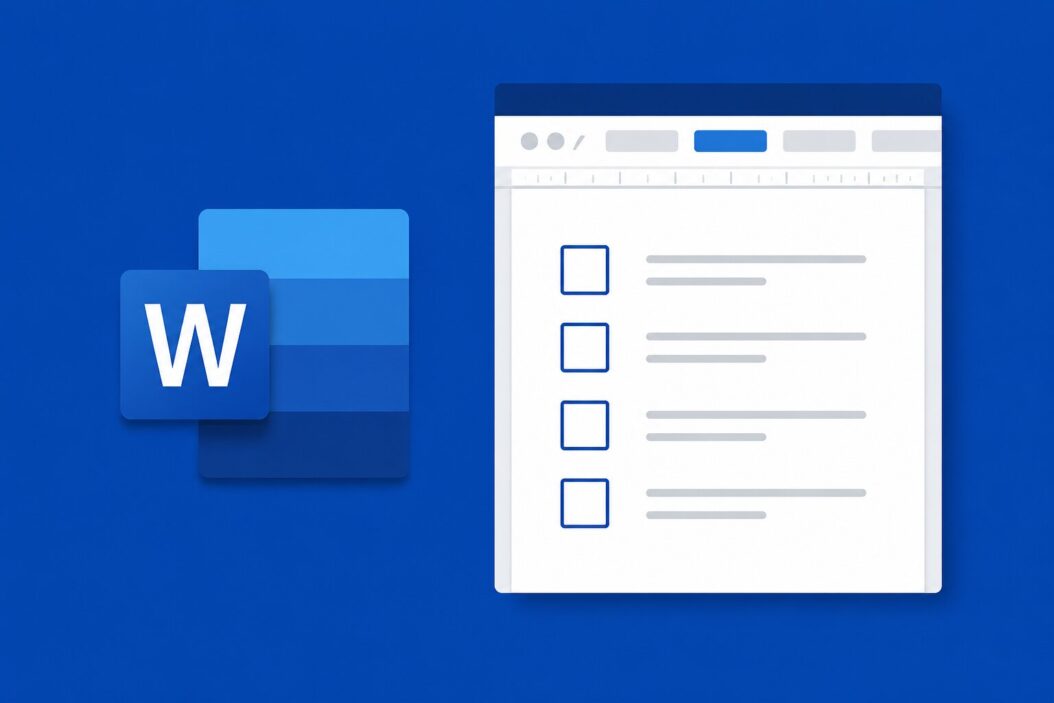
Check boxes in Microsoft Word seem straightforward until you actually try to add one. The Insert menu does not have an obvious “checkbox” button. You end up hunting through tabs and menus, not sure what you even need. So let me walk you through every way to do this, clearly.
There are two types of check boxes in Word. One is a clickable checkbox you can tick inside the document. The other is a printed checkbox symbol, useful for forms you hand out on paper. The method you use depends on which one you need.
The Two Types of Check Boxes in Word
Before doing anything, know which type fits your situation.
| Type | Best For | Clickable? |
|---|---|---|
| Content Control Checkbox | Digital forms, fillable PDFs | Yes |
| Symbol/Bullet Checkbox | Print forms, checklists | No |
| Wingdings Checkbox | Simple visual checkbox | No |
Pick the wrong type and you will waste time. A clickable checkbox on a printed form looks the same, but a symbol checkbox in a digital form does nothing when someone clicks it.
How to Insert a Clickable Check Box in Word
This is what most people actually want. A checkbox that works when you click it inside Word.
Step 1: Enable the Developer Tab
The checkbox content control lives in the Developer tab. Word hides this tab by default.
- Click File at the top left
- Select Options at the bottom of the sidebar
- Click Customize Ribbon on the left
- On the right side, look at the list of main tabs
- Check the box next to Developer
- Click OK
The Developer tab now appears in your ribbon between View and Help.
Step 2: Place Your Cursor
Click in the document exactly where you want the checkbox to appear. If you are building a list, put the cursor at the start of the line before your text.
Step 3: Insert the Checkbox
- Click the Developer tab
- In the Controls group, click the checkbox icon (it looks like a small checked box)
- A checkbox appears at your cursor position
That is it. Click the checkbox in your document and it toggles between checked and unchecked.
Step 4: Add Your Label Text
Word does not automatically add text next to the checkbox. Type your label right after inserting it. Press space once after the checkbox, then type your item.
Example layout:
☑ Complete the introduction
☐ Add images to section two
☐ Review final draft
Locking and Protecting the Checkbox
If you are making a form for other people, you probably want them to only check boxes, not accidentally delete or edit them.
Go to Developer > Restrict Editing. Under Editing restrictions, choose Filling in forms. Click Yes, Start Enforcing Protection. Now users can only interact with form fields, not edit other content.
How to Insert a Checkbox Symbol for Print Forms
If you are creating a form people will print and fill by hand, you do not need a clickable checkbox. A symbol works better because it is simpler and always looks clean.
Method 1: Using Bullet Points
This is the fastest approach for a checklist you will print.
- Select the text you want as a checklist
- Click Home > click the small arrow next to the bullet list icon
- Click Define New Bullet
- Click Symbol
- Change the font to Wingdings
- Find the open square symbol (character code 111) or a ballot box (around position 163)
- Click OK twice
Every bullet point in that list now uses your checkbox symbol.
Method 2: Insert Symbol Directly
- Click where you want the checkbox
- Go to Insert > Symbol > More Symbols
- Change the font dropdown to Wingdings or Segoe UI Symbol
- Look for a square or checkbox shape
- Click Insert, then Close
Useful Wingdings character codes for checkboxes:
| Symbol | Wingdings Code | Description |
|---|---|---|
| ❑ | 111 | Empty ballot box |
| ☐ | 168 | Light ballot box |
| ☑ | 252 | Checked ballot box |
| ✓ | 252 (Wingdings 2) | Check mark |
Method 3: Copy and Paste Unicode
The fastest method for one-off needs. Copy one of these directly into your Word document:
- ☐ (empty checkbox)
- ☑ (checked checkbox)
- ☒ (crossed checkbox)
Word supports Unicode, so these paste in cleanly and display correctly. Font size and color follow whatever formatting you have at the cursor position.
How to Insert Checkboxes in a Table
Tables make checklist forms look clean and professional. Here is how to combine them.
- Go to Insert > Table, create a two-column table
- Make the left column narrow (about 0.5 inches), right column wide
- Click inside a left cell
- Insert your checkbox using either method above
- Click the right cell and type your label text
To remove table borders for a cleaner look: Select the table, go to Table Design, click Borders, choose No Border.
This is a popular format for employee forms, inspection checklists, and survey sheets.
Formatting Your Check Boxes
Change Checkbox Size
For symbol checkboxes, select the symbol and change the font size. Larger number means bigger checkbox.
For content control checkboxes, right-click the checkbox, select Properties, and adjust the size in the Content Control Properties panel.
Change the Checked and Unchecked Symbol
The default checked state is an X. You can change it to a checkmark or any other symbol.
- Click the checkbox to select it (do not click inside it)
- Go to Developer > Properties
- Click Change next to Checked Symbol
- Pick any symbol from any font
- Do the same for Unchecked Symbol
- Click OK
Now your checkbox shows a proper tick instead of an X.
Align Checkboxes with Text
Checkboxes sometimes float slightly above or below your text baseline. Fix this by selecting the checkbox and adjusting the font size to match surrounding text. If the alignment still looks off, try setting the paragraph line spacing to exactly a specific point value rather than Multiple.
Using Check Boxes in Word Online
Word Online (the browser version) has limited form controls. You can insert a clickable checkbox this way:
- Go to Insert > Content Controls (if available in your version)
- Or use the desktop app and share the file, since Word Online respects existing checkboxes
For full checkbox functionality, the desktop version of Word in Microsoft 365 gives you the most control. Word Online still lacks some Developer tab features.
Creating a Full Checklist Template
Here is a practical setup for a checklist you can reuse.
Setup steps:
- Type your list title at the top
- Insert a checkbox before each list item using the Developer tab method
- Press Tab after each checkbox, then type the task
- When done, protect the document using Restrict Editing
- Save it as a Word Template (.dotx) so it is reusable
Each time someone opens the template, they get a fresh, clean checklist with working checkboxes.
Keyboard Shortcut for Checkboxes
Word does not have a built-in keyboard shortcut for inserting checkboxes, but you can create one.
- Go to File > Options > Customize Ribbon
- Click Customize next to Keyboard Shortcuts at the bottom
- In Categories, scroll to Developer Tab
- Find the checkbox control command
- Assign a key combination like Alt + C
- Click Assign, then Close
Now you can insert a clickable checkbox with a keystroke instead of clicking through tabs every time.
Common Problems and Fixes
Checkbox Appears as a Box with an X When Printed
This happens when you are using a content control checkbox with default symbols. Change the unchecked symbol to an empty square as described in the formatting section above.
Can’t Click the Checkbox
If clicking does nothing, the document is likely in protected mode where your specific area is restricted, or you are in Edit mode and need to be in Reading/Preview mode. Check under Review > Restrict Editing to see what protections are active.
Checkbox Is Misaligned in a Table
Select the cell containing the checkbox. Right-click and choose Table Properties > Cell tab > set Vertical alignment to Center. This snaps the checkbox to the middle of the cell.
Developer Tab Is Not Showing
On Mac, go to Word > Preferences > Ribbon and Toolbar. Enable Developer from there. The steps differ slightly from Windows but the result is the same.
Check Boxes in Word vs Google Docs
Many people switch between both platforms. A quick comparison:
| Feature | Microsoft Word | Google Docs |
|---|---|---|
| Clickable checkbox | Yes (Developer tab) | Yes (Insert > Checklist) |
| Checkbox symbol | Yes (Wingdings/Unicode) | Yes (Insert > Special characters) |
| Print checkbox | Yes | Yes |
| Protect form fields | Yes | Limited |
| Keyboard shortcut | Customizable | Built-in (Ctrl + Shift + 9) |
Google Docs actually makes checklist insertion easier for basic uses. Word wins when you need full control over form protection and complex layouts. For a deeper look at form design best practices, Smashing Magazine’s UX form guide is worth reading if you are building forms for others.
Conclusion
Inserting a check box in Word comes down to two decisions: do you need it to work digitally or just look right on paper? For digital forms, use the Developer tab and insert a content control checkbox. For print forms, use a Wingdings symbol or paste a Unicode checkbox directly.
The Developer tab is your main tool here. Enable it once and it stays. From there, inserting, customizing, and protecting checkboxes takes under a minute. If you are building forms people will actually use, spend the extra time setting up form protection. It makes the experience cleaner for whoever fills it in.
Once you get the hang of it, adding checkboxes becomes second nature. The same workflow applies across Word for Microsoft 365, Word 2021, Word 2019, and even Word on Mac.
Frequently Asked Questions
Can I make a checkbox automatically check when I type a keyword next to it?
Not natively. Word content controls do not support conditional logic on their own. For that kind of automation, you would need a macro written in VBA. Go to Developer > Macros, write a script that checks for specific text and toggles the checkbox state. It is doable but requires some basic VBA knowledge.
Does a checked checkbox in Word stay checked when I convert the file to PDF?
It depends on how you convert it. If you save as PDF using File > Save As > PDF, the visual state of the checkbox (checked or unchecked at the time of saving) is what appears in the PDF. The checkbox becomes a static image in the PDF. It will no longer be interactive unless you use dedicated PDF editing software to add form fields after export.
Can I copy a checkbox and paste it multiple times to build a list faster?
Yes, and this is actually the recommended approach. Insert one checkbox, format it exactly the way you want, then copy it with Ctrl+C and paste it wherever you need another. All pasted checkboxes inherit the same settings including checked/unchecked symbol customization. This is much faster than inserting each one individually through the Developer tab.
Why does my checkbox show as a shaded box instead of a clean symbol when I print?
The gray shading around content control checkboxes is a screen display artifact. It shows in the document view so you can identify form fields easily. When you print, that shading does not appear. If you see it in a print preview, go to File > Options > Advanced, scroll to Show document content, and uncheck Show field shading.
Is there a way to add a check box in Word on iPhone or iPad?
The Word mobile app has limited Developer tab features. On iPhone and iPad, you can insert a Unicode checkbox symbol by tapping Insert > Symbol if available, or simply type one by copying it from a browser or notes app. For fully functional clickable checkboxes in mobile Word, you need to create the form on desktop first. The mobile app can open and interact with existing checkbox form fields but cannot create content control checkboxes from scratch.
