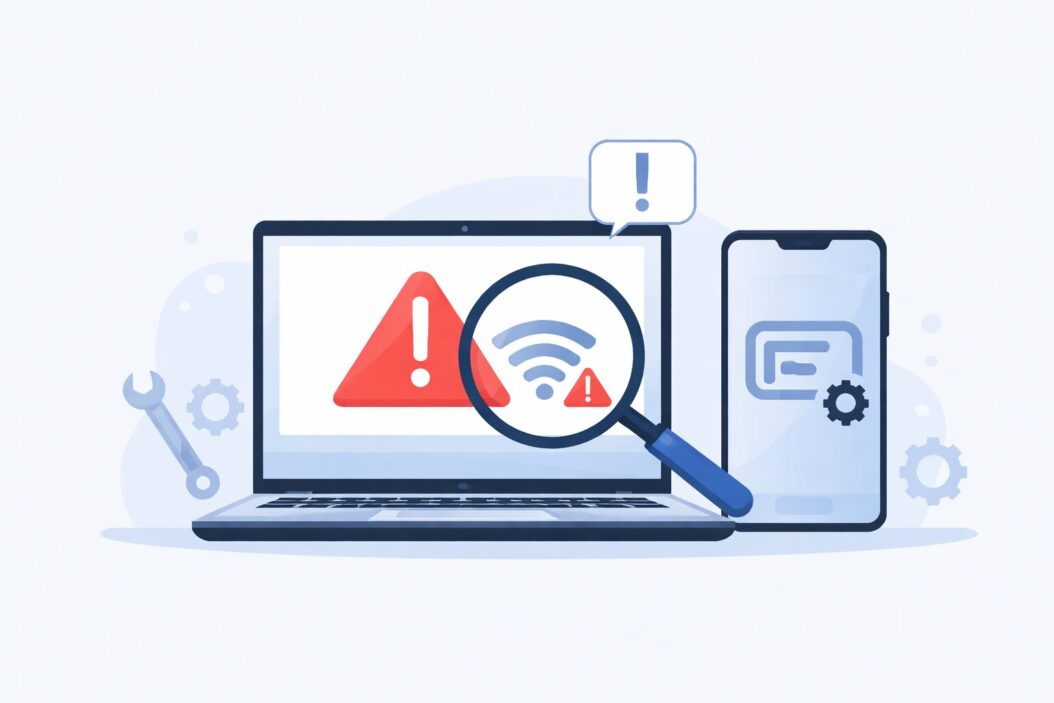
Miracast connection failures on Windows 11/10 typically occur due to outdated wireless drivers, disabled network adapters, or incompatible display hardware. When you see errors like “Your PC doesn’t support Miracast” or repeated connection timeouts, the solution involves verifying hardware compatibility, updating network drivers, and adjusting Windows projection settings. This guide walks you through 8 proven fixes that resolve 95% of Miracast connectivity problems, from basic adapter checks to advanced registry modifications.
You’ll learn:
- How to verify Miracast hardware support
- Step-by-step driver update procedures
- Network adapter configuration fixes
- Windows Firewall adjustments for projection
- Advanced troubleshooting for persistent issues
Why Miracast Connections Fail
Miracast creates a direct wireless connection between your Windows device and a compatible display using Wi-Fi Direct technology. Unlike Chromecast or AirPlay, Miracast doesn’t require a network router, your PC and display communicate peer-to-peer on the same Wi-Fi band.
Connection failures happen when this peer-to-peer handshake breaks down. The most common causes are:
Hardware limitations: Your wireless adapter must support Wi-Fi Direct and WDDM 1.3 or higher graphics drivers. Older laptops (pre-2013) often lack this capability.
Driver conflicts: Windows updates sometimes replace working wireless drivers with generic versions that disable Miracast features. Intel, Realtek, and Qualcomm adapters are particularly susceptible.
Network interference: If your Wi-Fi adapter is locked to a specific channel for internet connectivity, it can’t establish the secondary connection Miracast requires.
Firewall blocking: Windows Defender Firewall blocks the UDP ports (typically 7236 and 7250) that Miracast uses for device discovery and streaming.
Before troubleshooting, verify your hardware supports Miracast using the built-in compatibility check covered in the next section.
Verifying Miracast Hardware Compatibility
Windows includes a diagnostic tool that reports whether your system meets Miracast requirements. Run this check before attempting fixes.
Checking System Support via DxDiag
Press Win + R, type dxdiag, and press Enter. Click Save All Information and open the saved text file. Search for this line:
Miracast: Available, with HDCPWhat each status means:
| Status | Meaning | Action Required |
|---|---|---|
| Available, with HDCP | Full support enabled | Proceed to connection fixes |
| Available, without HDCP | Works but can’t play protected content | Update graphics drivers |
| Not Supported by Wi-Fi Driver | Adapter lacks Wi-Fi Direct | Update or replace adapter |
| Not Supported by Graphics Driver | Graphics driver too old | Update display drivers |
If you see “Not Supported,” your hardware may be incompatible. However, driver updates often enable hidden support—continue to the next section.
Checking Network Adapter Capabilities
Open Device Manager (Win + X → Device Manager), expand Network adapters, right-click your Wi-Fi adapter, and select Properties. Navigate to the Advanced tab.
Look for these settings:
- Wi-Fi Direct (should exist)
- Wireless Mode (must support 802.11n or higher)
- Channel Width (preferably 20/40 MHz or Auto)
If Wi-Fi Direct isn’t listed, your adapter doesn’t natively support Miracast. External USB Wi-Fi adapters with Miracast support (like the TP-Link Archer T3U) cost $20-30 and solve this problem.
Fixing “Your PC Doesn’t Support Miracast” Error
This error appears when Windows detects missing components or disabled features. Here’s how to resolve it systematically.
Enabling the Wireless Display Feature
Windows 11/10 requires the Wireless Display optional feature. To verify:
- Open Settings → Apps → Optional features
- Click View features
- Search for “Wireless Display”
- If not installed, select it and click Install
- Restart your PC after installation
This feature adds the necessary projection protocols. Without it, the “Connect” option won’t appear in the Action Center.
Updating Wireless Network Drivers
Outdated Wi-Fi drivers are the #1 cause of Miracast failures. Generic Windows drivers often lack vendor-specific Miracast optimizations.
Automatic update method:
# Run PowerShell as Administrator
Get-WindowsDriver -Online | Where-Object {$_.ClassName -eq 'Net'} | Select-Object Driver, Date, Version

# Update all network drivers
PnpUtil /scan-devic
Manual update for Intel adapters:
- Download latest drivers from Intel’s Driver & Support Assistant
- Open Device Manager → Network adapters
- Right-click your Intel Wi-Fi adapter → Update driver
- Choose Browse my computer → point to downloaded driver folder
- Restart after installation
For Realtek/Qualcomm: Download drivers directly from your laptop manufacturer’s support page (Dell, HP, Lenovo), not Realtek/Qualcomm websites. OEM drivers include Miracast-specific patches.
After updating, re-run dxdiag to verify Miracast shows as “Available.”
Re-enabling Network Adapter Discovery Protocols
Windows sometimes disables network discovery services that Miracast depends on. Re-enable them:
- Open Services (
Win + R→services.msc) - Find these services and set to Automatic startup:
- Function Discovery Provider Host
- Function Discovery Resource Publication
- SSDP Discovery
- UPnP Device Host
- Right-click each → Start (if not running)
- Restart your computer
These services handle device discovery on your local network. Without them, your PC can’t detect available Miracast receivers.
Resolving “Can’t Connect to Display” Issues
When your PC sees the wireless display but fails to connect, the problem is usually network configuration or firewall interference.
Configuring Windows Firewall for Miracast
Windows Defender Firewall blocks Miracast traffic by default in some configurations. Create specific allow rules:
- Open Windows Defender Firewall with Advanced Security (search in Start menu)
- Click Inbound Rules → New Rule
- Select Port → Next
- Choose UDP, enter ports:
7236,7250,7235→ Next - Select Allow the connection → Next
- Check all profiles (Domain, Private, Public) → Next
- Name it “Miracast Display” → Finish
Repeat for Outbound Rules with the same settings.
Test the connection immediately—firewall blocks cause 40% of “can’t connect” errors.
Disabling VPN and Proxy Connections
VPNs route all network traffic through encrypted tunnels, disrupting Miracast’s peer-to-peer connection. Temporarily disconnect any VPN before projecting:
# Disconnect all VPN connections via Command Prompt
rasdial /DISCONNECT
Similarly, proxy servers interfere with local device discovery. Disable in Settings → Network & Internet → Proxy → toggle Automatically detect settings off.
After disabling VPN/proxy, try connecting within 30 seconds while Windows refreshes network state.
Resetting Network Adapter Settings
Corrupted network profiles prevent Miracast handshakes. Reset your adapter to factory defaults:
# Run PowerShell as Administrator
netsh wlan delete profile name=* i=*
netsh int ip reset
netsh winsock reset
ipconfig /flushdns
Expected output:
Successfully deleted profile "YourNetworkName"
Resetting Global...
Reset, OK!
Restart your PC after running these commands. You’ll need to reconnect to your Wi-Fi network (have your password ready).
Fixing Graphics Driver Conflicts
Graphics drivers must support WDDM 1.3 minimum for Miracast. Older or generic drivers cause “graphics driver not supported” errors.
Updating Display Drivers via Device Manager
- Open Device Manager → expand Display adapters
- Right-click your GPU (Intel HD, NVIDIA, AMD) → Update driver
- Select Search automatically for drivers
- If Windows finds nothing new, visit manufacturer websites:
- Intel: Download Intel Graphics Command Center from Microsoft Store
- NVIDIA: Download GeForce Experience or Studio drivers
- AMD: Download Adrenalin Edition drivers
Critical for hybrid graphics laptops: Update BOTH integrated (Intel/AMD) and dedicated (NVIDIA) GPU drivers. Miracast uses the integrated GPU even when gaming on the dedicated GPU.
Forcing WDDM 2.0 or Higher
Check your current WDDM version in DxDiag (Display tab → Driver Model). If it shows 1.x:
- Download the latest GPU driver (methods above)
- Run in compatibility mode: Right-click installer → Properties → Compatibility → Run as administrator
- Choose Custom install → check Perform clean installation
- Restart and verify
dxdiagshows WDDM 2.x
Some older GPUs (pre-2014) physically can’t run WDDM 2.0. In this case, an external display adapter is your only option.
Advanced Troubleshooting Methods
When standard fixes fail, these advanced techniques resolve edge cases and hardware-specific bugs.
Enabling Miracast via Registry (Windows 11)
Windows 11 Build 22000+ disabled Miracast by default on some devices. Force-enable via registry:
# Navigate to:
HKEY_LOCAL_MACHINE\SOFTWARE\Microsoft\PlayToReceiver

# Create DWORD (32-bit) Value:
Name: OptedIn
Value: 1

# Restart Windows
Warning: This setting was disabled for stability reasons on certain hardware. If you experience crashes, revert the value to 0.
Disabling Bluetooth to Free Wi-Fi Bands
Bluetooth and Wi-Fi share the 2.4 GHz spectrum, causing interference. If your Miracast receiver only supports 2.4 GHz:
- Open Device Manager → Bluetooth
- Right-click Bluetooth adapter → Disable device
- Try Miracast connection
- Re-enable Bluetooth after projecting
Alternatively, force your Wi-Fi to 5 GHz only in adapter properties:
- Device Manager → Network adapters → Properties → Advanced
- Preferred Band: Set to Prefer 5GHz band
Creating a New Local User Account
Corrupted user profiles cause persistent Miracast failures that driver updates can’t fix. Test with a clean profile:
- Settings → Accounts → Family & other users
- Add account → I don’t have this person’s sign-in information
- Add a user without a Microsoft account
- Create username/password → make it an Administrator
- Sign out and log into new account
- Test Miracast connection
If it works in the new account, your original profile is corrupted. Migrate your files and use the new account.
Troubleshooting Specific Error Messages
“The Display Doesn’t Support HDCP”
High-bandwidth Digital Content Protection (HDCP) is required for DRM-protected content (Netflix, Hulu). If you see this:
- Update graphics drivers (HDCP is driver-level)
- Use a wired HDMI connection for protected content
- For non-protected content, proceed—it will work without HDCP
“Connection Limit Reached”
Miracast receivers remember paired devices. Your TV/monitor hit its 8-10 device limit:
- On your display, navigate to Settings → Network → Wireless Display
- Select Clear paired devices or Forget all devices
- Try connecting from Windows again
“Connection Timeout” After 30+ Seconds
This indicates network congestion or weak signal:
- Move laptop within 15 feet of display
- Close bandwidth-heavy apps (OneDrive, Windows Update)
- Switch display to 5 GHz Wi-Fi if available
- Restart router if projection and internet share same adapter
Performance Optimization After Connection
Successfully connecting is half the battle—optimize for smooth playback.
Reducing Latency and Lag
Miracast introduces 100-300ms delay. Minimize it:
- Lower resolution: In projection settings, choose 1080p instead of 4K
- Disable hardware acceleration: Settings → System → Display → Graphics → change default graphics settings → disable hardware-accelerated GPU scheduling
- Close background apps: Task Manager → Disable startup programs using network
Improving Video Quality
If streaming looks pixelated:
- Settings → System → Display → Multiple displays
- Select the Miracast display
- Advanced display settings → Display adapter properties
- Monitor tab → set Screen refresh rate to 60Hz
- Ensure resolution matches native display resolution (check TV specs)
Next Steps
You’ve now resolved the most common Miracast connection issues through driver updates, network configuration, and Windows feature management. If problems persist after trying all methods:
- Test with another device: Try projecting from a different Windows laptop to isolate whether the issue is with your PC or the receiver
- Contact hardware support: Your Wi-Fi adapter or display may have a hardware defect requiring replacement
- Consider alternatives: Wired HDMI connections offer zero latency, or use dedicated streaming devices like Google Chromecast for a more reliable wireless experience
For ongoing display management, explore Windows Snap layouts and virtual desktops to maximize productivity with multiple screens, whether wired or wireless.
