When your screen looks wrong, your second monitor won’t connect, or you need to adjust your display settings, display.cpl is the Windows command that instantly opens your display configuration panel. It’s a Control Panel file that gives you direct access to screen resolution, multiple monitor setups, and advanced display options without clicking through menus.
This guide shows you exactly how to use display.cpl, what it does, and how to fix common display problems in Windows 10 and 11.
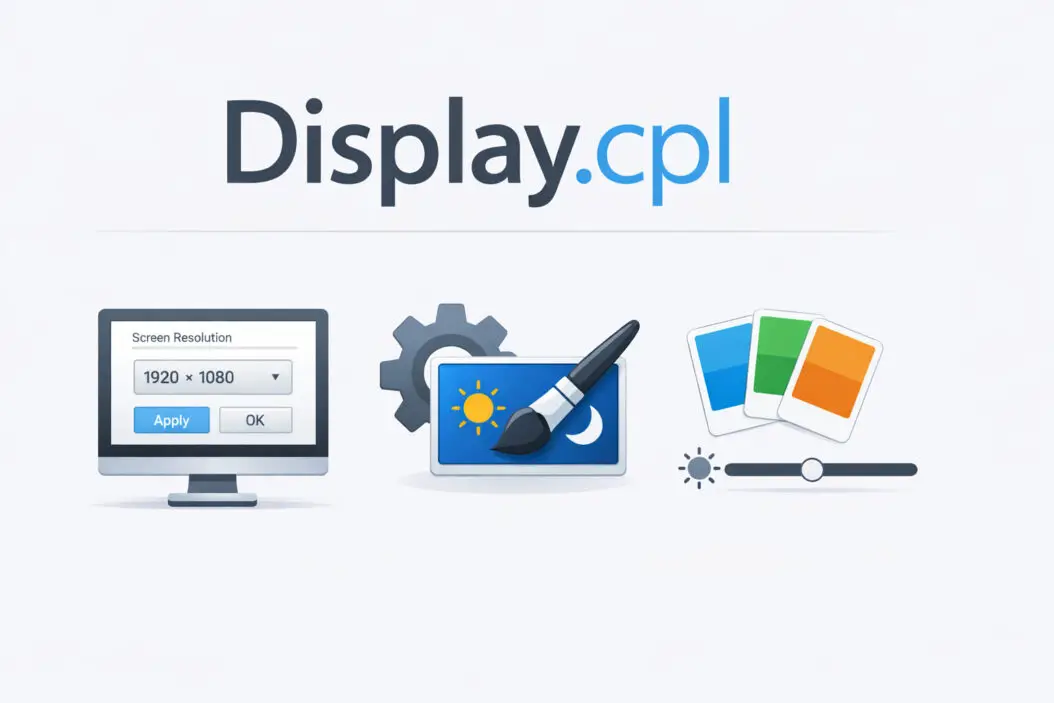
What Is Display.cpl?
Display.cpl is a Control Panel applet file in Windows. The “.cpl” extension stands for Control Panel Library. When you run display.cpl, Windows opens the display settings interface where you can change:
- Screen resolution
- Monitor orientation (landscape or portrait)
- Multiple display configurations
- Refresh rate settings
- Color calibration
- Text and icon scaling
Every Windows installation includes this file in the System32 folder. You don’t need to download or install anything. It’s been part of Windows since Windows XP and still works in Windows 11.
How to Open Display.cpl (5 Fast Methods)
Method 1: Run Command (Fastest)
- Press Windows key + R
- Type display.cpl
- Press Enter
The display settings window opens immediately. This takes 3 seconds.
Method 2: Command Prompt or PowerShell
- Open Command Prompt (press Windows key, type “cmd”)
- Type display.cpl and press Enter
- Display settings open
Works the same in PowerShell.
Method 3: Windows Search
- Press Windows key
- Type display.cpl
- Click the result
This method works but takes longer than the Run command.
Method 4: File Explorer
- Open File Explorer
- Navigate to C:\Windows\System32
- Scroll down to find display.cpl
- Double-click the file
Not recommended for regular use. Too many steps.
Method 5: Create a Desktop Shortcut
- Right-click on your desktop
- Select New > Shortcut
- Type display.cpl in the location field
- Click Next
- Name it “Display Settings”
- Click Finish
Now you can double-click the shortcut anytime. Good if you adjust display settings frequently.
Display.cpl vs Settings App in Windows 11
Windows 11 pushed users toward the modern Settings app, but display.cpl still exists and offers some advantages:
| Feature | Display.cpl | Settings App |
|---|---|---|
| Speed to open | Very fast (direct command) | Requires navigation |
| Advanced options | More technical controls | Simplified interface |
| Color management | Direct access | Buried in menus |
| Multiple monitors | Full control panel view | Modern touch-friendly layout |
| Windows version | Works since XP | Windows 10 and newer |
When to use display.cpl: You need quick access, you’re comfortable with traditional Windows interfaces, or you need specific advanced options.
When to use Settings app: You prefer modern interfaces, you’re on a touchscreen device, or you want the newest Windows 11 features.
Both methods change the same underlying settings. Pick whichever feels faster for you.
What You Can Do With Display.cpl
Adjust Screen Resolution
Screen resolution controls how many pixels display on your monitor. Higher resolution means sharper images but smaller text.
To change resolution:
- Open display.cpl
- Click Advanced display settings (Windows 10) or look for resolution dropdown (Windows 11)
- Select your preferred resolution from the list
- Click Apply
- Click Keep changes if it looks correct
Your monitor has a native resolution. This is the setting that looks sharpest. Windows usually detects and recommends it. Look for the option marked “recommended.”
Common resolutions:
- 1920×1080 (Full HD, most common)
- 2560×1440 (QHD, gaming monitors)
- 3840×2160 (4K, high-end displays)
Configure Multiple Monitors
Display.cpl makes setting up two or more monitors straightforward.
Step-by-step setup:
- Connect your second monitor to your computer
- Open display.cpl
- Windows shows numbered boxes representing each monitor
- Click Identify to see which number corresponds to which physical monitor
- Drag the numbered boxes to match your physical monitor arrangement
- Select your display mode:
- Duplicate: Same content on all screens
- Extend: Desktop spreads across all monitors
- Show only on 1 or Show only on 2: Use one monitor only
- Click Apply
Setting the primary monitor:
Your primary monitor shows the taskbar and where programs open by default.
- In display.cpl, click the monitor you want as primary
- Check Make this my main display
- Click Apply
Change Display Orientation
Useful for vertical monitors or tablets.
- Open display.cpl
- Select the monitor you want to rotate
- Find Orientation dropdown
- Choose:
- Landscape (normal horizontal)
- Portrait (vertical, rotated right)
- Landscape (flipped, upside down)
- Portrait (flipped, rotated left)
- Click Apply
Adjust Scaling and Text Size
Scaling makes text and icons bigger without changing resolution. Essential for 4K monitors where native resolution makes everything tiny.
- Open display.cpl
- Look for Change the size of text, apps, and other items
- Select percentage (100%, 125%, 150%, 175%, etc.)
- Sign out and back in for full effect
Windows 11 moved this setting deeper into the Settings app, but you can access related options through display.cpl’s advanced settings.
Set Refresh Rate
Refresh rate is how many times per second your monitor updates the image. Higher is smoother, especially for gaming.
- Open display.cpl
- Click Advanced display settings
- Select your monitor
- Click Display adapter properties
- Go to Monitor tab
- Find Screen refresh rate dropdown
- Select your preferred rate (60Hz, 120Hz, 144Hz, etc.)
- Click OK
Only select rates your monitor supports. If your screen goes black, wait 15 seconds and Windows reverts automatically.
Common Display Problems and Fixes
Screen Resolution Is Grayed Out
Cause: Missing or outdated graphics drivers.
Fix:
- Press Windows key + X
- Select Device Manager
- Expand Display adapters
- Right-click your graphics card
- Select Update driver
- Choose Search automatically for drivers
- Restart your computer
If Windows doesn’t find drivers, visit your graphics card manufacturer’s website (NVIDIA, AMD, or Intel) and download the latest driver manually.
Second Monitor Not Detected
Try these steps in order:
- Check physical connections. Unplug and reconnect cables.
- Try a different cable or port if available.
- Open display.cpl and click Detect button.
- Restart your computer with both monitors connected.
- Update graphics drivers (see previous section).
- Test the monitor on another computer to rule out monitor failure.
Display.cpl Won’t Open
Solution 1: Run System File Checker
- Open Command Prompt as administrator (right-click Start, select “Command Prompt (Admin)” or “Windows Terminal (Admin)”)
- Type sfc /scannow and press Enter
- Wait for the scan to complete (takes 10-30 minutes)
- Restart your computer
This repairs corrupted Windows system files.
Solution 2: Use Settings App Instead
- Press Windows key + I
- Go to System > Display
This accesses the same display settings through the modern interface.
Solution 3: Check for Windows Updates
- Press Windows key + I
- Go to Windows Update
- Click Check for updates
- Install any available updates
- Restart
Colors Look Wrong
Quick calibration:
- Open display.cpl
- Click Advanced display settings
- Click Display adapter properties
- Go to Color Management tab
- Click Color Management button
- Click Advanced tab
- Click Calibrate display
- Follow the wizard
This walks you through adjusting gamma, brightness, contrast, and color balance.
Resolution Options Are Limited
Cause: Windows doesn’t recognize your monitor’s capabilities.
Fix:
- Update graphics drivers (see earlier section)
- In display.cpl, click Advanced display settings
- Click Display adapter properties
- Click List All Modes
- Select your desired resolution and refresh rate
- Click OK
If your native resolution still doesn’t appear, your cable might not support it. HDMI 1.4 can’t do 4K at 60Hz, for example. You might need HDMI 2.0, DisplayPort, or a better cable.
Advanced Display.cpl Techniques
Create Batch Files for Quick Display Changes
If you switch between display configurations regularly (like docking a laptop), batch files save time.
Example batch file for external monitor only:
- Open Notepad
- Type: display.cpl
- Save as DisplaySettings.bat
- Double-click to run
This just opens display.cpl quickly. For more advanced configuration switching, you’ll need third-party tools like DisplayFusion or Windows’ built-in projection options (Windows key + P).
Access Display.cpl Remotely
If you manage other computers:
- Use Remote Desktop Connection
- Connect to the target computer
- Open Run command on the remote machine
- Type display.cpl
The display settings that open are for the remote computer, not yours.
Use Display.cpl in Scripts
System administrators can call display.cpl in PowerShell or batch scripts:
Start-Process display.cpl
This opens the display settings panel. Useful in automated setup scripts.
Display.cpl Alternatives and Related Commands
Windows includes other .cpl files for different settings:
- desk.cpl: Older display settings command (works similarly)
- main.cpl: Mouse settings
- timedate.cpl: Date and time settings
- sysdm.cpl: System properties
- ncpa.cpl: Network connections
For display-specific alternatives:
- Windows key + P: Quick projection menu (duplicate, extend, etc.)
- Settings app (Windows key + I, then System > Display): Modern interface
- Graphics card control panel: NVIDIA Control Panel or AMD Radeon Settings offer additional options
The Microsoft Support site (https://support.microsoft.com/windows) provides official documentation on display settings and troubleshooting.
Display.cpl in Different Windows Versions
Windows 11
Display.cpl still works but Microsoft wants you to use the Settings app. The interface looks slightly different:
- Opens Settings app by default in some builds
- Some options redirect to Settings app
- All functionality remains accessible
- Modern rounded corners and design
Windows 10
Display.cpl works perfectly and opens the traditional Control Panel interface. This is the most stable experience.
Windows 8 and 8.1
Fully functional. Opens the same Control Panel interface as Windows 10.
Windows 7
Display.cpl works identically. The interface looks slightly different (Windows 7 design language) but all features are present.
Note: Windows 7 ended support in January 2020. Upgrade to Windows 10 or 11 for security updates.
Windows XP and Vista
Display.cpl exists but the interface and available options differ significantly. These operating systems are severely outdated and unsafe to use in 2026.
Troubleshooting Table
| Problem | Quick Fix | Details |
|---|---|---|
| Display.cpl not found | Run sfc /scannow | Repairs system files |
| Wrong resolution | Update graphics driver | Driver issue most common |
| Monitor not detected | Check cables, click Detect | Physical connection first |
| Blurry text | Adjust scaling | Change from 100% to 125% or 150% |
| Screen flickers | Change refresh rate | Try different Hz setting |
| Can’t change settings | Check user permissions | Need administrator access |
Conclusion
Display.cpl remains the fastest way to access Windows display settings in 2026. Type it in the Run dialog (Windows key + R), press Enter, and you’re adjusting resolution, configuring multiple monitors, or changing orientation in seconds.
The command works across all modern Windows versions. While Windows 11 emphasizes the Settings app, display.cpl delivers the same functionality with fewer clicks. For IT professionals, remote administrators, or anyone who configures displays regularly, it’s an essential time-saver.
Remember the three most important uses:
- Quick resolution changes (display.cpl > select resolution > apply)
- Multiple monitor setup (display.cpl > arrange displays > extend)
- Refresh rate adjustment (display.cpl > advanced settings > monitor tab)
When display problems arise, start with driver updates. Most resolution, detection, and performance issues trace back to outdated or corrupted graphics drivers.
Keep display.cpl in your Windows toolkit. It’s simple, direct, and solves real problems fast.
Frequently Asked Questions
Is display.cpl safe to use?
Yes, completely safe. Display.cpl is an official Windows system file located in C:\Windows\System32. It’s digitally signed by Microsoft and has been part of Windows for over 20 years. Running it only opens your display settings panel. It cannot harm your computer or install anything.
Why does display.cpl open Settings app in Windows 11?
Microsoft is transitioning users to the modern Settings app. In some Windows 11 builds, display.cpl redirects to Settings > System > Display. However, all the same options remain accessible. If you prefer the traditional Control Panel interface, use third-party tools or access specific settings through other methods like desk.cpl or graphics card control panels.
Can I use display.cpl to fix a black screen?
Not directly while the screen is black, but display.cpl helps prevent black screen issues. If your screen goes black after changing settings, Windows automatically reverts after 15 seconds. To fix persistent black screens, boot into Safe Mode (restart while holding Shift), then run display.cpl to reset resolution and refresh rate to safe defaults.
What’s the difference between display.cpl and desk.cpl?
Both open display settings, but desk.cpl is older terminology from earlier Windows versions. In modern Windows (10 and 11), both commands open the same display settings panel. Display.cpl is the current standard command. Use either one, they work identically.
How do I reset all display settings to default?
Windows doesn’t have a single “reset all” button in display.cpl. To manually reset, open display.cpl and change these back to defaults: resolution to recommended setting, scaling to 100%, orientation to landscape, color profile to sRGB or default, refresh rate to 60Hz. For a complete reset, uninstall your graphics driver in Device Manager and let Windows reinstall it automatically on restart.

- How to Fix Overscan on Windows 11/10: Stop Your Screen Getting Cut Off (2026) - April 1, 2026
- How to Disable Lock Screen on Windows 11/10 in 2026 - April 1, 2026
- Top 7 NFT Integration Ideas for Brands in 2026 - March 31, 2026