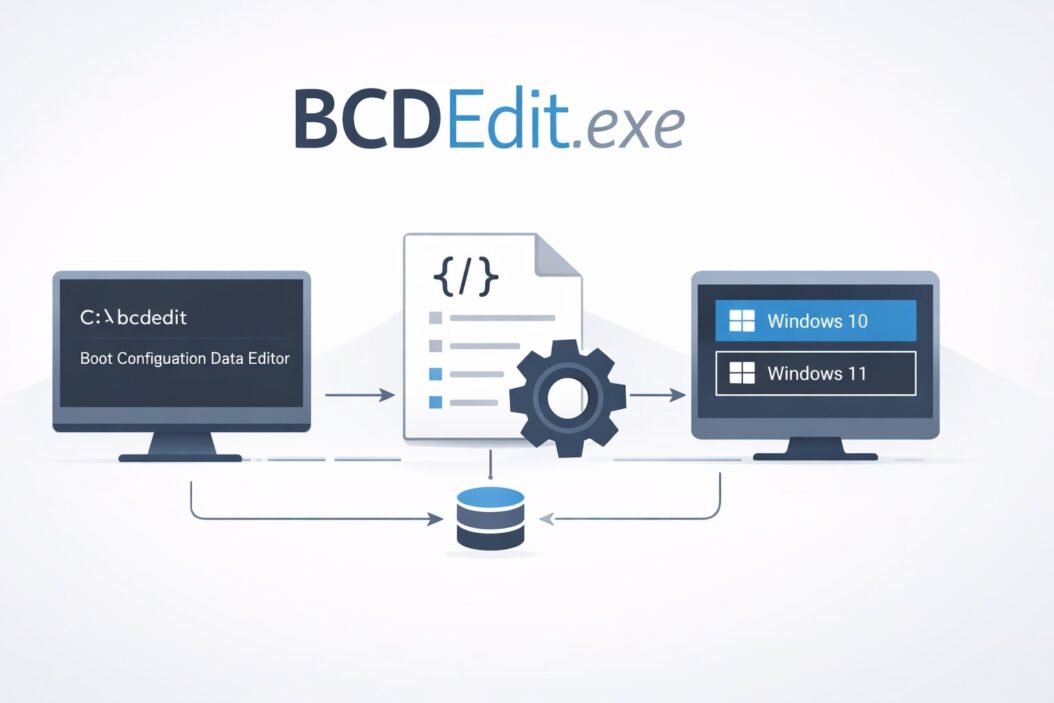
BCDEdit.exe is a command-line tool built into Windows that lets you view and modify the Boot Configuration Data (BCD) store. This store controls how Windows starts up, which operating systems appear in your boot menu, and critical boot settings like safe mode, debugging, and memory limits. If you’ve ever needed to fix boot problems, set up dual-boot systems, or troubleshoot startup issues, BCDEdit is the tool you need.
This guide explains what BCDEdit does, when you need it, and how to use it safely with clear examples.
What is BCDEdit.exe and Why Does It Matter?
BCDEdit.exe replaced the older bootcfg command starting with Windows Vista. It manages the Boot Configuration Data, which is essentially a database that tells your computer how to start Windows. Every time you power on your PC, the boot manager reads this data to know which operating system to load, what settings to use, and how to handle errors.
You’ll find BCDEdit.exe in the C:\Windows\System32 folder on every modern Windows installation (Vista, 7, 8, 10, and 11). The tool only works from an elevated command prompt, meaning you must run it as administrator.
Why you might need BCDEdit:
- Fix boot errors after failed Windows updates
- Configure dual-boot or multi-boot systems
- Enable or disable Windows features like safe mode or test signing
- Adjust memory settings for troubleshooting
- Remove old boot entries that clutter your startup menu
- Configure hypervisor settings for virtualization
How to Access and Use BCDEdit Commands
Opening BCDEdit
- Press Windows key + X
- Select “Command Prompt (Admin)” or “Windows PowerShell (Admin)” or “Terminal (Admin)”
- Click “Yes” when User Account Control asks for permission
- Type
bcdeditand press Enter
You’ll see a list of boot entries and their current settings.
Basic BCDEdit Syntax
Every BCDEdit command follows this pattern:
bcdedit /command [arguments]
The forward slash (/) marks each command. Arguments tell BCDEdit what to modify or display.
Essential BCDEdit Commands You Should Know
Viewing Boot Configuration
Display all boot entries:
bcdedit
This shows every operating system entry, firmware settings, and boot manager configuration. You’ll see identifiers (GUIDs) for each entry, which look like {current} or {ntldr} or long strings like {xxxxxxxx-xxxx-xxxx-xxxx-xxxxxxxxxxxx}.
Display specific entry:
bcdedit /enum {current}
Replace {current} with any identifier to see just that entry’s settings.
Display firmware settings:
bcdedit /enum firmware
Shows UEFI firmware boot entries if you have a UEFI system.
Creating and Copying Boot Entries
Copy an existing entry:
bcdedit /copy {current} /d "Description"
This duplicates the current Windows installation entry. Useful when creating safe mode entries or backup configurations. The /d flag sets the description that appears in your boot menu.
Create a new entry:
bcdedit /create /d "New OS Entry" /application osloader
Creates a fresh boot entry. You’ll get a new GUID that you can then configure with other commands.
Deleting Boot Entries
Remove an entry:
bcdedit /delete {guid}
Replace {guid} with the actual identifier. This permanently removes the entry from your boot menu.
Remove with cleanup:
bcdedit /delete {guid} /cleanup
The /cleanup flag also removes the entry from the boot display order, which keeps your boot menu tidy.
Modifying Boot Configuration with BCDEdit /set
The /set command is where BCDEdit becomes powerful. It changes specific settings for boot entries. The syntax is:
bcdedit /set {identifier} option value
Here are the most useful /set commands:
Change boot menu timeout:
bcdedit /timeout 10
Sets how many seconds the boot menu displays before auto-selecting the default OS. Default is 30 seconds.
Set default operating system:
bcdedit /default {identifier}
Makes a specific boot entry the default choice. Find the identifier with bcdedit /enum.
Enable test signing mode:
bcdedit /set testsigning on
Allows unsigned drivers to load. Needed for driver development or testing. Turn off with testsigning off.
Disable driver signature enforcement:
bcdedit /set nointegritychecks on
Skips driver signature verification. Security risk, only use temporarily for troubleshooting.
Change display resolution:
bcdedit /set {current} graphicsresolution 1920x1080
Sets the boot screen resolution. Helps if you see display issues during startup.
Enable safe mode:
bcdedit /set {current} safeboot minimal
Forces next boot into safe mode. Use safeboot network for safe mode with networking. Remove with /deletevalue {current} safeboot to return to normal boot.
Set memory limits:
bcdedit /set {current} removememory 2048
Reduces available RAM by specified megabytes. Useful for testing how programs behave with less memory.
Enable debugging:
bcdedit /debug on
bcdedit /dbgsettings serial debugport:1 baudrate:115200
Activates kernel debugging over serial port. Mainly for developers.
Configure Data Execution Prevention (DEP):
bcdedit /set {current} nx OptIn
Options are OptIn (default), OptOut, AlwaysOn, or AlwaysOff. Controls memory protection features.
Common BCDEdit Use Cases with Step-by-Step Instructions
Fix “Bootmgr is Missing” Error
This error means the boot manager can’t find its configuration data.
- Boot from Windows installation media
- Choose “Repair your computer”
- Open Command Prompt
- Run:
bootrec /fixmbr - Run:
bootrec /fixboot - Run:
bootrec /rebuildbcd - Type:
exit - Restart computer
If rebuildbcd fails, manually rebuild:
bcdedit /export C:\BCD_Backup
attrib c:\boot\bcd -h -r -s
ren c:\boot\bcd bcd.old
bootrec /rebuildbcd
Remove Old Windows Installation from Boot Menu
After upgrading Windows, old entries sometimes remain.
- Run:
bcdedit - Find the unwanted entry’s identifier
- Run:
bcdedit /delete {identifier} /cleanup - Verify with:
bcdedit
Set Up Dual Boot with Linux
After installing Linux alongside Windows:
- Run:
bcdedit /enum firmware - Find Ubuntu or Linux entry
- Run:
bcdedit /set {bootmgr} displayorder {ubuntu} /addlast - Adjust timeout:
bcdedit /timeout 10
Most Linux installers (like Ubuntu) automatically configure GRUB as the primary bootloader, which then chains to Windows. You typically won’t need BCDEdit for dual-booting with Linux unless you want Windows Boot Manager as primary.
Enable Safe Mode Permanently for Troubleshooting
When you need multiple safe mode sessions:
- Run:
bcdedit /copy {current} /d "Windows 10 Safe Mode" - Note the new GUID returned
- Run:
bcdedit /set {new-guid} safeboot minimal - Optional:
bcdedit /set {new-guid} safeboot networkfor networking
Now you have a permanent safe mode option in your boot menu. Select it when needed.
Reset All Boot Configuration to Default
If you’ve made changes that broke booting:
- Boot from installation media
- Access Command Prompt in recovery
- Run:
bcdedit /export C:\BCD_Backup - Run:
attrib c:\boot\bcd -h -r -s - Run:
del c:\boot\bcd - Run:
bcdboot C:\Windows /s C:(replace C: with your Windows drive)
This rebuilds BCD from scratch using your current Windows installation.
BCDEdit Command Reference Table
| Command | Purpose | Example |
|---|---|---|
/enum | Display boot entries | bcdedit /enum all |
/set | Modify boot option | bcdedit /set {current} nx AlwaysOn |
/deletevalue | Remove option setting | bcdedit /deletevalue {current} safeboot |
/create | Create new entry | bcdedit /create /d "New Entry" /application osloader |
/copy | Duplicate entry | bcdedit /copy {current} /d "Copy" |
/delete | Remove entry | bcdedit /delete {guid} |
/default | Set default OS | bcdedit /default {current} |
/displayorder | Set menu order | bcdedit /displayorder {id1} {id2} |
/timeout | Set menu timeout | bcdedit /timeout 5 |
/export | Backup BCD store | bcdedit /export C:\bcd_backup |
/import | Restore BCD store | bcdedit /import C:\bcd_backup |
Important BCDEdit Options for /set Command
| Option | Values | Purpose |
|---|---|---|
testsigning | on, off | Allow unsigned drivers |
nointegritychecks | on, off | Disable driver signature checks |
safeboot | minimal, network | Boot into safe mode |
bootmenupolicy | legacy, standard | Boot menu style |
nx | OptIn, OptOut, AlwaysOn, AlwaysOff | DEP settings |
pae | Default, ForceEnable, ForceDisable | Physical Address Extension |
graphicsresolution | widthxheight | Boot display resolution |
removememory | megabytes | Reduce available RAM |
hypervisorlaunchtype | auto, off | Hyper-V startup |
Safety Tips and Best Practices
Always backup before making changes:
bcdedit /export C:\BCD_Backup
You can restore with:
bcdedit /import C:\BCD_Backup
Use identifiers carefully. Modifying the wrong entry can make Windows unbootable. Always verify with bcdedit /enum first.
Make incremental changes. Change one setting, test it, then proceed. Don’t modify five settings at once.
Document what you change. Write down commands you run. Makes troubleshooting easier.
Avoid editing BCD store files directly. Always use BCDEdit rather than registry editors or third-party tools. Direct edits can corrupt the store.
Keep Windows installation media ready. If something breaks, you need recovery tools to fix BCD.
Research before using unfamiliar options. Some settings interact with hardware or security features in complex ways. Microsoft’s BCDEdit documentation at https://learn.microsoft.com/en-us/windows-hardware/drivers/devtest/bcdedit–set provides detailed option descriptions.
Troubleshooting Common BCDEdit Problems
“The boot configuration data store could not be opened”
This error means you’re not running as administrator or the BCD store is corrupted.
Solution:
- Close command prompt
- Right-click Command Prompt or PowerShell
- Select “Run as administrator”
- Try command again
If still failing, boot to recovery environment and rebuild BCD as shown earlier.
Changes Don’t Take Effect
Some settings require specific boot sequences or additional configurations.
Solution:
- Restart computer after making changes
- Verify changes with
bcdedit /enum - Check if conflicting settings exist
- Some changes only apply after clean boot, not restart
Boot Menu Doesn’t Appear
If timeout is too short or only one OS exists, you won’t see the menu.
Solution:
bcdedit /timeout 10
bcdedit /set {bootmgr} displaybootmenu yes
Can’t Delete Boot Entry
Entry might be protected or set as default.
Solution:
bcdedit /default {different-entry}
bcdedit /delete {unwanted-entry} /cleanup
Advanced BCDEdit Configurations
Creating Custom Boot Entry for VHD
Virtual Hard Disk booting lets you run Windows from a VHD file.
bcdedit /copy {current} /d "Windows from VHD"
bcdedit /set {guid} device vhd=[C:]\path\to\file.vhdx
bcdedit /set {guid} osdevice vhd=[C:]\path\to\file.vhdx
bcdedit /set {guid} detecthal on
Configure Hyper-V Settings
Control hypervisor behavior for virtualization:
bcdedit /set hypervisorlaunchtype auto
bcdedit /set {current} hypervisorloadoptions "DISABLE_TPMERRORS"
Turn off hypervisor:
bcdedit /set hypervisorlaunchtype off
Enable Kernel Debugging Over Network
For advanced troubleshooting:
bcdedit /debug on
bcdedit /dbgsettings net hostip:192.168.1.10 port:50000
Alternatives to BCDEdit
For users uncomfortable with command line, several GUI tools exist:
EasyBCD (free for personal use) provides a graphical interface for common BCDEdit tasks. Good for managing dual-boot configurations.
Visual BCD Editor offers another GUI option with more advanced features.
Windows System Configuration (msconfig) handles basic boot options like safe mode, but doesn’t provide full BCD control.
These tools ultimately call BCDEdit in the background. Learning BCDEdit directly gives you more control and works in recovery scenarios where GUI tools aren’t available.
Summary
BCDEdit.exe is Windows’ essential tool for managing boot configuration. It gives you direct control over how your computer starts, which operating systems appear in your boot menu, and critical system settings that affect startup behavior. While powerful, BCDEdit requires care. Always backup your BCD store before making changes, use administrator privileges, and test changes incrementally.
The most common uses involve fixing boot problems, setting up multi-boot systems, enabling safe mode, and adjusting startup timeouts. Master the basic commands (/enum, /set, /delete, /copy) and you’ll handle most boot-related issues confidently.
Remember that BCDEdit changes take effect immediately but may require a restart to see results. If you break something, Windows recovery tools and installation media let you rebuild or restore your boot configuration.
Frequently Asked Questions
Can I use BCDEdit on Windows 11?
Yes. BCDEdit works on all Windows versions from Vista through Windows 11. The commands and syntax remain consistent across versions, though some newer options exist for Windows 10 and 11 features like hypervisor settings.
What happens if I delete the wrong boot entry?
If you delete your current Windows entry, your computer won’t boot. You’ll need to boot from Windows installation media, access the recovery command prompt, and use bootrec /rebuildbcd to recreate the entry. This is why backing up with /export before making changes is critical.
How do I remove the “Previous Version of Windows” entry?
After upgrading Windows, an old entry sometimes remains. Use bcdedit to find its identifier, then run bcdedit /delete {identifier} /cleanup. Alternatively, run Disk Cleanup, check “Previous Windows installations,” and let Windows remove it automatically.
Is it safe to enable test signing mode?
Test signing allows unsigned drivers to load, which creates security risks. Only enable it temporarily when you need to test development drivers or troubleshoot specific driver issues. Always turn it off afterward with bcdedit /set testsigning off. Your desktop will show a watermark while test signing is active.
Can BCDEdit fix a computer that won’t boot at all?
Not directly if Windows won’t start. You need to boot from installation media or a recovery drive first. Once in the recovery command prompt, you can use BCDEdit along with other tools like bootrec to repair boot configuration. The recovery environment includes BCDEdit, so you can rebuild or restore your BCD store even when Windows won’t load.
