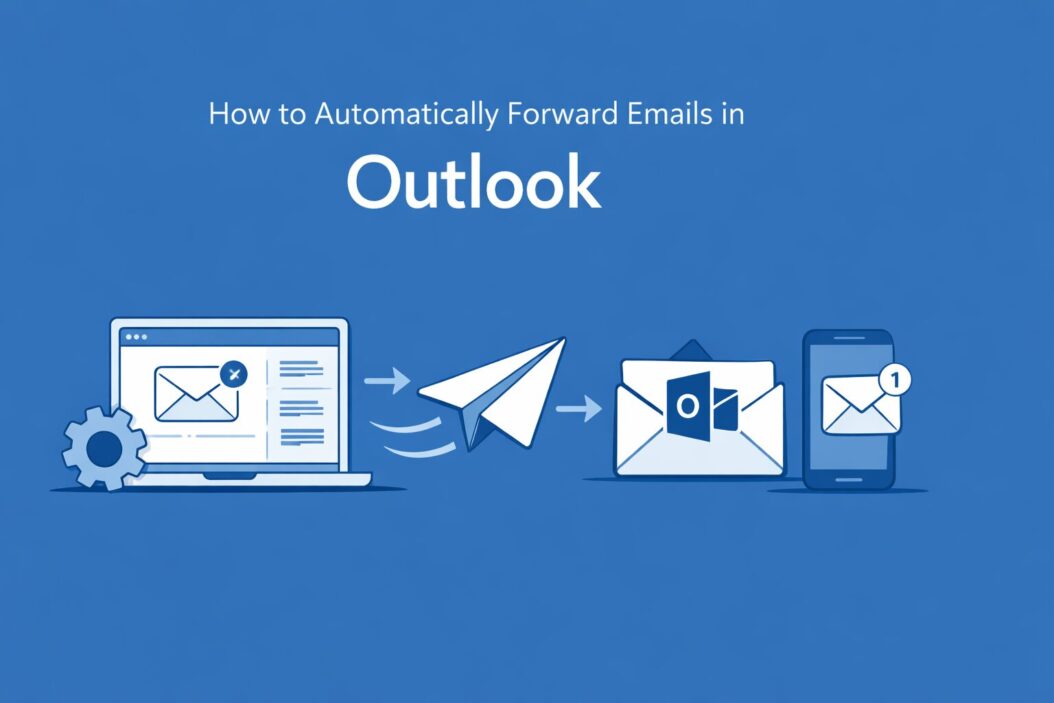
If you want to automatically forward emails in Outlook, you have two main options: use a rule to forward specific emails, or turn on automatic forwarding for all messages. Both methods work in Outlook for Windows, Mac, and the web version. This guide covers every version, step by step.
Why Auto-Forwarding Emails Matters
People forward emails automatically for real, practical reasons:
- You are switching jobs and want a copy of work emails during the transition
- You manage multiple email accounts and want everything in one inbox
- You are going on leave and need someone else to receive your messages
- You run a shared team inbox and want copies sent to each team member
Whatever your reason, Outlook has built-in tools to handle this without any third-party software.
Method 1: How to Automatically Forward Emails in Outlook Using Rules
This is the most flexible method. Rules let you forward specific emails based on sender, subject, keyword, or any combination. You can also forward all emails using this method.
Step 1: Open the Rules Settings
In Outlook for Windows (Microsoft 365 / Outlook 2021/2019):
- Open Outlook
- Click the Home tab in the ribbon
- Click Rules in the toolbar
- Select Manage Rules and Alerts
In Outlook on the Web (OWA):
- Go to outlook.office.com
- Click the Settings gear icon (top right)
- Click View all Outlook settings
- Go to Mail then Rules
- Click Add new rule
Step 2: Create a New Rule
In Outlook for Windows:
- Click New Rule
- Choose Apply rule on messages I receive
- Click Next
Step 3: Set Your Conditions
If you want to forward all incoming emails, leave all condition boxes unchecked and click Next. Outlook will ask you to confirm. Click Yes.
If you want to forward only specific emails, check conditions like:
- From people or public group (forward from a specific sender)
- With specific words in the subject (forward emails about a certain project)
- Sent only to me (forward emails where you are the only recipient)
Step 4: Choose the Forward Action
- Check Forward it to people or public group
- Click the blue link that says people or public group
- Type the email address you want to forward to
- Click OK
Step 5: Name and Save the Rule
- Give the rule a name (example: “Forward all to Gmail”)
- Check Turn on this rule
- Click Finish
Your rule is now active. Every email that matches your condition will be automatically forwarded.
Method 2: Auto-Forward All Emails in Outlook on the Web
This is the fastest way to forward every incoming email to another address.
- Go to outlook.office.com
- Click the Settings gear icon
- Click View all Outlook settings
- Go to Mail then Forwarding
- Turn on Enable forwarding
- Enter the forwarding address
- Optional: Check Keep a copy of forwarded messages if you want the original to stay in your inbox too
- Click Save
Done. All new emails will now be forwarded automatically.
Note: In many Microsoft 365 business accounts, your IT admin may have disabled external forwarding. If you do not see the forwarding option, contact your administrator.
Method 3: Auto-Forward Emails in Outlook for Mac
The Mac version of Outlook works slightly differently.
- Open Outlook on your Mac
- Go to Tools in the top menu
- Click Rules
- Select your account on the left
- Click the + button to add a new rule
- Set your conditions (or leave blank to apply to all messages)
- Under Do the following, select Forward to
- Enter the email address
- Click OK
The rule activates immediately for all incoming messages.
Forwarding Comparison: Which Method Should You Use?
| Method | Best For | Works On | Forward All Emails | Forward Specific Emails |
|---|---|---|---|---|
| Outlook Rules (Windows) | Granular control | Desktop app | Yes | Yes |
| Forwarding Setting (OWA) | Quick setup | Browser | Yes | No |
| Outlook Rules (Mac) | Mac users | Mac app | Yes | Yes |
| Server-side Rules (Admin) | Company-wide forwarding | Admin Center | Yes | Yes |
How to Forward Emails to Multiple Addresses
Outlook rules do not allow you to forward to more than one address in a single action, but you can work around this easily.
Option 1: Create multiple rules Set up one rule that forwards to Address A and another rule that also forwards to Address B. Both will run on the same incoming emails.
Option 2: Use a distribution list Create a group or distribution list in Outlook that includes all your addresses. Then forward to that group. One rule, multiple recipients.
Option 3: Use a contact group Go to your Contacts, create a contact group with all the addresses, and select that group in the forwarding rule.
How to Stop Automatic Email Forwarding in Outlook
When you no longer need forwarding, turn it off in the same place you set it up.
To turn off a rule:
- Go to Home, Rules, Manage Rules and Alerts
- Uncheck the box next to the forwarding rule
- Or click Delete to remove it entirely
To turn off the forwarding setting (OWA):
- Go to Settings, View all Outlook settings, Mail, Forwarding
- Toggle off Enable forwarding
- Click Save
Common Problems and How to Fix Them
Emails are not forwarding
- Check that the rule is turned on (the checkbox is checked)
- Make sure the rule is at the top of the list (rules run in order)
- Confirm the destination email address is typed correctly
- In corporate accounts, check with IT whether external forwarding is blocked
Forwarding is disabled by your organization
Microsoft 365 admins can block external forwarding at the tenant level. This is a security policy. You cannot override it yourself. Ask your IT team if you have a legitimate business need.
Emails are being forwarded but also marking as read
Add a second action to your rule: Mark it as unread. This keeps new forwarded emails visible in your inbox.
The forwarded email shows your name, not the original sender
This is normal behavior. Outlook forwards the message from your account. The original sender information appears in the body and headers of the forwarded email, but the “from” address will be yours. If you need the original sender preserved, look into your organization’s shared mailbox setup.
Auto-Forwarding vs. Redirect: What Is the Difference?
Many people confuse these two.
| Feature | Forward | Redirect |
|---|---|---|
| Shows original sender | In body/headers only | Yes, in “From” field |
| Reply goes to | You | Original sender |
| Available in | All Outlook versions | Outlook for Windows only |
| Use case | Personal forwarding | Passing emails along transparently |
To use Redirect in Outlook for Windows: In the Rules wizard, instead of choosing Forward it to, choose Redirect it to. The recipient will see the original sender’s email address in the From field.
Security Note: Be Careful With Auto-Forwarding
Automatic email forwarding is a common attack vector. If someone gets access to your Outlook account, they can set up a silent forwarding rule to send all your emails to an external address without you knowing.
Best practices to stay safe:
- Regularly check your active rules in Outlook
- Review your forwarding settings every few months
- Enable multi-factor authentication on your Microsoft account
- If you are an admin, use Microsoft’s anti-spam outbound policies to control forwarding at the organizational level
Conclusion
Setting up automatic email forwarding in Outlook is straightforward once you know where to look. For most people, the Rules method gives the most control. If you just want to forward everything quickly, the Forwarding setting in Outlook on the Web is the fastest option. Mac users can rely on the Rules menu under Tools. Whichever method you choose, the setup takes under five minutes and works reliably as long as your organization allows it. Check your rules regularly, use strong account security, and forwarding will work quietly in the background without any issues.
Frequently Asked Questions
Can I automatically forward emails in Outlook without the sender knowing?
Yes. When you set up a forwarding rule, the original sender receives no notification. The email is silently copied or forwarded to your chosen address. However, your IT administrator can see forwarding rules if they audit your account.
Does auto-forwarding in Outlook work when I am offline?
If you use Outlook on the Web or have server-side rules set up, yes. Forwarding happens on Microsoft’s servers, not your local machine. Your computer does not need to be on. Desktop-only rules may require Outlook to be open depending on how they are configured.
Can I forward emails from a shared mailbox in Outlook?
Yes, but you need the right permissions. You must have Full Access or Send As permissions on the shared mailbox. Once you do, you can create rules for that mailbox in the same way. In Outlook on the Web, log in as the shared mailbox user or access it from your own account and navigate to its settings.
Why is the forwarding option missing in my Outlook settings?
Your Microsoft 365 administrator has likely disabled external email forwarding. This is a common security setting in corporate environments. You will need to contact your IT department and request that they either enable it for your account or set up the forwarding at the admin level using an Exchange transport rule.
How many forwarding rules can I create in Outlook?
Outlook does not publish a strict limit on the number of rules, but each rule takes up space in your mailbox rule storage (typically capped at 256KB per mailbox in Exchange). In practice, most users can create dozens of rules before hitting any limit. If you get an error saying rules cannot be saved, delete old or unused rules to free up space.
