If your GPU works fine in most programs but crashes, stutters, or acts up in one specific app, you have an app-specific GPU problem. The fix is usually not a hardware issue. It is almost always a driver setting, software configuration, or a conflict between the app and how your system assigns GPU resources.
This guide will walk you through every real cause and every real fix, step by step.
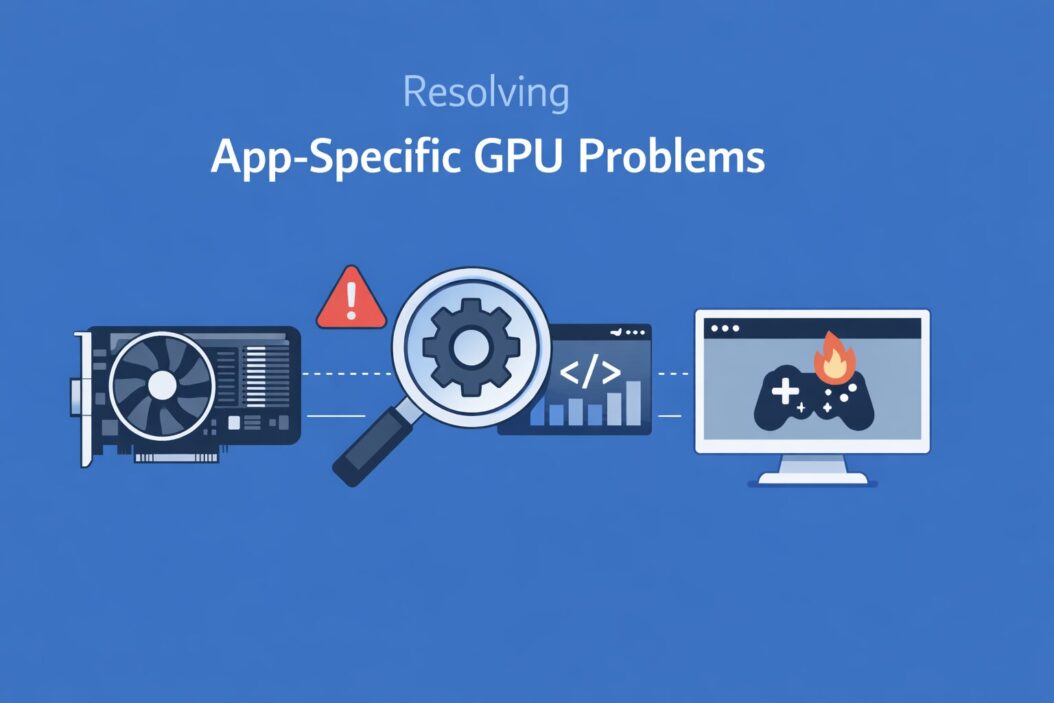
Why App-Specific GPU Problems Happen
Your GPU does not behave the same way in every app. Each application talks to the GPU through its own pipeline, using APIs like DirectX, Vulkan, OpenGL, or Metal. When that pipeline breaks or conflicts, only that app suffers.
Here are the most common root causes:
- The app is using the wrong GPU (integrated instead of dedicated, or vice versa)
- The driver has a bug specific to that app’s API version
- The app’s graphics settings exceed what your GPU can handle
- A software overlay (Discord, Steam, GeForce Experience) is conflicting
- The app is running outdated shaders or render cache
- Power management is throttling your GPU mid-session
- The app has a corrupted local config or settings file
Understanding the cause saves you hours. You do not need to reinstall Windows to fix most of these.
Step 1: Confirm the Problem Is App-Specific
Before you change anything, verify that the issue is isolated to one application.
Run a GPU stress test using a tool like 3DMark or FurMark. If your GPU runs cleanly at full load there but fails in your target app, the hardware is not the problem.
Also check:
- Does the same app crash on a fresh user account on the same machine?
- Does the problem happen on integrated graphics too?
- Did the problem start after a driver update, app update, or Windows update?
Your answers will guide which fix to try first.
Step 2: Check Which GPU the App Is Using
On a laptop or any system with both integrated and dedicated graphics, apps sometimes pick the wrong GPU. This causes poor performance, crashes, or visual glitches because the integrated GPU cannot handle the workload.
On Windows 11 and Windows 10
- Open Settings
- Go to System > Display > Graphics
- Scroll down to find your app in the list
- Click the app and select Options
- Set it to High Performance (your dedicated GPU)
If your app is not listed, click Browse and find the executable manually.
On NVIDIA Systems
Open NVIDIA Control Panel. Go to Manage 3D Settings > Program Settings. Add your app and set the preferred graphics processor to your dedicated NVIDIA GPU.
On AMD Systems
Open AMD Software (Adrenalin). Go to Gaming > Games. Find your game or app and set the GPU preference to your discrete AMD card.
This single fix resolves a large number of app-specific GPU complaints, especially on laptops.
Step 3: Update or Roll Back the GPU Driver
Drivers are the most common cause of app-specific GPU problems. A new driver can break compatibility with a specific game engine or API. An old driver may lack support for a newer feature the app depends on.
How to Update the Driver Properly
Do not use Windows Update for this. Use the manufacturer’s tool:
- NVIDIA: Use GeForce Experience or download from nvidia.com
- AMD: Use AMD Software or download from amd.com
- Intel: Use Intel Driver and Support Assistant or download from intel.com
Always do a clean install. On NVIDIA, check the “Clean install” option during setup. On AMD, use DDU (Display Driver Uninstaller) first for the cleanest result.
When to Roll Back Instead
If the problem started right after a driver update, rolling back is often faster than anything else.
On Windows: Device Manager > Display Adapters > Right-click your GPU > Properties > Driver tab > Roll Back Driver.
Keep a note of which driver version worked. You can always lock your driver and hide the update through Windows Update settings.
Step 4: Fix App-Level Graphics Settings
Many apps have their own internal graphics settings that can cause GPU problems completely independent of your system settings.
Common Culprits Inside Apps
Resolution scale set too high. Some apps let you render at 150% or 200% of your screen resolution. This can cause GPU memory overflow crashes that look like driver failures.
API forced to incompatible mode. Some games let you choose between DirectX 11, DirectX 12, and Vulkan. If one is crashing, switch to another. DX11 is the most stable fallback for older GPUs. Vulkan and DX12 can be faster on modern hardware but require proper driver support.
Ray tracing or hardware acceleration enabled on unsupported GPU. Not every GPU supports every feature. Enabling ray tracing on a GPU that does not support it hardware-accelerated will cause crashes or extreme slowdowns.
Anti-aliasing method mismatch. TAA, DLSS, FSR, and MSAA all stress the GPU differently. If the app is crashing at a specific quality level, try a different AA method or disable it temporarily.
How to Reset App Settings
If you cannot get into the app because it crashes on launch, find the config file and delete or rename it. The app will regenerate default settings on next launch.
Common locations for config files:
- Windows:
%AppData%\[AppName]or%LocalAppData%\[AppName] - Steam games:
C:\Users\[Username]\Documents\[GameName] - Linux:
~/.config/[AppName]or~/.local/share/[AppName]
This is one of the most underused fixes. A corrupted settings file causes reproducible crashes that no driver update will ever solve.
Step 5: Disable Overlays and Background Apps
GPU overlays inject code into the rendering pipeline of your app. When that injection fails or conflicts, it causes crashes, black screens, or performance drops in only that app.
Overlays to check and temporarily disable:
- Discord overlay (Settings > Overlay > disable per-game)
- Steam overlay (Steam > Settings > In-Game > uncheck Enable Steam Overlay)
- GeForce Experience in-game overlay (Alt+Z shortcut, or disable in settings)
- AMD Radeon overlay
- Xbox Game Bar (Windows key + G to access, or disable in Windows Settings)
- MSI Afterburner / RivaTuner Statistics Server
- OBS virtual camera or capture sources
Test the app with all of these disabled. If it works, re-enable them one at a time to find the conflict.
Step 6: Check GPU Temperature and Power Limits
Your GPU will deliberately reduce performance or crash if it overheats or hits a power cap. This often appears as stuttering that gets worse over time, or crashes after 10 to 30 minutes of use.
How to Monitor GPU Temperature
Use GPU-Z or HWiNFO64 to monitor temperatures in real time. Healthy operating temperatures:
| GPU Type | Normal Load Temp | Warning Zone |
|---|---|---|
| Desktop GPU (NVIDIA/AMD) | 65 to 83°C | Above 90°C |
| Laptop GPU | 75 to 88°C | Above 95°C |
| Intel Arc / Integrated | 60 to 75°C | Above 85°C |
If your GPU hits the warning zone, the problem is thermal. Clean the fans, repaste if needed, and improve case airflow.
Power Limit Issues on Laptops
Laptops often cap GPU power to protect battery life or manage heat. Some apps trigger higher power demands than others. If your app specifically suffers, try:
- Plugging in your laptop and setting the power mode to Best Performance
- Checking if the manufacturer’s software (Armory Crate, Dragon Center, OMEN Hub) has a performance mode
- Disabling battery saving features in Windows power settings
Step 7: Clear Shader Cache and Rebuild It
Apps that use DirectX 12 or Vulkan compile and cache shaders the first time you run them. If this cache is corrupted, you get stutters, black screens, or crashes only in that app.
How to Clear Shader Cache on Windows
- Close the app completely
- Open Disk Cleanup or manually go to
%LocalAppData%\NVIDIA\DXCacheand delete contents - For AMD: delete
%LocalAppData%\AMD\DXCache - For Steam games: Right-click the game > Properties > Local Files > Browse, then find and delete any shader cache folders
You can also delete the entire DirectX shader cache through Windows Disk Cleanup by checking “DirectX Shader Cache.”
The app will rebuild the cache on next launch. This takes a few extra seconds but fixes stuttering caused by corrupted shaders.
Step 8: Check for API-Specific Conflicts
Some apps break on specific API versions. This is more common than people think.
DirectX Problems
If a DirectX 12 app is crashing, force it to DirectX 11 in the launch options or config file. Many apps support this with a command-line flag:
- For many games: add
-dx11or--use-dx11to launch options
Check the app’s documentation for the correct flag.
Vulkan Problems
Vulkan has excellent performance but is the most sensitive to driver version. If a Vulkan app is crashing:
- Make sure your driver is fully up to date (Vulkan support improves with every release)
- Check if a Vulkan validation layer is accidentally enabled (some dev tools leave this on)
- On Linux, run the app with
MESA_DEBUG=0to suppress error spam that can slow things down
OpenGL Problems
OpenGL is older but still used in many creative tools (Blender, AutoCAD, some video editors). Problems here are usually solved by:
- Updating to the latest driver
- Disabling hardware acceleration in the app’s settings if it offers software rendering as a fallback
Step 9: Reinstall or Verify the App’s Files
Corrupted installation files cause GPU errors that look like driver or hardware problems. The app may call a GPU function incorrectly because its own binary is broken.
For Steam games: Right-click the game > Properties > Local Files > Verify Integrity of Game Files.
For other apps: uninstall cleanly (use Revo Uninstaller or similar to remove leftover registry entries), then reinstall fresh.
This sounds basic, but it solves a meaningful percentage of app-specific GPU crashes, especially after failed updates.
Step 10: Advanced Fixes for Persistent Problems
If you have tried everything above and one app still has GPU problems, here are the deeper fixes.
GPU Underclocking for Stability
Some GPUs are factory overclocked to the edge of stability. A specific app’s workload can push it past that edge. Use MSI Afterburner to reduce the GPU core clock by 50 to 100 MHz and test again. This is not a permanent fix but confirms whether the GPU is the root cause.
TDR (Timeout Detection and Recovery) Adjustments
Windows has a feature called TDR that kills and restarts the GPU driver if it stops responding. If your app is causing TDR events (you see “Display driver stopped responding and has recovered”), the TDR timeout may be triggering too fast.
You can increase the TDR delay through the registry:
- Open Regedit
- Navigate to
HKEY_LOCAL_MACHINE\SYSTEM\CurrentControlSet\Control\GraphicsDrivers - Create a DWORD value named
TdrDelayand set it to 8 (seconds, up from the default of 2)
This gives the GPU driver more time to recover before Windows intervenes. It does not fix the root cause but can prevent crashes while you investigate.
Check Windows Event Viewer
Go to Event Viewer > Windows Logs > System and look for errors with source “Display” or “nvlddmkm” (NVIDIA) or “amdkmdag” (AMD). These entries often contain the specific error code that tells you exactly what went wrong.
Cross-reference the error code with Microsoft’s DirectX diagnostic documentation for technical details on API-level failures.
Common App-Specific GPU Problems and Their Fixes
| Problem | Most Likely Cause | Primary Fix |
|---|---|---|
| Game crashes 10 min after launch | GPU overheating | Clean GPU, check fans |
| Black screen on app launch | Wrong GPU selected | Set preferred GPU in Windows/NVIDIA/AMD settings |
| Stuttering only in one game | Corrupted shader cache | Clear DXCache and rebuild |
| Low FPS in one app only | App using integrated GPU | Force dedicated GPU in control panel |
| Crash with DirectX error | API version mismatch | Switch to DX11 in launch options |
| Visual artifacts in one app | Driver bug | Update or roll back driver |
| App crash after overlay shows | Overlay conflict | Disable all overlays and test |
| Game freezes after Windows update | Driver broken by update | Roll back driver or reinstall clean |
Conclusion
Resolving app-specific GPU problems in 2026 is mostly about elimination. Work through the list methodically: confirm the problem is isolated, check which GPU the app is using, update or roll back the driver, clear caches, disable overlays, and verify the app files. Most problems are solved within the first three steps.
The key insight is that a problem in one app almost never means your GPU is dying. It means the connection between that app and your GPU is broken somewhere in the software stack. Find where it breaks, and you have your fix.
Save your working driver version. Keep your shader cache clear. Pay attention to when problems started. These habits make GPU troubleshooting fast instead of frustrating.
Frequently Asked Questions
Why does my GPU crash in one game but work fine everywhere else?
Each game uses the GPU differently. A crash in one game usually means that game’s specific combination of API calls, resolution, and draw calls is hitting a bug in your current driver, a thermal limit, or a misconfigured graphics setting. The fix is almost always driver-related or inside the game’s own settings, not a hardware failure.
How do I know if my GPU is actually broken or if it is a software problem?
Run FurMark or 3DMark for 20 to 30 minutes at full load. If it passes without errors, your GPU hardware is fine. If it crashes during the stress test, you may have a hardware issue or a severe overheating problem. App-specific crashes with a clean stress test result are always software.
Can a Windows update break GPU performance in one specific app?
Yes. Windows updates sometimes install generic GPU drivers that override your manufacturer’s driver. They can also update DirectX components that break compatibility with older games. Check your driver version after any major Windows update and reinstall the manufacturer driver if needed.
What is the fastest fix to try first when an app has GPU problems?
The fastest fix is checking which GPU the app is using. On laptops especially, many apps default to the integrated GPU. Setting the app to use your dedicated GPU through Windows Graphics Settings or NVIDIA/AMD Control Panel takes two minutes and solves a large percentage of app-specific GPU complaints instantly.
Does uninstalling and reinstalling an app fix GPU problems?
Sometimes, yes. If the app has corrupted its own shaders, config files, or binaries, a clean reinstall resets all of that. Always verify file integrity through Steam or your launcher first before a full reinstall, since verification is faster and finds corrupted files without removing your save data.

- How to Add BCC in Outlook: Complete Step-by-Step Guide (2026) - April 5, 2026
- How to Check Samsung Warranty in 2026: Complete Step-by-Step Guide - April 3, 2026
- How to Access Computer Configuration Settings in Windows 11/10 - April 3, 2026