Virtual desktops on Windows 11 let you create multiple separate workspaces on one PC. Each desktop holds its own set of open windows and apps. You switch between them instantly without closing anything. It keeps your work organized, your focus sharp, and your screen clean.
This guide covers everything: how to create, use, rename, customize, and delete virtual desktops on Windows 11. Whether you are new to this feature or want to get more out of it, every section below is practical and direct.
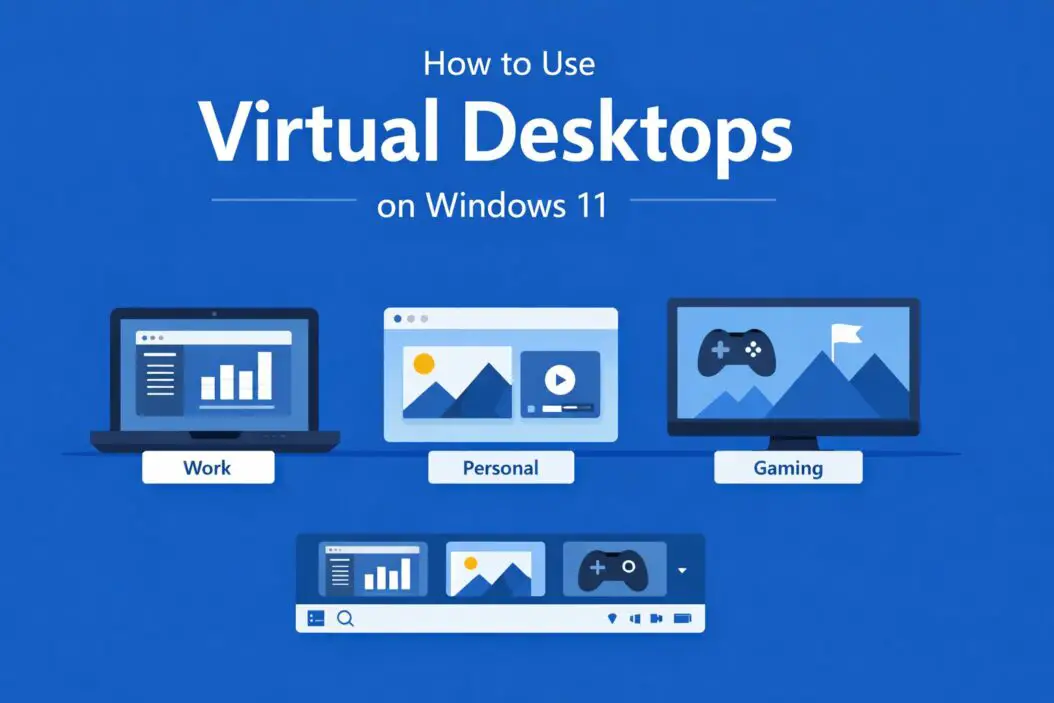
What Are Virtual Desktops on Windows 11?
Think of virtual desktops as separate rooms in the same house. Your PC stays the same. But you can have one desktop for work, one for personal browsing, and one for entertainment. Windows does not mix them up. You move between rooms without packing anything away.
This is different from minimizing windows. When you minimize, everything is still technically on the same desktop. Virtual desktops separate apps completely. You only see what belongs to that space.
Windows 11 improved this feature significantly compared to Windows 10. You can now give each desktop a custom name and a unique background wallpaper. That makes it easier to know where you are at a glance.
How to Open Task View (The Control Center for Virtual Desktops)
Task View is where you manage all your virtual desktops. There are three ways to open it.
Method 1: Keyboard Shortcut Press Windows key + Tab. This is the fastest way. Task View opens immediately and shows all your current desktops at the top of the screen.
Method 2: Taskbar Icon Look at the taskbar. There is a small icon that looks like two overlapping rectangles. Click it. If you do not see it, right-click the taskbar, select Taskbar settings, and turn on the Task View toggle.
Method 3: Three-Finger Swipe If you have a touchpad, swipe up with three fingers. This opens Task View without touching the keyboard.
How to Create a New Virtual Desktop
Once Task View is open, here is how to add a desktop.
- Open Task View using any method above.
- Look at the top of the screen. You will see your current desktops displayed as thumbnails.
- Click the + New Desktop button on the right side of the desktop row.
- A new desktop appears instantly. It is empty and ready to use.
You can create as many desktops as you need. There is no hard limit set by Windows 11. In practice, most people find three to five desktops plenty.
Keyboard shortcut to create a new desktop: Press Ctrl + Windows key + D. This creates a new desktop and switches you to it immediately without even opening Task View.
How to Switch Between Virtual Desktops
Switching is fast once you know the shortcuts.
Keyboard shortcut: Press Ctrl + Windows key + Left Arrow or Ctrl + Windows key + Right Arrow to move between desktops one by one. This works from anywhere, no need to open Task View.
From Task View: Open Task View and click any desktop thumbnail at the top. Windows switches you there instantly.
Touchpad gesture: Swipe left or right with four fingers. This moves you between desktops without the keyboard or Task View.
How to Rename a Virtual Desktop
Windows 11 lets you give each desktop a custom name. This helps a lot when you have several open.
- Open Task View.
- Look at the desktop thumbnails at the top.
- Double-click the name below any thumbnail. By default, they are named Desktop 1, Desktop 2, and so on.
- Type your new name.
- Press Enter to save it.
Good names make a real difference. Names like “Work,” “Research,” “Client Project,” or “Gaming” let you know exactly where to go without thinking. You will save mental energy every time you switch.
How to Change the Wallpaper for Each Virtual Desktop
This is one of the best features Windows 11 added. A unique wallpaper on each desktop gives you an instant visual cue about which space you are in.
- Open Task View.
- Right-click on any desktop thumbnail.
- Select Choose background.
- Windows opens the Personalization settings for that specific desktop.
- Pick a wallpaper from the list or browse for an image on your PC.
Each desktop now has its own look. For example, use a calm blue image for your work desktop and a vibrant one for personal use. Your eyes will know where you are before your brain even registers it.
How to Move a Window to a Different Virtual Desktop
Sometimes you open something on the wrong desktop. Moving it is simple.
Method 1: From Task View
- Open Task View.
- Find the window you want to move in the current desktop preview.
- Right-click the window thumbnail.
- Select Move to and choose the destination desktop.
Method 2: Drag and Drop
- Open Task View.
- Click and hold the window thumbnail.
- Drag it to the target desktop at the top of the screen.
- Release. The window moves there immediately.
How to Show an App on All Desktops
Some apps are useful no matter which desktop you are on. A music player or a messaging app is a good example. You can pin any window to appear on every desktop.
- Open Task View.
- Right-click the window thumbnail.
- Select Show this window on all desktops.
The app will now be visible no matter which desktop you switch to. If you want the entire app (including all its windows) to appear everywhere, select Show windows from this app on all desktops instead.
To undo this, right-click again and deselect the option.
How to Delete a Virtual Desktop
When you are done with a desktop, removing it takes two seconds.
Method 1: From Task View
- Open Task View.
- Hover over the desktop thumbnail you want to close.
- A small X appears in the top-right corner of the thumbnail.
- Click it.
Method 2: Keyboard shortcut Switch to the desktop you want to close, then press Ctrl + Windows key + F4. It closes immediately.
What happens to your open windows? Windows does not close them. Any open apps or windows on the deleted desktop move automatically to the adjacent desktop. Nothing gets lost.
Keyboard Shortcuts for Virtual Desktops
| Action | Shortcut |
|---|---|
| Open Task View | Windows key + Tab |
| Create a new desktop | Ctrl + Windows key + D |
| Switch to desktop on the right | Ctrl + Windows key + Right Arrow |
| Switch to desktop on the left | Ctrl + Windows key + Left Arrow |
| Close current desktop | Ctrl + Windows key + F4 |
| Snap window to left half | Windows key + Left Arrow |
| Snap window to right half | Windows key + Right Arrow |
Learning these shortcuts is worth the ten minutes of practice. After a few days, your hands do it automatically.
Practical Ways to Use Virtual Desktops
Knowing how to create them is one thing. Knowing how to actually benefit from them is another. Here are setups that work well in real life.
Setup 1: Work and Personal Split
Desktop 1: Work apps. Email, spreadsheets, your project management tool, and your browser with work tabs. Desktop 2: Personal. Messaging apps, social media, or anything unrelated to work.
When a work call comes in, you are already on your work desktop. Your personal stuff is invisible. Zero distraction.
Setup 2: Project-Based Workflow
If you handle multiple projects, give each one its own desktop. Desktop 1 might be the client website you are building. Desktop 2 is your admin tasks. Desktop 3 is research.
Each desktop has the exact windows and browser tabs for that project. No hunting. No shuffling windows around.
Setup 3: Focus Mode
Create a clean desktop with only one app open: the thing you need to work on. Your main desktop can be as cluttered as you like. Your focus desktop stays pure.
For more productivity techniques that pair well with this, Microsoft has useful guidance on Windows 11 productivity features including virtual desktops, Snap Assist, and Focus sessions.
Setup 4: Media and Work
Desktop 1: Work. Desktop 2: A media player or YouTube open, ready to switch to when you need a break.
No need to open and close things constantly. Just flip between desktops.
Tips to Get More Out of Virtual Desktops
Use Snap Assist within each desktop. You can snap two or three windows side by side inside a single virtual desktop. Combine this with multiple desktops and you effectively have a multi-monitor setup without extra screens.
Name your desktops before you fill them. It takes five seconds. It will save you from constantly having to check which desktop holds what.
Use different wallpapers for each desktop. Pick colors or images that match the mood or purpose. Dark wallpaper for focused work. Bright one for creative work. This is a small change that makes a real difference to how fast your brain identifies where it is.
Do not create too many desktops. More than five or six usually creates confusion rather than clarity. Start with two or three. Add more only if a specific need comes up.
Use the four-finger swipe on your touchpad. If you work on a laptop, this gesture is faster than any keyboard shortcut once it becomes muscle memory.
Virtual Desktops vs. Multiple Monitors
Some people ask whether virtual desktops replace the need for a second monitor. Here is a clear comparison.
| Feature | Virtual Desktops | Multiple Monitors |
|---|---|---|
| Cost | Free | Requires extra hardware |
| See two things at once | No | Yes |
| Works on a laptop | Yes | Needs ports/adapters |
| Keyboard shortcut switching | Yes | Not always |
| Custom wallpaper per screen | Yes (per desktop) | Yes (per monitor) |
| Works with limited desk space | Yes | Needs physical space |
Virtual desktops are excellent for organization and focus. Multiple monitors are better when you genuinely need to see two things at the same time. Many power users use both together.
Common Problems and How to Fix Them
Task View icon not showing on the taskbar. Right-click the taskbar, select Taskbar settings, and make sure the Task View toggle is turned on.
Keyboard shortcuts not working. Check that no other application is intercepting those key combinations. Some third-party apps like virtual machine software can grab those shortcuts. Also confirm you are using a genuine Windows 11 install with no customization software blocking hotkeys.
Windows moving to the wrong desktop after deletion. This is expected behavior. Windows merges the content of a deleted desktop into the nearest one. The windows are not lost. Open Task View to find them.
Wallpaper not saving per desktop. Make sure you set the wallpaper by right-clicking the desktop thumbnail inside Task View, not through the regular desktop background settings. The regular settings apply globally, not per virtual desktop.
Touchpad gestures not responding. Open Settings, go to Bluetooth and devices, then Touchpad. Expand Advanced gestures and confirm the four-finger swipe is set to Switch desktops.
How Virtual Desktops Work with Multiple Monitors
If you have more than one physical monitor, virtual desktops work across all of them. When you switch from Desktop 1 to Desktop 2, all monitors update at the same time. Every screen reflects the new desktop.
Each monitor shows whatever windows are assigned to that desktop. Apps snapped to specific positions on Desktop 1 will return to those same positions when you switch back. Windows 11 remembers the layout.
You can also use Snap Assist on any monitor within any virtual desktop, which gives you a lot of flexibility with complex setups.
Conclusion
Virtual desktops on Windows 11 are one of the most useful and underused features on the platform. They cost nothing, require no extra hardware, and can genuinely change how you work.
The core idea is simple: separate your screen space by purpose. Work stays in one place. Personal life stays in another. Projects stay organized. You move between them in a fraction of a second.
Start with just two desktops. Give them names. Set different wallpapers. Use the keyboard shortcuts until they feel natural. Within a week, you will wonder how you worked without them.
Frequently Asked Questions
How many virtual desktops can I create in Windows 11?
Windows 11 does not impose a hard limit on how many virtual desktops you can create. In practical terms, most users work well with three to five. Creating too many makes navigation confusing and defeats the purpose of staying organized.
Do virtual desktops slow down my PC?
No. Virtual desktops are a display feature, not a performance feature. They do not run separately or use extra RAM just by existing. Open apps will still use memory regardless of which desktop they are on, but organizing them into virtual desktops does not add any extra load.
Will apps restart if I switch virtual desktops?
No. Apps keep running in the background when you switch desktops. Switching virtual desktops is like switching tabs in a browser. Everything stays alive and in the same state. You pick up exactly where you left off when you return.
Can I use virtual desktops with a touchscreen on Windows 11?
Yes. On a touchscreen device, you can open Task View by swiping in from the left edge of the screen. You can then tap any desktop to switch to it or tap New Desktop to create one. The experience works well on tablets and convertible laptops.
Do virtual desktops save after a restart?
No. When you shut down or restart your PC, Windows 11 does not preserve your virtual desktops or the windows within them. You start fresh each time. If you rely on specific layouts, you will need to recreate them after each boot. Some users address this with startup scripts or app-launch shortcuts, but Windows does not handle this natively yet.

- How to Fix Overscan on Windows 11/10: Stop Your Screen Getting Cut Off (2026) - April 1, 2026
- How to Disable Lock Screen on Windows 11/10 in 2026 - April 1, 2026
- Top 7 NFT Integration Ideas for Brands in 2026 - March 31, 2026