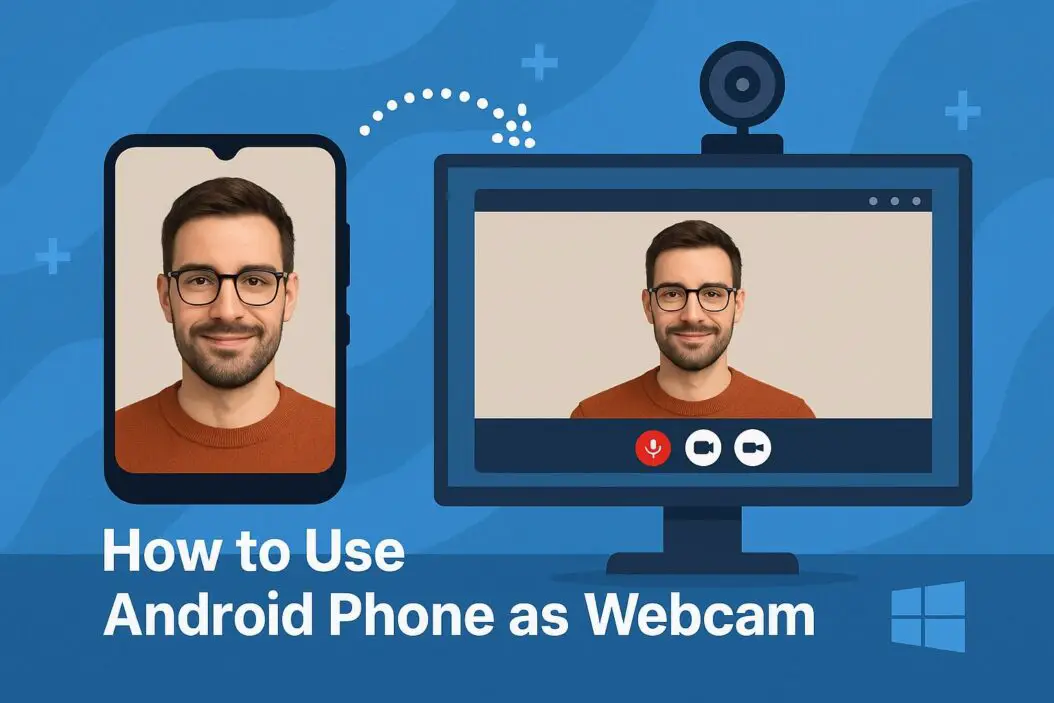
Your laptop’s built-in webcam just stopped working before an important video call. Or maybe it never had good quality to begin with. The good news? Your Android phone sitting right next to you has a far better camera that can work as a webcam for your Windows PC.
This guide shows you exactly how to turn your Android phone into a high-quality webcam for Windows. You’ll learn multiple methods, step-by-step instructions, and troubleshooting tips to get crystal-clear video for Zoom, Teams, or any video conferencing app.
Why Use Your Android Phone as a Webcam?
Before diving into the how-to, here’s why this solution makes sense:
Better image quality. Most Android phones have 12MP or higher cameras. Compare that to the average 2MP laptop webcam. The difference is dramatic.
You already own it. No need to buy a separate webcam, which can cost $50 to $150 for decent quality.
Flexibility in positioning. You can mount your phone anywhere. Get better angles than a fixed laptop camera.
Emergency backup. When your regular webcam fails right before a meeting, your phone saves the day.
Quick Answer: The Easiest Method
The fastest way to use your Android as a webcam involves these basic steps:
- Download a webcam app on your Android phone
- Install the companion software on your Windows PC
- Connect both devices via USB or WiFi
- Select your phone as the video source in your video call app
Now let’s break down each method in detail.
Method 1: Using DroidCam (Most Popular Solution)
DroidCam is the most widely used app for this purpose. It works reliably and offers both free and paid versions.
What You’ll Need
- Android phone running Android 5.0 or higher
- Windows PC (Windows 7 or later)
- USB cable OR WiFi network that both devices connect to
- DroidCam app (phone) and DroidCam Client (PC)
Step-by-Step Instructions for DroidCam
On Your Android Phone:
- Open Google Play Store
- Search for “DroidCam Webcam”
- Install the app by Dev47Apps
- Open the app after installation
- Grant camera and microphone permissions when prompted
- Note the WiFi IP address shown on the screen (you’ll need this)
On Your Windows PC:
- Visit the official DroidCam website at www.dev47apps.com
- Download the DroidCam Client for Windows
- Run the installer file
- Complete the installation process
- Launch DroidCam Client from your desktop
Connecting Via WiFi
This wireless method gives you the most flexibility:
- Make sure both phone and PC connect to the same WiFi network
- Open DroidCam on your Android phone
- Open DroidCam Client on Windows
- In the PC client, check the “WiFi” option
- Enter the IP address shown on your phone screen
- Enter the port number (usually 4747)
- Click “Start”
- Your phone’s camera feed should appear on your PC
Connecting Via USB
USB connection provides more stable video without WiFi lag:
- Enable USB Debugging on your Android phone:
- Go to Settings > About Phone
- Tap “Build Number” seven times to enable Developer Options
- Go back to Settings > Developer Options
- Turn on “USB Debugging”
- Connect your phone to PC with USB cable
- Open DroidCam on your phone
- Open DroidCam Client on Windows
- Select “USB” in the client
- Click “Start”
The USB method works better for long calls because it won’t drain your phone battery as quickly.
Using DroidCam in Video Call Apps
Once DroidCam is running, you need to select it in your video conferencing software:
For Zoom:
- Open Zoom
- Go to Settings > Video
- Click the Camera dropdown menu
- Select “DroidCam Source”
For Microsoft Teams:
- Open Teams
- Click your profile picture > Settings
- Go to Devices
- Under Camera, select “DroidCam Source”
For Google Meet:
- Join or start a meeting
- Click the three dots > Settings
- Go to Video
- Select “DroidCam Source” from the camera list
For Skype:
- Open Skype
- Go to Settings > Audio & Video
- Under Camera, choose “DroidCam Source”
DroidCam Pro vs Free Version
The free version has limitations:
- 480p video resolution
- No video rotation
- No brightness controls
- Video mirroring not available
DroidCam Pro costs around $5 and includes:
- 720p and 1080p HD video
- Video rotation and flip options
- Brightness, contrast, and zoom controls
- No ads
For professional use, the Pro version is worth the small investment.
Method 2: Iriun Webcam (User-Friendly Alternative)
Iriun Webcam offers a simpler interface and works similarly to DroidCam.
Setting Up Iriun Webcam
Installation Process:
- Download Iriun Webcam from Google Play Store on your Android
- Download Iriun Webcam for Windows from their official site at iriun.com
- Install both applications
- Connect your phone and PC to the same WiFi network
- Open Iriun on your phone
- The Windows client automatically detects your phone
Key Advantages:
- Automatic device detection (no IP address entry needed)
- Clean, minimal interface
- Works with most video calling apps
- Available for both WiFi and USB connections
Limitations:
- Free version limited to 640×480 resolution
- Premium version ($10) needed for HD quality
Method 3: Windows Native Feature (Windows 11 Only)
Windows 11 introduced a built-in feature to use your phone as a webcam without third-party apps.
Requirements for Native Windows 11 Method
- Windows 11 version 22H2 or newer
- Android 9 or higher
- Link to Windows app on your Android
- USB cable (recommended for first-time setup)
Setup Instructions
- On your Android, download “Link to Windows” from Play Store
- On Windows PC, open “Phone Link” app (pre-installed on Windows 11)
- Follow the pairing process using your Microsoft account
- Once paired, go to Windows Settings > Bluetooth & devices > Mobile devices
- Enable “Use as a webcam” option
- Your phone camera now appears as “Windows Virtual Camera” in video apps
This native method offers the smoothest integration but only works with newer Windows 11 versions.
Method 4: IP Webcam (Advanced Option)
IP Webcam provides more technical control and customization options.
How to Use IP Webcam
- Install IP Webcam from Play Store
- Open the app and scroll to the bottom
- Tap “Start Server”
- Note the IP address displayed
- On Windows, open a web browser
- Enter the IP address shown on your phone
- Click “Use browser built-in viewer” or download the PC client
IP Webcam offers advanced features like:
- Motion detection
- Audio streaming
- Night vision mode
- Cloud recording
This option works best if you have technical knowledge and want extra features.
Which Method to Choose?
| Method | Ease of Use | Video Quality | Cost | Best For |
|---|---|---|---|---|
| DroidCam | Easy | Up to 1080p (Pro) | Free/$5 | Most users |
| Iriun | Very Easy | Up to 1080p (Premium) | Free/$10 | Beginners |
| Windows 11 Native | Easiest | 1080p | Free | Windows 11 users |
| IP Webcam | Complex | Customizable | Free | Advanced users |
Positioning Your Phone for Best Results
Having good camera software means nothing if your phone isn’t positioned properly.
Phone Mounting Options
Tripod with phone holder: The most stable option. Adjustable height and angle. Costs $15 to $30 for basic models.
Phone stand on books: Free solution using what you have. Stack books to desired height and lean phone against something stable.
Selfie stick clamped to desk: Flexible positioning. Clamp-style selfie sticks attach to desk edges. Around $20.
Wall mount: For permanent setup. Phone holder that sticks to wall or monitor. Good for dedicated workspace.
Ideal Camera Angles
Position your phone camera at eye level or slightly above. This creates the most natural and professional appearance.
Place the phone 2 to 3 feet away from your face. Too close looks distorted. Too far makes facial expressions hard to see.
Ensure good lighting hits your face, not the camera. Position yourself facing a window or lamp for best results.
Troubleshooting Common Issues
Phone Not Detected by PC
Try these fixes:
- Restart both devices
- Check USB Debugging is enabled (for USB connection)
- Verify both devices on same WiFi network (for wireless)
- Temporarily disable Windows Firewall to test if it’s blocking connection
- Try a different USB cable (many cables only charge, don’t transfer data)
- Update the webcam app and PC client to latest versions
Poor Video Quality or Lag
Solutions:
- Switch from WiFi to USB connection
- Close unnecessary apps on your phone
- Reduce video resolution in app settings
- Move closer to WiFi router
- Restart your router
- Clear cache on the webcam app
- Make sure phone isn’t overheating (remove case if needed)
App Crashes or Freezes
Steps to resolve:
- Clear app data and cache
- Reinstall both phone and PC applications
- Check for Android system updates
- Free up phone storage space
- Disable battery optimization for the webcam app
- Force stop other camera-using apps
No Audio from Phone
Most methods require separate audio setup:
- In DroidCam, check “Audio” box in the client
- Set your phone as the audio source in Windows Sound settings
- Consider using PC’s microphone instead for better audio quality
- Check app permissions allow microphone access
Wrong Orientation or Upside-Down Video
- Use video rotation feature in Pro versions
- In Zoom or Teams, click video settings and use mirror/flip options
- Some apps have orientation lock settings
- Physically rotate your phone mount
Tips for Professional-Looking Video Calls
Using your Android as a webcam gives better quality, but follow these practices for truly professional results:
Lighting matters most. Face a window or use a desk lamp pointed at your face. Avoid having bright windows behind you.
Clean your camera lens. Phone lenses collect fingerprints and dust. Wipe with a soft cloth before important calls.
Check your background. Position yourself in front of a clean, uncluttered area. Or use virtual backgrounds in your video app.
Test before important meetings. Do a 5-minute test call to check video and audio quality.
Keep phone charged. Have phone plugged in during long video calls. The camera uses significant battery power.
Use portrait orientation. Most video calls work better with vertical phone positioning rather than landscape.
Stabilize your setup. Any wobbling looks unprofessional. Secure your phone mount properly.
Battery and Performance Considerations
Using your camera continuously drains battery quickly and generates heat.
To manage this:
- Keep phone plugged into power during calls
- Remove phone case to improve heat dissipation
- Lower screen brightness on your phone
- Close all background apps
- Use USB connection instead of WiFi (uses less battery)
- Enable “Do Not Disturb” to prevent notifications during calls
For meetings longer than 30 minutes, keeping your phone charging is essential.
Security and Privacy Notes
When using your phone as a webcam, be aware of these security considerations:
WiFi connections are less secure. Someone on your network could theoretically intercept video. USB is more secure.
Grant permissions carefully. Only give camera and microphone access to trusted apps from official stores.
Close the app when finished. Don’t leave the webcam app running when not in use.
Update regularly. Keep both phone and PC software updated for security patches.
According to Microsoft’s security guidelines, always verify you’re downloading official software from legitimate sources to avoid malware.
Alternative Uses Beyond Video Calls
Your Android-as-webcam setup works for more than just Zoom meetings:
Live streaming: Use OBS Studio or Streamlabs with your phone camera for Twitch or YouTube streaming.
Content creation: Record higher-quality videos for YouTube using your phone’s better camera.
Security monitoring: Keep IP Webcam running to monitor a room when you’re away.
Pet monitoring: Watch your pets during the day through the camera feed.
Product demonstrations: Show physical products in detail during presentations or online selling.
Frequently Asked Questions
Can I use my Android phone as a webcam without WiFi?
Yes, absolutely. Connect your phone to Windows using a USB cable. You’ll need to enable USB Debugging in Developer Options. The USB method actually provides more stable video quality than WiFi and doesn’t depend on network speed.
Does using my phone as a webcam use mobile data?
No, it doesn’t use mobile data. When connected via WiFi, it uses your local network only. When connected via USB, no internet is required at all. Your actual video call uses your PC’s internet connection, not the phone’s data.
Will this drain my phone battery quickly?
Yes, running the camera continuously drains battery fast. Expect about 1-2 hours of use on battery alone. Always keep your phone plugged in and charging during video calls lasting more than 30 minutes to avoid interruptions.
Can I still receive calls on my phone while using it as a webcam?
Yes, but incoming calls will interrupt your video feed. Enable “Do Not Disturb” mode on your Android before important video meetings to prevent interruptions. You can set exceptions for emergency contacts if needed.
Which app gives the best video quality?
DroidCam Pro and Iriun Premium both support 1080p quality, which matches or exceeds most dedicated webcams. The native Windows 11 feature also provides excellent 1080p quality. Free versions typically max out at 480p or 640p, which is still better than many built-in laptop webcams.
Conclusion
Turning your Android phone into a webcam for Windows is practical, affordable, and often provides better quality than purchasing a dedicated webcam.
For most people, DroidCam offers the best balance of features, reliability, and ease of use. Windows 11 users should try the built-in Phone Link feature first for the simplest setup. Advanced users wanting more control might prefer IP Webcam.
The process takes just 10-15 minutes to set up. Once configured, you’ll have a high-quality camera ready whenever you need it. Whether for work meetings, online classes, or staying in touch with family, your Android phone proves itself as more than just a communication device.
Start with the free version of your chosen app. Test it for a few calls. If you use it regularly, the small investment in a Pro version pays off through better video quality and additional features.
Remember the key points: position your camera at eye level, ensure good lighting, keep your phone charged during use, and always test before important calls. With these basics covered, you’ll present yourself professionally in every video interaction.

- How to Fix Overscan on Windows 11/10: Stop Your Screen Getting Cut Off (2026) - April 1, 2026
- How to Disable Lock Screen on Windows 11/10 in 2026 - April 1, 2026
- Top 7 NFT Integration Ideas for Brands in 2026 - March 31, 2026