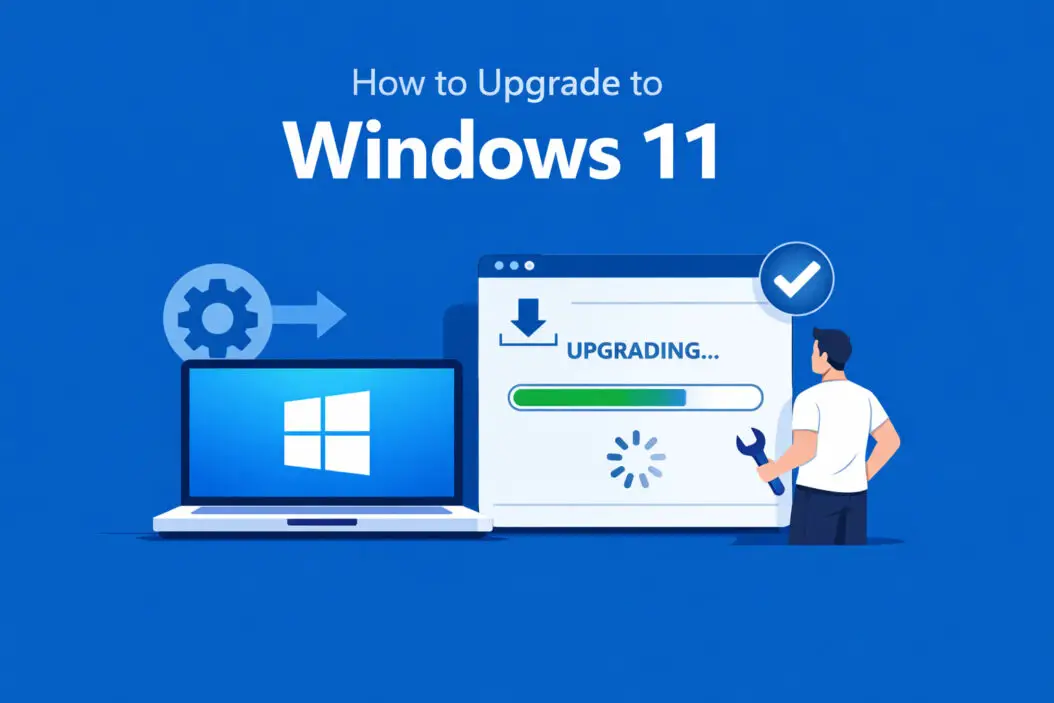
Windows 11 is Microsoft’s latest operating system, and upgrading from Windows 10 is free if your computer meets the requirements. This guide walks you through everything you need to know about making the switch, from checking compatibility to completing the installation.
You can upgrade to Windows 11 for free through Windows Update if your PC meets the system requirements (TPM 2.0, UEFI firmware, 4GB RAM, 64GB storage). The process takes 30-60 minutes and preserves your files and programs.
What You Need Before Upgrading
System Requirements Explained
Windows 11 has stricter hardware requirements than Windows 10. Here’s what your computer needs:
- Processor: 1 GHz or faster with 2 or more cores on a compatible 64-bit processor
- RAM: 4 GB minimum (8 GB recommended for smooth performance)
- Storage: 64 GB or larger storage device
- Firmware: UEFI, Secure Boot capable
- TPM: Trusted Platform Module version 2.0
- Graphics Card: DirectX 12 compatible graphics with WDDM 2.0 driver
- Display: 720p resolution, 9 inches or larger, 8 bits per color channel
The TPM 2.0 requirement causes the most confusion. TPM is a security chip that protects encryption keys and passwords. Most computers built after 2016 have it, but it might be disabled in your BIOS.
Check If Your PC Is Compatible
Microsoft provides a free tool to check compatibility:
- Download the PC Health Check app from Microsoft’s official website
- Install and run the application
- Click “Check now” under Windows 11 compatibility
- Review the results
If your PC fails the check, the app tells you exactly which requirements you don’t meet. Common issues include disabled TPM or unsupported processors.
What If Your PC Doesn’t Meet Requirements
You have three options:
Enable TPM in BIOS: Many computers have TPM but it’s turned off. Restart your computer, enter BIOS (usually by pressing F2, F12, or Delete during startup), find Security or Advanced settings, and enable TPM 2.0.
Continue with Windows 10: Microsoft supports Windows 10 until October 2025. You have time to decide whether to upgrade your hardware or stay put.
Buy a new PC: If your computer is more than 7 years old, buying a Windows 11 compatible machine might make more sense than upgrading individual components.
How to Upgrade Through Windows Update
This is the easiest and safest method.
Step 1: Back Up Your Data
Always back up before major updates. While upgrades typically preserve everything, problems can happen.
Quick backup methods:
- Use Windows Backup to save files to an external drive
- Upload important documents to OneDrive, Google Drive, or Dropbox
- Create a system image using Windows built-in tools (Settings > Update & Security > Backup)
Plan for at least 100 GB of backup space if you’re creating a full system image.
Step 2: Start the Upgrade
- Open Settings (press Windows + I)
- Click “Update & Security”
- Select “Windows Update” from the left sidebar
- Click “Check for updates”
- If Windows 11 is available, you’ll see “Upgrade to Windows 11” with a Download and install button
- Click the button and accept the license terms
- Wait for the download to complete (size varies from 3-5 GB depending on your current version)
The download happens in the background. You can keep working while it downloads.
Step 3: Complete Installation
Once downloaded, Windows prepares the installation:
- You’ll see a notification when ready to install
- Click “Restart now” or schedule the restart for later
- Your computer restarts several times (this is normal)
- The installation takes 30-60 minutes depending on your hardware
- Windows 11 starts automatically when finished
Don’t turn off your computer during installation. The screen might go black for several minutes during certain phases.
Step 4: First-Time Setup
After installation, Windows 11 walks you through initial setup:
- Choose your region and keyboard layout
- Connect to your network
- Sign in with your Microsoft account
- Configure privacy settings (review these carefully)
- Decide whether to use OneDrive for file backup
- Customize your experience preferences
Take time with privacy settings. You can disable data collection features you don’t want.
Alternative Upgrade Methods
Using Windows 11 Installation Assistant
If Windows Update doesn’t offer the upgrade, use the Installation Assistant:
- Visit the official Windows 11 download page
- Click “Download Now” under Windows 11 Installation Assistant
- Run the downloaded file
- Click “Accept and install”
- The assistant checks compatibility and downloads Windows 11
- Follow on-screen prompts to complete installation
This method works well if you want to upgrade immediately without waiting for Windows Update to offer it.
Creating Installation Media
For clean installs or multiple computers, create a bootable USB drive:
- Get an empty USB drive with at least 8 GB space
- Download the Media Creation Tool from Microsoft’s download page
- Run the tool and select “Create installation media”
- Choose language, edition, and architecture (64-bit)
- Select “USB flash drive” and choose your drive
- Wait for the creation process to complete
Clean install steps:
- Restart your computer with the USB drive inserted
- Press the boot menu key (F12, F8, or Esc depending on manufacturer)
- Select the USB drive from boot options
- Choose “Install now”
- Enter your Windows 10 product key (or skip if upgrading from activated Windows 10)
- Select “Custom: Install Windows only”
- Choose your installation drive
- Follow setup prompts
Clean installs erase everything on your drive. Only use this method if you’ve backed up all important data.
What Changes After Upgrading
Visual and Interface Updates
Windows 11 looks significantly different from Windows 10:
Start Menu: Now centered at the bottom of the screen with a simplified design. Pinned apps appear as icons without Live Tiles. You can move it back to the left corner in Settings if you prefer.
Taskbar: Also centered by default with fewer customization options. You cannot move it to the sides or top of your screen anymore.
Rounded Corners: Windows, menus, and dialogs have rounded corners for a modern look.
New Animations: Smoother transitions when opening and closing windows.
Snap Layouts: Hover over the maximize button to see preset window arrangements. Great for multitasking on large monitors.
Feature Improvements
Better Performance: Windows 11 uses resources more efficiently. Background apps consume less CPU and RAM.
Android Apps: Install Android applications through the Microsoft Store using Amazon Appstore integration.
Improved Virtual Desktops: Create separate desktops for work, gaming, or personal use with different wallpapers and apps.
DirectStorage: Games load faster on compatible NVMe SSDs by bypassing CPU bottlenecks.
Auto HDR: Automatically enhances colors in older games if you have an HDR monitor.
Focus Sessions: Built-in productivity timer integrated with Microsoft To Do and Spotify.
Removed Features
Some Windows 10 features don’t exist in Windows 11:
- Internet Explorer (replaced by Edge)
- Tablet Mode (touch improvements are built-in now)
- Timeline feature
- Cortana no longer appears during setup (still available as an app)
- Live Tiles in Start Menu
- Taskbar customization options (cannot resize or move taskbar)
Troubleshooting Common Upgrade Issues
Installation Stuck or Frozen
If installation stops progressing for over 2 hours:
- Wait an additional hour (some phases genuinely take this long)
- If still stuck, force restart by holding the power button for 10 seconds
- Windows rolls back to Windows 10 automatically
- Try the upgrade again after restarting normally
“This PC Can’t Run Windows 11” Error
Despite meeting requirements, you might see this error:
Enable Secure Boot:
- Restart and enter BIOS
- Find Boot or Security settings
- Enable Secure Boot
- Save and exit
Update BIOS: Outdated BIOS firmware sometimes causes false negatives. Check your computer manufacturer’s website for BIOS updates.
Check TPM Status:
- Press Windows + R
- Type “tpm.msc” and press Enter
- Check if TPM is ready to use
- If not, enable it in BIOS
Programs Not Working After Upgrade
Some older programs have compatibility issues:
- Right-click the program shortcut
- Select Properties
- Click the Compatibility tab
- Check “Run this program in compatibility mode”
- Choose Windows 10 or Windows 8
- Click Apply and OK
For drivers, visit the hardware manufacturer’s website to download Windows 11 compatible versions.
Slow Performance After Upgrade
Windows 11 sometimes runs slowly right after installation:
- Initial indexing: Windows indexes files for search. This takes hours but only happens once.
- Windows Updates: Check for and install all pending updates.
- Startup programs: Disable unnecessary startup apps in Task Manager.
- Storage cleanup: Run Disk Cleanup to remove old Windows installation files after 10 days.
Give Windows 11 a few days to complete background optimization before judging performance.
Should You Upgrade Now or Wait?
Reasons to Upgrade
Security improvements: Windows 11 requires modern security features like TPM 2.0 and Secure Boot, making it more resistant to malware and rootkits.
Better gaming performance: DirectStorage and Auto HDR improve gaming experiences on compatible hardware.
Productivity features: Snap Layouts and virtual desktop improvements help manage multiple tasks.
Future support: Windows 10 support ends October 2025. Upgrading now gives you years of updates and security patches.
Free upgrade: The free upgrade offer has no announced end date, but Microsoft could change this anytime.
Reasons to Wait
Software compatibility: If you rely on specific programs that don’t work well with Windows 11, waiting for updates makes sense.
Workflow disruption: Learning the new interface takes time. Wait until you have downtime to adjust.
Hardware limitations: If your PC barely meets requirements, performance might suffer. Wait until you upgrade hardware.
Stability concerns: While Windows 11 is stable now in 2026, some businesses prefer waiting longer before major OS changes.
Reverting to Windows 10
You can return to Windows 10 within 10 days of upgrading:
- Open Settings
- Go to System > Recovery
- Click “Go back” under Recovery options
- Select a reason for rolling back
- Click “Next” through the warnings
- Click “Go back to Windows 10”
Your computer restarts and restores Windows 10 with your files and programs intact.
Important: After 10 days, Windows deletes the old system files to free up space. You’d need to perform a clean Windows 10 installation to revert, which erases everything.
Performance Comparison: Windows 10 vs Windows 11
| Feature | Windows 10 | Windows 11 |
|---|---|---|
| Boot Time (SSD) | 15-20 seconds | 12-18 seconds |
| RAM Usage (Idle) | 2.5-3 GB | 2.8-3.2 GB |
| Gaming FPS (Same Hardware) | Baseline | 5-10% improvement with DirectStorage |
| Battery Life (Laptops) | Baseline | 10-15% improvement (varies by model) |
| Multi-Monitor Support | Good | Better with Snap Layouts |
| Security Features | Standard | Enhanced (TPM 2.0, Secure Boot required) |
Upgrading Different Computer Types
Laptops
Laptops benefit most from Windows 11’s power efficiency improvements:
- Check with your laptop manufacturer for Windows 11 drivers
- Update BIOS before upgrading (download from manufacturer website)
- Ensure battery is at least 50% charged or plugged in
- Touchpad and keyboard drivers sometimes need manual updates after installation
Desktops
Desktop upgrades are usually straightforward:
- Gaming PCs see performance improvements with DirectStorage
- Multiple monitor setups work better with new Snap features
- Check graphics card driver compatibility before upgrading
- RGB lighting software might need updates
Work Computers
Business computers require extra consideration:
- Check with your IT department before upgrading
- Enterprise software might have compatibility issues
- Domain-joined computers follow different upgrade policies
- Windows 11 Pro offers better management features for businesses
Cost Breakdown
| Item | Cost |
|---|---|
| Windows 11 Upgrade (from activated Windows 10) | Free |
| Windows 11 Home (new license) | $139 |
| Windows 11 Pro (new license) | $199 |
| TPM 2.0 Module (if adding to older PC) | $15-30 |
| RAM Upgrade (if needed) | $30-100 |
| Storage Upgrade (if needed) | $50-150 |
The upgrade itself costs nothing if you have genuine Windows 10. Hardware upgrades vary based on your specific needs.
Conclusion
Upgrading to Windows 11 is free, straightforward, and worthwhile for most users with compatible hardware. The process takes about an hour and preserves your files and programs. Check compatibility first using Microsoft’s PC Health Check tool, back up your important data, then use Windows Update for the smoothest experience.
Windows 11 offers meaningful improvements in security, performance, and productivity. The modern interface takes some adjustment, but most users adapt within a few days. If you’re uncertain, remember you can revert to Windows 10 within 10 days of upgrading.
Start by checking if your PC is compatible. If it meets the requirements, there’s little reason to delay. Windows 10 support ends in late 2025, and upgrading now gives you time to adjust before that deadline.
Frequently Asked Questions
Is Windows 11 Really Free?
Yes, Windows 11 is completely free if you have an activated copy of Windows 10. Microsoft provides the upgrade at no charge through Windows Update or their Installation Assistant. You don’t need to buy a new license. This free upgrade offer has been available since Windows 11 launched in October 2021 and continues in 2026 with no announced end date.
How Long Does the Windows 11 Upgrade Take?
The complete upgrade process takes 30 to 60 minutes on average. Download time depends on your internet speed (the file is 3-5 GB). Installation itself takes 20-40 minutes, during which your computer restarts several times. Slower hard drives or older computers may take up to 90 minutes. Plan for at least 2 hours total to be safe, including setup and configuration.
Will I Lose My Files and Programs When Upgrading?
No, upgrading through Windows Update or the Installation Assistant preserves all your files, programs, and settings. Your desktop, documents, photos, and installed applications remain exactly where they were. However, always back up important data before any major system update. Clean installs using installation media erase everything, so only use that method if you specifically want a fresh start.
Can I Go Back to Windows 10 After Upgrading?
Yes, you can revert to Windows 10 within 10 days of upgrading. Go to Settings > System > Recovery and click “Go back” to restore Windows 10 with all your files intact. After 10 days, Windows automatically deletes the old system files to free up disk space. Beyond that point, returning to Windows 10 requires a clean installation, which erases everything on your drive.
What If My Computer Doesn’t Meet Windows 11 Requirements?
You have several options if your PC fails compatibility checks. First, try enabling TPM 2.0 and Secure Boot in your BIOS, as these features exist on most computers built after 2016 but may be disabled. If your hardware truly doesn’t support Windows 11, you can continue using Windows 10 until October 2025 when Microsoft ends support. Alternatively, consider upgrading specific components like adding more RAM or replacing your motherboard, though buying a new Windows 11 compatible PC often makes more financial sense for older systems.

- How to Fix Overscan on Windows 11/10: Stop Your Screen Getting Cut Off (2026) - April 1, 2026
- How to Disable Lock Screen on Windows 11/10 in 2026 - April 1, 2026
- Top 7 NFT Integration Ideas for Brands in 2026 - March 31, 2026