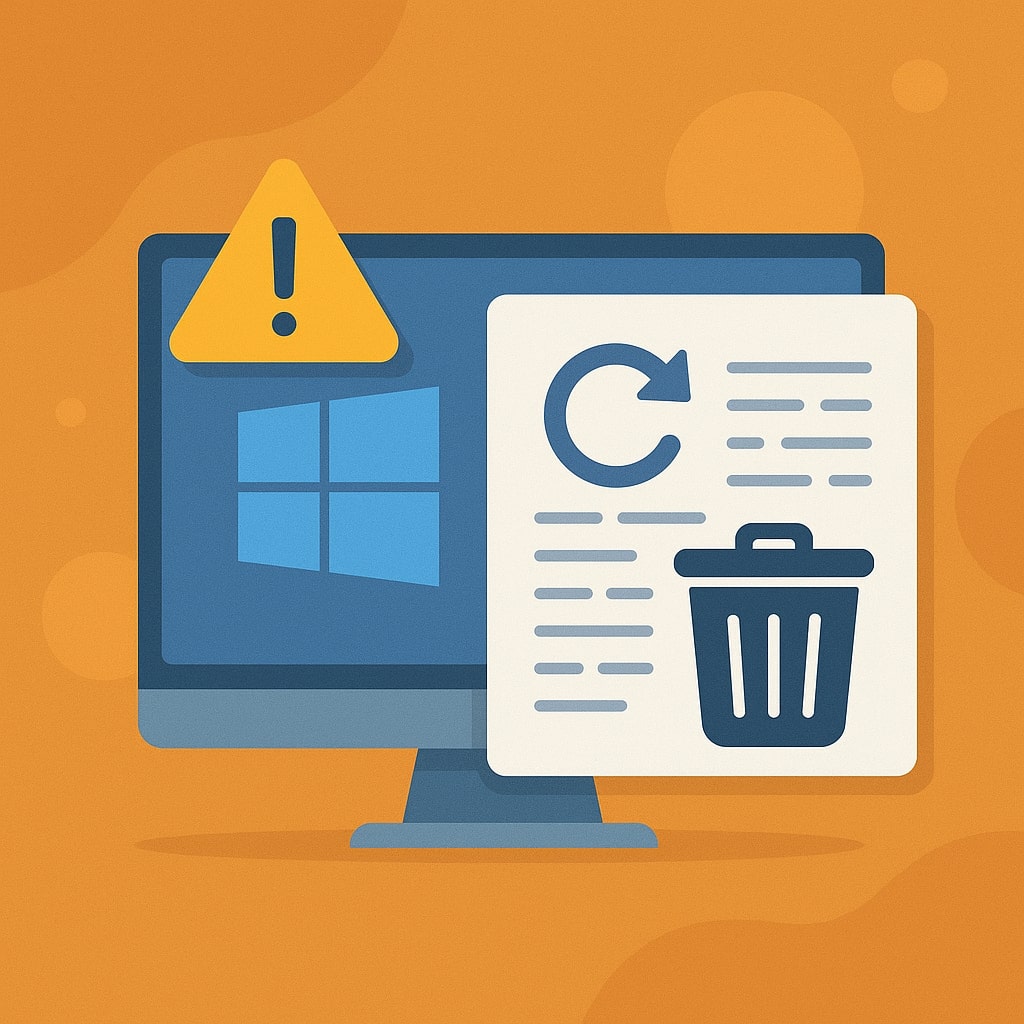
Windows updates keep your system secure and running smoothly, but sometimes they introduce bugs, compatibility issues, or performance problems. When a recent update causes your computer to malfunction, knowing how to safely remove it becomes crucial. This comprehensive guide shows you multiple methods to uninstall problematic Windows updates quickly and efficiently.
Why Windows Updates Sometimes Cause Problems
Microsoft releases hundreds of updates annually, and despite extensive testing, some slip through with issues. Driver conflicts represent the most common problem, especially with graphics or network adapters. Hardware incompatibility affects older systems more frequently, while software conflicts arise when updates modify system files that third party applications depend on.
Recent Windows 11 updates have occasionally caused Start menu freezing, file explorer crashes, and printer connectivity issues. Windows 10 users have experienced similar problems with cumulative updates affecting system performance and application stability.
Update timing also matters. Feature updates introduce significant changes that can disrupt established workflows, while security updates sometimes modify core system components unexpectedly.
Signs Your Windows Update is Problematic
Identifying problematic updates requires recognizing specific symptoms that appear after installation. System crashes, including blue screen errors (BSOD), often indicate driver or hardware compatibility issues. Application failures, where previously working software suddenly stops functioning, suggest file system modifications.
Performance degradation manifests as slower boot times, delayed application launches, or reduced overall responsiveness. Network connectivity problems, printer malfunctions, or audio device failures typically point to driver related update issues.
| Symptom Category | Common Issues | Likely Cause |
|---|---|---|
| System Stability | Blue screens, random crashes | Driver conflicts |
| Performance | Slow boot, application lag | System file changes |
| Hardware | Printer, audio, network issues | Driver incompatibility |
| Software | App crashes, compatibility errors | File system modifications |
Boot problems, where Windows fails to start normally or gets stuck during startup, often result from system file corruption during update installation.
Before You Uninstall: Create a System Restore Point
Creating a system restore point provides essential protection before removing updates. This backup allows complete system recovery if uninstallation causes additional problems.
Access System Protection through Control Panel > System and Security > System > System Protection. Click “Create” and provide a descriptive name like “Before Update Removal.” The process takes several minutes depending on system size and typically requires 1-3 GB of disk space.
Windows automatically creates restore points before major updates, but manual creation ensures you have a recent backup specifically for this purpose. Verify restore point creation by checking the list of available restore points before proceeding.
Method 1: Uninstall Updates Through Windows Settings
The Settings app provides the most user friendly approach for removing recent updates. This method works best for cumulative updates and recent installations within the past 30 days.
Step by Step Guide for Windows 11
Open Settings using Windows key + I, then navigate to Windows Update from the left sidebar. Click “Update history” to view all installed updates sorted by installation date.
Locate the problematic update by checking installation dates against when issues began. Click “Uninstall updates” at the bottom of the update history page. This opens the classic Control Panel interface showing installed updates.
Right click the target update and select “Uninstall.” Windows will display a confirmation dialog explaining the removal process. Click “Yes” to proceed, and restart when prompted to complete the uninstallation.
Step by Step Guide for Windows 10
Access Settings through the Start menu or Windows key + I. Navigate to Update & Security, then select “View update history” under Windows Update.
Click “Uninstall updates” which redirects to Control Panel’s installed updates section. Find the problematic update using the installation date and KB number. Right click and select “Uninstall.”
Follow the confirmation prompts and restart your system to finalize the removal process. Some updates may require multiple restarts to complete uninstallation.
Method 2: Use Control Panel to Remove Updates
Control Panel offers direct access to installed updates without navigating through Settings menus. This method provides more detailed information about each update and works consistently across Windows versions.
Accessing Installed Updates via Control Panel
Open Control Panel by typing “control panel” in the search box or using Windows key + R and typing “appwiz.cpl.” Click “View installed updates” in the left sidebar under Programs and Features.
The installed updates list displays chronologically with KB numbers, installation dates, and update types. Use the search box to filter by specific KB numbers if you know the problematic update identifier.
Sort updates by installation date to locate recent installations more easily. The “Installed On” column helps identify updates installed when problems began.
Selecting and Removing Specific Updates
Double click any update to view detailed information including size, version, and description. This information helps confirm you’re removing the correct update before proceeding.
Right click the target update and select “Uninstall.” Windows may display warnings about potential system instability, particularly for security updates. Click “Yes” to confirm removal.
Monitor the uninstallation progress, which may take several minutes for large updates. Some updates require exclusive system access and cannot be removed while other applications are running.
Method 3: Command Prompt Method for Advanced Users
Command line tools provide powerful options for update management, especially when graphical interfaces fail to respond. Administrative privileges are required for all command line operations.
Using DISM Commands
Open Command Prompt as Administrator by right clicking the Start button and selecting “Windows Terminal (Admin)” or “Command Prompt (Admin).” The DISM (Deployment Image Servicing and Management) tool manages Windows images and updates.
List installed updates using:
dism /online /get-packages
This command displays all installed packages with their state and installation information. Identify problematic updates using their package names or installation dates.
Remove specific updates using:
dism /online /remove-package /packagename:Package_Identity
Replace “Package_Identity” with the exact package name from the previous listing. DISM will show progress and prompt for restart when removal completes.
Using WUSA Commands
Windows Update Standalone Installer (WUSA) provides another command line approach for update removal. This method works particularly well for standalone updates and hotfixes.
Uninstall updates using KB numbers:
wusa /uninstall /kb:KB_NUMBER
Replace “KB_NUMBER” with the actual KB number (without “KB” prefix). For example:
wusa /uninstall /kb:5034765
Add “/quiet” parameter for silent uninstallation without user prompts:
wusa /uninstall /kb:KB_NUMBER /quiet
Force restart after uninstallation:
wusa /uninstall /kb:KB_NUMBER /forcerestart
Method 4: PowerShell Method for Bulk Operations
PowerShell offers advanced scripting capabilities for managing multiple updates simultaneously. This method excels when removing several related updates or performing bulk operations.
Listing Installed Updates
Open PowerShell as Administrator through Windows Terminal or by searching for “PowerShell” and selecting “Run as administrator.” Use the Get-HotFix cmdlet to display installed updates:
Get-HotFix | Sort-Object InstalledOn -Descending
This command lists all installed hotfixes sorted by installation date, making recent problematic updates easier to identify. Filter results by specific dates:
Get-HotFix | Where-Object {$_.InstalledOn -gt "01/01/2025"}
Search for specific KB numbers:
Get-HotFix | Where-Object {$_.HotFixID -eq "KB5034765"}
Removing Multiple Updates
PowerShell enables batch uninstallation of multiple updates using arrays and loops. Create an array of KB numbers to remove:
$updates = @("KB5034765", "KB5034123", "KB5034456")
foreach ($update in $updates) {
    wusa /uninstall /kb:$update /quiet /norestart
}
This script removes each update silently without individual restart prompts. Restart manually after all removals complete to apply changes.
For more complex filtering, combine Get-HotFix with removal commands:
Get-HotFix | Where-Object {$_.InstalledOn -gt "03/01/2025"} | ForEach-Object {
    wusa /uninstall /kb:$_.HotFixID.Replace("KB","") /quiet /norestart
}
Method 5: Third Party Tools for Easy Management
Several third party applications simplify Windows update management with user friendly interfaces and advanced features not available in built in tools.
WSUS Offline Update
WSUS Offline Update provides comprehensive update management including selective installation and removal capabilities. Download the tool from the official WSUS Offline website to ensure authenticity and security.
The application creates offline update packages and offers granular control over individual updates. Use the removal feature to uninstall specific updates while maintaining system stability through dependency checking.
WSUS Offline particularly benefits enterprise environments or systems with limited internet connectivity where update management requires offline capabilities.
Windows Update MiniTool
Windows Update MiniTool offers a streamlined interface for update management with advanced filtering and batch operation capabilities. The tool provides detailed update information and simplified removal processes.
Key features include update hiding to prevent reinstallation, batch operations for multiple updates, and detailed logging of all update activities. The interface resembles classic Windows Update but with enhanced functionality.
Download from reputable software repositories and scan with antivirus software before installation to ensure system security.
Preventing Automatic Reinstallation of Problematic Updates
Removing problematic updates only provides temporary relief if Windows automatically reinstalls them during the next update cycle. Preventing reinstallation requires specific configuration changes.
Using Group Policy Editor
Group Policy Editor (gpedit.msc) is available in Windows Pro and Enterprise editions. Access it by typing “gpedit.msc” in the Run dialog (Windows key + R).
Navigate to Computer Configuration > Administrative Templates > Windows Components > Windows Update. Enable “Configure Automatic Updates” and set it to “Notify for download and notify for install.”
For specific update blocking, enable “Do not include drivers with Windows Updates” if the problematic update involves drivers. This prevents automatic driver updates that commonly cause hardware conflicts.
Create a policy to hide specific updates by enabling “Turn on recommended updates via Automatic Updates” and configuring the associated registry entries manually.
Registry Method for Home Users
Windows Home edition users cannot access Group Policy Editor but can achieve similar results through registry modifications. Always backup the registry before making changes.
Open Registry Editor (regedit.exe) as Administrator and navigate to:
HKEY_LOCAL_MACHINE\SOFTWARE\Policies\Microsoft\Windows\WindowsUpdate\AU
Create the path if it doesn’t exist. Add a new DWORD value named “NoAutoUpdate” and set it to 1 to disable automatic updates completely.
For selective blocking, create registry entries for specific KB numbers under:
HKEY_LOCAL_MACHINE\SOFTWARE\Microsoft\Windows\CurrentVersion\WindowsUpdate\OSUpgrade
| Registry Value | Type | Data | Effect |
|---|---|---|---|
| NoAutoUpdate | DWORD | 1 | Disables automatic updates |
| AUOptions | DWORD | 2 | Notify before download |
| ScheduledInstallDay | DWORD | 0 | Install any day |
| ScheduledInstallTime | DWORD | 3 | Install at 3 AM |
Troubleshooting Common Uninstallation Issues
Update removal doesn’t always proceed smoothly, particularly with deeply integrated system updates or corrupted installations. Understanding common issues and their solutions saves time and prevents system damage.
When Updates Won’t Uninstall
Some updates resist removal due to dependencies, system integration, or corruption. Error messages like “The update could not be uninstalled” or “Access denied” indicate these problems.
Boot into Safe Mode to remove stubborn updates. Safe Mode loads minimal drivers and services, reducing conflicts during uninstallation. Access Safe Mode through Settings > Update & Security > Recovery > Advanced startup > Restart now.
Use the System File Checker (SFC) to repair corrupted system files before attempting removal:
sfc /scannow
Run DISM to repair the Windows image:
dism /online /cleanup-image /restorehealth
Dealing with System File Corruption
Corrupted system files can prevent successful update removal and cause additional system instability. Multiple tools address different types of corruption.
The Deployment Image Servicing and Management (DISM) tool repairs Windows images and prepares systems for update operations. Run these commands in sequence:
dism /online /cleanup-image /checkhealth
dism /online /cleanup-image /scanhealth
dism /online /cleanup-image /restorehealth
CheckHealth provides quick status, ScanHealth performs detailed analysis, and RestoreHealth attempts automatic repair using Windows Update or local sources.
System File Checker (SFC) complements DISM by repairing individual system files:
sfc /scannow
Run SFC after DISM repairs complete for comprehensive system restoration.
Recovery Options When Things Go Wrong
Despite careful preparation, update removal occasionally causes system instability or boot failures. Multiple recovery options restore functionality when standard methods fail.
System Restore Usage
System Restore represents the first line of defense when update removal causes problems. This feature restores system files, registry settings, and installed programs to a previous state without affecting personal files.
Access System Restore through Control Panel > System and Security > System > System Protection > System Restore. Choose a restore point created before the problematic update installation.
The restoration process takes 15-45 minutes depending on system configuration and typically requires one restart. Monitor progress carefully and avoid interrupting the process.
Boot from Recovery Environment
When Windows fails to boot normally after update removal, the Windows Recovery Environment (WinRE) provides advanced troubleshooting tools. Access WinRE by holding Shift while clicking Restart, or by interrupting the boot process three consecutive times.
Select Troubleshoot > Advanced Options to access recovery tools including System Restore, Command Prompt, and Startup Repair. These tools function independently of the main Windows installation.
Safe Mode Recovery
Safe Mode loads Windows with minimal drivers and services, often allowing access when normal boot fails. From the Advanced Options menu, select Startup Settings and click Restart.
Press F4 for Safe Mode or F5 for Safe Mode with Networking after restart. Safe Mode enables update removal, system file repair, and registry editing when standard Windows access isn’t possible.
Use Safe Mode to run System File Checker, perform additional update removals, or restore from backup if other recovery methods fail.
Best Practices for Windows Update Management
Effective update management prevents most problems before they occur. Implementing these practices reduces the likelihood of encountering problematic updates and simplifies resolution when issues arise.
Schedule updates during maintenance windows when system downtime won’t disrupt productivity. Configure Windows to download updates automatically but require manual installation approval for greater control.
Create regular system backups including full system images and file backups. Windows File History backs up personal files, while System Image Backup creates complete system snapshots for disaster recovery.
Test updates on non critical systems first when possible. Enterprise environments should use Windows Server Update Services (WSUS) or Microsoft System Center Configuration Manager for staged deployments.
Monitor system performance after each update installation. Document any changes in behavior, performance, or functionality to quickly identify problematic updates. Keep logs of installed updates with installation dates for future reference.
Research known issues before installing major feature updates. Microsoft’s release notes and community forums often identify compatibility problems before widespread deployment.
Configure automatic driver updates carefully. Hardware specific drivers frequently cause compatibility issues, so consider manual driver management for critical systems.
Conclusion
Uninstalling problematic Windows updates doesn’t have to be complicated or risky. The methods outlined in this guide provide multiple approaches suitable for different skill levels and situations. Start with the Settings app or Control Panel for straightforward removals, then progress to command line tools for more complex scenarios.
Remember that prevention often proves more effective than remediation. Create regular backups, test updates when possible, and monitor system performance after installations. When problems do occur, systematic troubleshooting using the appropriate tools and methods will restore system stability quickly.
The key to successful update management lies in understanding your options and choosing the right approach for each situation. Whether you prefer graphical interfaces or command line tools, Windows provides multiple paths to resolve update related issues effectively.
Frequently Asked Questions
Can I uninstall Windows 11 feature updates?
Yes, Windows 11 allows uninstalling recent feature updates through Settings > System > Recovery > Previous version of Windows. This option remains available for 10 days after installation, after which Windows removes the rollback files to save disk space.
Will uninstalling updates affect my personal files?
No, removing Windows updates only affects system files and applications. Personal documents, photos, and user created content remain untouched during the uninstallation process. However, always maintain current backups as a precautionary measure.
How do I prevent Windows from automatically reinstalling removed updates?
Use Group Policy Editor (Pro/Enterprise) or registry modifications (Home) to control automatic update behavior. You can also hide specific updates using the Windows Update troubleshooter or third party tools to prevent reinstallation.
What should I do if my computer won’t boot after removing an update?
Boot into Safe Mode or use the Windows Recovery Environment to access System Restore. Choose a restore point created before the update removal to return your system to a working state. If System Restore fails, use startup repair tools or reinstall Windows as a last resort.
Is it safe to remove security updates?
Removing security updates reduces system protection against known vulnerabilities. Only remove security updates if they cause critical system failures, and prioritize finding alternative solutions or updated versions that resolve both security and compatibility issues.

- What is One Challenge in Ensuring Fairness in Generative AI: The Hidden Bias Problem - August 15, 2025
- How Small Language Models Are the Future of Agentic AI - August 15, 2025
- What Are the Four Core Characteristics of an AI Agent? - August 15, 2025