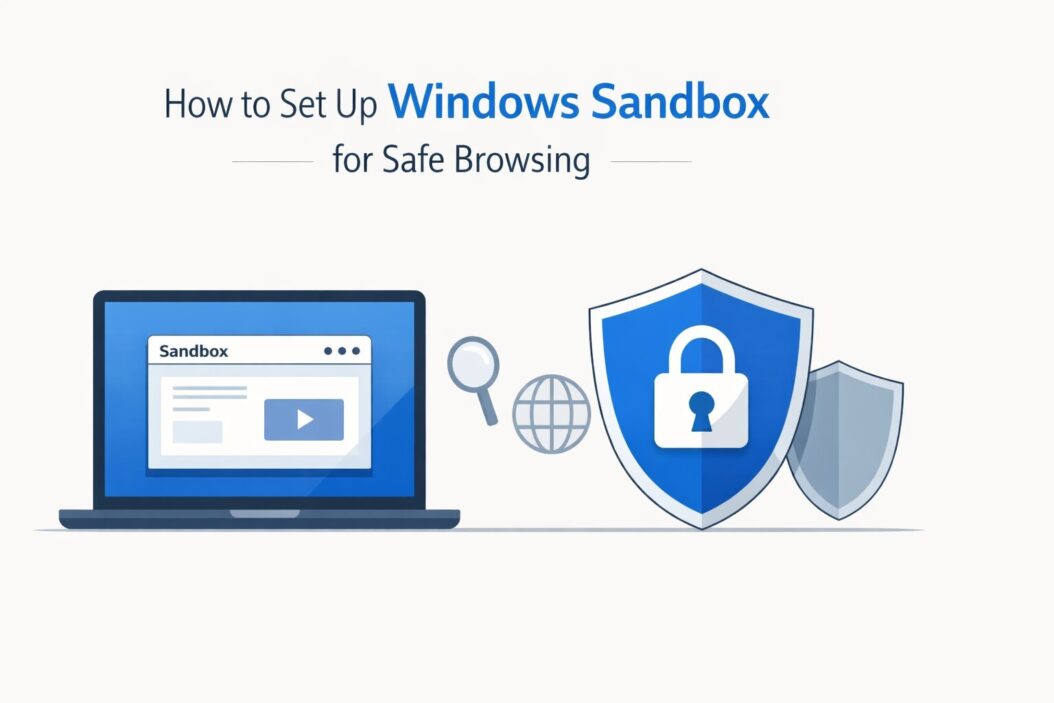
Windows Sandbox lets you browse the internet, test software, and open suspicious files inside a completely isolated environment. When you close it, everything inside disappears. Your real system stays untouched.
This guide walks you through enabling Windows Sandbox, configuring it for safe browsing, and getting the most out of it in 2026.
What Is Windows Sandbox
Windows Sandbox is a built-in feature in Windows 10 Pro, Enterprise, and Windows 11 Pro or higher. It creates a lightweight, temporary virtual machine using your existing Windows installation. You do not need to download a separate OS.
Every time you open Sandbox, it starts fresh. No history. No cookies. No malware that can survive a reboot. When you close the window, everything inside is wiped clean.
Think of it as a throwaway browser session with full Windows running inside it.
Why Use It for Browsing
Most people underestimate how much risk comes from regular browsing. Malicious ads, drive-by downloads, phishing pages, and shady extensions can all compromise your system without you realizing it.
Windows Sandbox solves this problem at the OS level:
- Malware inside Sandbox cannot reach your real files
- Tracking cookies vanish when you close it
- Downloaded files do not persist to your main system unless you copy them out
- Browser exploits cannot escape the sandbox boundary
It is not a replacement for antivirus software. But it adds a very strong second layer of protection for high-risk activities like visiting unknown sites or downloading files you are not sure about.
System Requirements
Before you enable it, check that your system qualifies.
| Requirement | Minimum Spec |
|---|---|
| Windows Version | Windows 10 Pro/Enterprise or Windows 11 Pro/Enterprise/Education |
| CPU | 64-bit processor with at least 2 cores |
| Virtualization | Hardware virtualization enabled in BIOS |
| RAM | 4 GB minimum (8 GB recommended) |
| Storage | 1 GB free disk space |
Windows 11 Home and Windows 10 Home do not support Windows Sandbox. This is a hard limitation from Microsoft.
Step 1: Check If Virtualization Is Enabled
Windows Sandbox requires hardware virtualization. Most modern PCs have it but it might be off by default.
How to check:
- Press Ctrl + Shift + Esc to open Task Manager
- Click the Performance tab
- Select CPU
- Look for Virtualization: Enabled at the bottom right
If it says Disabled, you need to enter your BIOS/UEFI settings and enable Intel VT-x or AMD-V depending on your processor. The exact steps vary by motherboard brand, but you usually press F2, Del, or F10 during startup to access BIOS.
Step 2: Enable Windows Sandbox
This takes about two minutes.
- Press the Windows key, type Windows Features, and open Turn Windows features on or off
- Scroll down and find Windows Sandbox
- Check the box next to it
- Click OK
- Wait for Windows to install the feature
- Restart your computer when prompted
That is all. No downloads. No third-party tools.
Step 3: Open Windows Sandbox
After restarting:
- Press the Windows key
- Type Windows Sandbox
- Click the app to open it
A new window appears. It looks like a clean Windows desktop running inside a box. This is your isolated environment.
From here, you can open Microsoft Edge (which comes pre-installed inside Sandbox) and start browsing.
Step 4: Install a Different Browser Inside Sandbox
Microsoft Edge works fine inside Sandbox. But if you prefer Chrome or Firefox, you need to download and install it fresh each time, because Sandbox resets on every launch.
To install Chrome inside Sandbox:
- Open Edge inside the Sandbox window
- Go to google.com/chrome
- Download the installer
- Run it and install Chrome
- Browse using Chrome inside the Sandbox
Yes, this takes a few minutes each time. If that is too slow, read the next section on using a configuration file to automate this.
Step 5: Use a Sandbox Configuration File to Save Time
Windows Sandbox supports .wsb configuration files. These are XML files that let you automate setup, share folders between your real PC and the Sandbox, and run scripts on launch.
This is where Sandbox becomes genuinely powerful for regular use.
Create a Basic Configuration File
Open Notepad and paste this:
<Configuration>
  <MappedFolders>
    <MappedFolder>
      <HostFolder>C:\Users\YourName\Downloads</HostFolder>
      <SandboxFolder>C:\Users\WDAGUtilityAccount\Desktop\Downloads</SandboxFolder>
      <ReadOnly>true</ReadOnly>
    </MappedFolder>
  </MappedFolders>
  <LogonCommand>
    <Command>explorer.exe C:\Users\WDAGUtilityAccount\Desktop\Downloads</Command>
  </LogonCommand>
</Configuration>
Replace YourName with your actual Windows username.
Save the file with a .wsb extension, for example: SafeBrowsing.wsb
Double-click it to launch Sandbox with your custom settings.
What This Configuration Does
- Maps your Downloads folder into Sandbox as read-only
- Opens it automatically on launch
- Lets you pass files into Sandbox without giving it write access to your real system
Step 6: Configure Sandbox for Maximum Browsing Safety
Here is a more complete configuration file designed for safe browsing sessions:
<Configuration>
  <VGpu>Disable</VGpu>
  <Networking>Default</Networking>
  <MappedFolders>
    <MappedFolder>
      <HostFolder>C:\SandboxFiles</HostFolder>
      <SandboxFolder>C:\Users\WDAGUtilityAccount\Desktop\SharedFiles</SandboxFolder>
      <ReadOnly>false</ReadOnly>
    </MappedFolder>
  </MappedFolders>
  <LogonCommand>
    <Command>C:\Users\WDAGUtilityAccount\Desktop\SharedFiles\setup.bat</Command>
  </LogonCommand>
  <MemoryInMB>4096</MemoryInMB>
</Configuration>
Configuration Options Explained
| Option | What It Does |
|---|---|
| VGpu: Disable | Turns off GPU sharing, reduces attack surface |
| Networking: Default | Allows internet access (set to Disable to cut it off) |
| MappedFolders | Shares a folder between host and Sandbox |
| ReadOnly: false | Lets Sandbox write files back to the shared folder |
| MemoryInMB | Sets how much RAM Sandbox gets |
| LogonCommand | Runs a script automatically when Sandbox starts |
Create a folder called C:\SandboxFiles on your real machine. Place a setup.bat file inside it. That bat file can install Chrome, set up your preferred browser settings, or do anything else automatically.
Step 7: Set Up Automatic Browser Installation with a Batch Script
Create a file called setup.bat inside your C:\SandboxFiles folder with this content:
@echo off
echo Setting up browser...
cd C:\Users\WDAGUtilityAccount\Desktop\SharedFiles
start /wait ChromeSetup.exe /silent /install
start chrome.exe
Place your Chrome installer (renamed to ChromeSetup.exe) in the same folder.
Now every time you launch your .wsb file, Sandbox opens, installs Chrome silently, and launches it automatically. You are ready to browse in under 60 seconds.
What You Can and Cannot Do in Windows Sandbox
You Can
- Browse any website without risking your real system
- Download and open files to test them
- Run unknown executables safely
- Log in to accounts without leaving cookies on your real machine
- Test browser extensions before installing them on your main browser
You Cannot
- Save files permanently (unless you copy them to a mapped folder)
- Use GPU-intensive applications well (performance is limited)
- Access your real system’s files unless you explicitly map them
- Run Sandbox inside another virtual machine (nested virtualization has limited support)
Performance Tips
Sandbox uses real resources from your machine. Here is how to keep things smooth:
- Give Sandbox at least 4096 MB of RAM in your config file if your system has 16 GB or more
- Close other heavy applications while running Sandbox
- Disable GPU sharing if you do not need graphics acceleration
- Use a wired connection for better performance inside Sandbox
For reference, Microsoft’s own documentation on Windows Sandbox configuration is available at learn.microsoft.com and is kept up to date.
Windows Sandbox vs Other Safe Browsing Options
| Method | Isolation Level | Ease of Use | Cost | Persistent |
|---|---|---|---|---|
| Windows Sandbox | High | Easy | Free (built-in) | No |
| Virtual Machine (VirtualBox) | Very High | Moderate | Free | Yes |
| Browser Profiles | Low | Very Easy | Free | Yes |
| Incognito Mode | Very Low | Very Easy | Free | No |
| Whonix/Tails | Very High | Hard | Free | Optional |
Windows Sandbox hits a sweet spot. It is free, easy to set up, and provides genuine OS-level isolation without the complexity of full virtual machine management.
For deeper reading on browser isolation techniques, the Electronic Frontier Foundation has solid guides at eff.org/deeplinks covering privacy and security in browsing.
Common Problems and Fixes
Windows Sandbox Option Is Grayed Out
This usually means one of three things:
- You are running Windows Home edition (not supported)
- Virtualization is disabled in BIOS
- Hyper-V is not enabled
Fix: Enable virtualization in BIOS, then re-check Windows Features.
Sandbox Opens But Has No Internet Access
Your network adapter settings inside Sandbox may need adjustment. Try this:
- Open the .wsb config file
- Make sure
<Networking>Default</Networking>is set - Check if your firewall or security software is blocking virtualized network adapters
Sandbox Is Very Slow
- Increase MemoryInMB in your config file
- Close background apps on your host machine
- Disable VGpu if enabled
Clipboard Sharing Not Working
By default, clipboard sharing is enabled. If it is not working, add this to your .wsb file:
<ClipboardRedirection>Enable</ClipboardRedirection>
Conclusion
Windows Sandbox is one of the most underused security tools built into Windows. It takes less than five minutes to set up, costs nothing, and gives you a completely clean, disposable environment every time you open it.
For safe browsing, it works best when you use a configuration file to map shared folders and automate browser setup. Once that is in place, your workflow is simple: open Sandbox, browse freely, close it, and your real system is completely untouched.
If you are on Windows 10 or 11 Pro, there is no reason not to use it.
Frequently Asked Questions
Does Windows Sandbox protect against all malware?
It protects against most threats that target the file system and OS. Malware inside the Sandbox cannot access your real files or persist after you close it. However, it does not protect against network-based attacks if the Sandbox has internet access, and it cannot stop a hardware-level exploit. For most everyday use, it is more than sufficient.
Can I use Windows Sandbox on Windows 11 Home?
No. Windows Sandbox requires Windows 10 or 11 Pro, Enterprise, or Education editions. Windows Home does not include the Hyper-V components Sandbox depends on. There is no workaround for this limitation.
Does closing Windows Sandbox delete everything inside it?
Yes. Every file, browser history, downloaded file, installed app, and cookie is permanently deleted the moment you close the Sandbox window. Nothing persists unless you explicitly copy it to a mapped folder on your real system.
How much RAM does Windows Sandbox use?
By default, Sandbox allocates memory dynamically. You can set a fixed amount using the MemoryInMB option in your configuration file. For comfortable browsing, 2048 MB is usable but 4096 MB gives a much smoother experience.
Can I run Windows Sandbox and a VM at the same time?
Yes, in most cases. Both use Hyper-V under the hood. Performance will depend on your available RAM and CPU cores. On a machine with 16 GB RAM and a modern processor, running both simultaneously is generally fine for light tasks.
