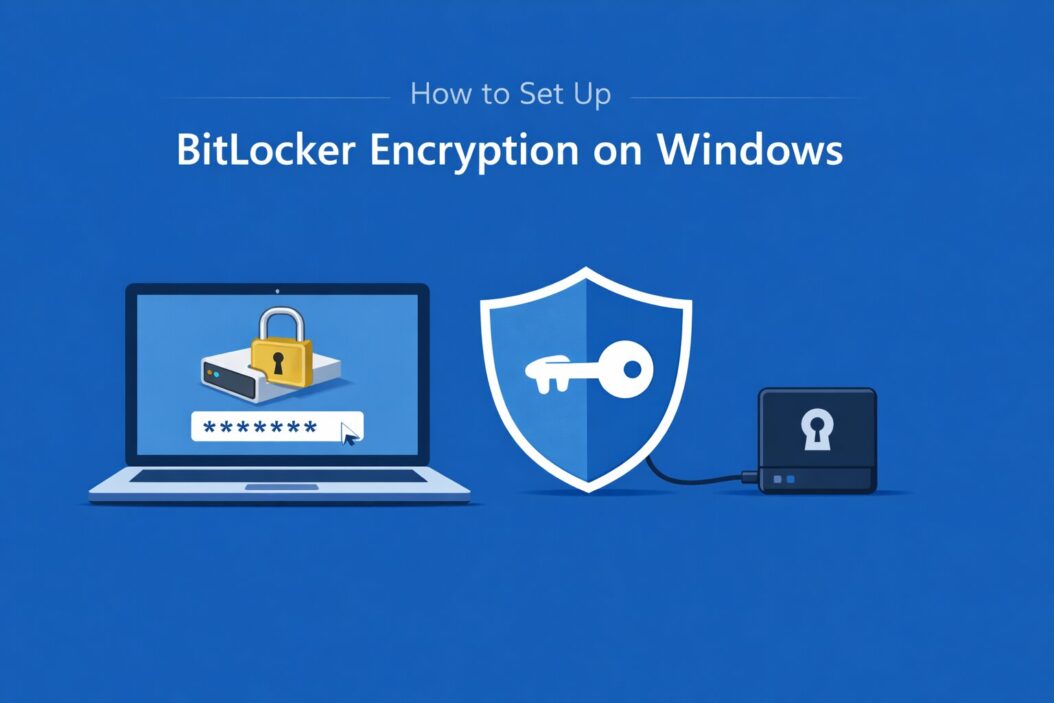
BitLocker is Windows’ built-in full-disk encryption tool. It locks your entire drive so that even if someone steals your laptop and pulls the hard drive out, they cannot read a single file without your password or recovery key. Setting it up takes under ten minutes on most systems.
This guide walks you through every step, explains what each setting actually does, and helps you avoid the mistakes most people make the first time.
What Is BitLocker and Why Should You Use It
BitLocker encrypts everything on your drive using AES encryption. When you power on your PC, you enter a PIN or plug in a USB key to unlock it. Without that, the data is unreadable scrambled text.
You need it if:
- You use a laptop that leaves your home or office
- You store sensitive client, financial, or personal data
- Your company requires encrypted devices for compliance (HIPAA, SOC 2, ISO 27001)
- You plan to sell or dispose of an old computer
Even if you use a strong Windows login password, it does not protect your data if someone removes the drive and reads it directly. BitLocker closes that gap completely.
BitLocker vs BitLocker To Go
There are two versions. Standard BitLocker encrypts internal system drives and fixed data drives. BitLocker To Go encrypts removable drives like USB sticks and external hard drives. Both are covered in this guide.
Which Windows Versions Support BitLocker
| Windows Version | BitLocker Support |
|---|---|
| Windows 11 Pro, Enterprise, Education | Full BitLocker |
| Windows 11 Home | Device Encryption only (limited) |
| Windows 10 Pro, Enterprise, Education | Full BitLocker |
| Windows 10 Home | Device Encryption only (limited) |
| Windows Server 2016 and later | Full BitLocker |
If you are on Windows Home, scroll down to the Device Encryption section. It is not identical to BitLocker but it does encrypt your drive.
Before You Start: Three Things to Check
1. TPM Status
Most modern PCs have a Trusted Platform Module (TPM) chip. BitLocker uses it to store encryption keys securely. To check if yours is present:
- Press Win + R, type
tpm.msc, and press Enter - If you see “The TPM is ready for use,” you are good
- If it says no compatible TPM is found, you can still use BitLocker with a USB startup key or by enabling the no-TPM group policy (explained below)
2. Free Disk Space
Encryption requires some temporary space. Make sure you have at least 10% of your drive free before you begin.
3. Power Source
Plug in your laptop. Encryption takes time and you do not want it to stop halfway through due to a dead battery. On a 500GB SSD it typically finishes in 20 to 40 minutes. An older mechanical hard drive can take several hours.
How to Set Up BitLocker Encryption on Windows Step by Step
Step 1: Open BitLocker Drive Encryption
There are two ways to get there:
Option A: Go to Control Panel, then System and Security, then BitLocker Drive Encryption.
Option B: Open File Explorer, right-click on your C: drive, and choose “Turn on BitLocker.”
Both land you in the same place.
Step 2: Choose How to Unlock Your Drive at Startup
You will see two main options if your PC has a TPM:
- Enter a PIN: You type a PIN every time Windows boots. This is the most secure option for laptops.
- Automatically unlock: The TPM handles everything silently. No PIN required at boot. Convenient but less secure.
For most users, especially on laptops, a startup PIN is the right call. Someone who steals your laptop cannot boot Windows without that PIN.
If no TPM is detected, Windows will ask you to insert a USB drive that stores the startup key instead.
To set a PIN:
- Click “Enter a PIN”
- Type a PIN that is at least 6 digits (you can use letters too for a passphrase)
- Confirm it and click Set PIN
Avoid obvious PINs like 123456 or your birth year. A random 8-digit number works well.
Step 3: Save Your Recovery Key
This step is critical. The recovery key is a 48-digit number that unlocks your drive if you forget your PIN, replace your motherboard, or hit a hardware change that confuses the TPM. Lose this key and you lose access to your data permanently.
Windows gives you four options:
| Recovery Key Option | Best For |
|---|---|
| Save to Microsoft account | Home users, good if you trust Microsoft’s cloud |
| Save to a USB flash drive | Users who want offline backup |
| Save to a file | Saving to a separate drive or network location |
| Print the recovery key | Physical paper backup in a secure location |
Do not save the recovery key to the same drive you are encrypting. That defeats the purpose.
The safest approach is two backups. Save it to your Microsoft account AND print it or write it down and store it somewhere physically secure. If your business manages devices, your IT team should store recovery keys in Active Directory or Microsoft Intune.
Step 4: Choose How Much of the Drive to Encrypt
Windows offers two options:
- Encrypt used disk space only: Faster. Encrypts only the space currently holding data. Good for new drives or fresh Windows installs.
- Encrypt entire drive: Slower but more thorough. Encrypts every sector including deleted file remnants. Use this on drives that have been in use for a while.
For a work laptop with months of files, choose the entire drive. For a brand new PC, used disk space only is fine.
Step 5: Choose the Encryption Mode
- New encryption mode (XTS-AES): Better and faster. Use this for internal drives that will never leave Windows 10 or 11.
- Compatible mode (AES-CBC): Older format. Use this only if the drive needs to work on Windows 7 or older systems. Almost no one needs this in 2026.
Choose the new encryption mode for your system drive.
Step 6: Run the BitLocker System Check and Restart
Before encrypting, Windows asks to run a system check. Leave this enabled. It verifies that BitLocker can read your recovery key and that the startup process works correctly before locking your drive.
Click Continue. Windows will prompt you to restart.
After the restart, you will enter your PIN for the first time. Windows will then begin encrypting in the background. You can use your PC normally during this process. Check progress by opening the BitLocker Drive Encryption panel again.
How to Encrypt a Second Drive or Data Drive
If you have a D: drive or an external drive you want to protect:
- Open BitLocker Drive Encryption
- Click “Turn on BitLocker” next to the data drive
- Choose to unlock with a password or a smart card
- Save the recovery key (same advice as above)
- Choose the encryption scope and mode
- Click Start Encrypting
You can also set data drives to automatically unlock when the system drive is unlocked, so you do not need to enter a second password every time.
How to Encrypt a USB Drive With BitLocker To Go
- Plug in the USB drive
- Open File Explorer and right-click the USB drive
- Click “Turn on BitLocker”
- Choose “Use a password to unlock the drive”
- Enter a strong password and confirm it
- Save the recovery key
- Choose encryption mode (compatible mode if others might use this USB on older Windows versions)
- Click Start Encrypting
The USB will now ask for a password every time it is plugged into a Windows PC. On Macs it will appear as a read-only volume unless decrypted first.
Enabling BitLocker Without a TPM
If your PC does not have a TPM chip or if it is disabled in BIOS, you need to change a Group Policy setting first.
- Press Win + R, type
gpedit.msc, press Enter - Navigate to: Computer Configuration > Administrative Templates > Windows Components > BitLocker Drive Encryption > Operating System Drives
- Double-click “Require additional authentication at startup”
- Set it to Enabled
- Check the box that says “Allow BitLocker without a compatible TPM”
- Click OK and close Group Policy Editor
Now go back and follow the standard setup steps. Windows will ask you to use a USB startup key or a password instead of relying on the TPM.
Note: gpedit.msc is not available on Windows Home editions. Home users would need to either upgrade to Pro or use a third-party tool like VeraCrypt. The open-source VeraCrypt is a solid alternative and works on all Windows editions. You can learn more about it at veracrypt.fr.
Managing BitLocker After Setup
Check Encryption Status
Open an elevated Command Prompt (right-click, Run as administrator) and type:
manage-bde -status
This shows which drives are encrypted, what protection method is active, and the percentage complete if encryption is still running.
Suspend BitLocker Temporarily
If you are about to update your BIOS or make significant hardware changes, suspend BitLocker first. Otherwise the TPM may detect a changed boot environment and lock you out.
- Open BitLocker Drive Encryption
- Click “Suspend protection” next to your C: drive
- Confirm
BitLocker resumes automatically after one reboot. Do not forget to resume it manually if you need it back sooner.
Backing Up Your Recovery Key Later
If you ever need to save your recovery key again:
- Open BitLocker Drive Encryption
- Click “Back up your recovery key” next to the drive
- Choose your backup method
Turning Off BitLocker
If you need to decrypt your drive:
- Open BitLocker Drive Encryption
- Click “Turn off BitLocker” next to the drive
- Confirm and wait for decryption to finish
Decryption takes roughly the same amount of time as encryption did.
BitLocker and Microsoft Accounts: What Happens Automatically
On Windows 11 Home and on some Windows 11 Pro systems with modern hardware, BitLocker or Device Encryption may turn on automatically when you sign in with a Microsoft account. Your recovery key gets uploaded to your Microsoft account silently.
To check: visit account.microsoft.com/devices/recoverykey while signed in. If you see a recovery key listed there, your device is already encrypted.
This is actually good news for most home users. But if you prefer not to store the key in Microsoft’s cloud, you should export it, save it locally, and then remove it from the Microsoft account or manage it through a local Group Policy.
Common BitLocker Problems and Fixes
BitLocker Keeps Asking for Recovery Key at Every Boot
This usually means the TPM detected a change in the boot environment. Common causes include:
- A BIOS or firmware update
- A new bootable USB drive left in the PC
- Secure Boot settings changed
- A Windows update that modified the boot configuration
After entering the recovery key, Windows should resume normally. If it keeps asking after that, suspend and re-enable BitLocker to reset the TPM measurements.
Forgot BitLocker PIN
You cannot reset the PIN from outside Windows. You need to enter the recovery key to unlock the drive, then change the PIN from inside Windows.
- At the BitLocker PIN screen, press Escape
- Enter your 48-digit recovery key
- Boot into Windows
- Open BitLocker Drive Encryption
- Click “Change PIN”
Encryption Stuck or Paused
If encryption pauses (often due to a reboot or laptop sleep), it resumes automatically next time you log in. You do not need to do anything. Just check the BitLocker panel to confirm it is running again.
BitLocker Option Is Grayed Out
This usually happens because:
- Your TPM is disabled in BIOS: Enter BIOS settings, find the TPM or PTT setting, and enable it
- Your drive uses a hardware encryption standard that conflicts with BitLocker: Check the drive manufacturer’s documentation
- Group Policy on a domain-joined PC is restricting changes: Contact your IT administrator
For a detailed reference on BitLocker deployment, Microsoft’s official documentation at learn.microsoft.com/windows/security/information-protection/bitlocker covers enterprise scenarios and command-line management in depth.
BitLocker Encryption Modes Reference
| Setting | Recommended Choice | Why |
|---|---|---|
| Encryption algorithm | XTS-AES 128-bit | Strong and fast on modern CPUs |
| Startup unlock method | TPM + PIN | Best balance of security and convenience |
| Recovery key storage | Two locations | Redundancy prevents permanent lockout |
| Drive scope | Entire drive (existing PCs) | Clears remnants of old files |
| BitLocker To Go mode | Compatible mode | Works across Windows versions |
Device Encryption on Windows Home
Windows Home does not include the full BitLocker control panel but it does support Device Encryption on hardware that meets specific requirements (TPM 2.0, UEFI, Secure Boot, Modern Standby).
To check and enable it:
- Go to Settings
- Click Privacy and Security
- Click Device Encryption
- Toggle it on if it is off
The recovery key gets saved to your Microsoft account automatically. Device Encryption uses the same AES-128 or AES-256 encryption as BitLocker, just without the granular control over drives and startup options.
If your PC does not show Device Encryption, your hardware may not meet the requirements. In that case, VeraCrypt is your best free alternative.
Conclusion
Setting up BitLocker encryption on Windows is one of the most effective things you can do to protect your data. It takes less than ten minutes, runs silently in the background, and gives you solid protection against physical theft and unauthorized access.
The three things that matter most: save your recovery key in two places, use a startup PIN on laptops, and encrypt the entire drive on devices that have been used for any significant time. Do those three things and your data is in a far better position than 90% of Windows users.
If you are on Windows Home, turn on Device Encryption and save the recovery key. If you need more control, upgrade to Pro or use VeraCrypt. Either way, an encrypted drive is not optional anymore in 2026.
Frequently Asked Questions
Does BitLocker slow down my computer?
On any PC made in the last five years, the performance impact is negligible. Modern CPUs include AES hardware acceleration (Intel AES-NI and AMD equivalent) that handles encryption at near-native disk speeds. Older PCs with mechanical hard drives will see a slightly larger impact, but it rarely affects day-to-day use in a noticeable way.
What happens to BitLocker when I reinstall Windows?
Reinstalling Windows on a BitLocker-encrypted drive will trigger a recovery key request during setup. Have your recovery key ready. After the reinstall, you will need to re-enable BitLocker from scratch since a clean install creates a new Windows environment.
Can I use BitLocker on a dual-boot system with Linux?
Yes, but it requires care. The Linux bootloader can modify the boot configuration in a way the TPM sees as suspicious, triggering recovery key prompts. The most reliable approach is to disable the TPM-based protector and use a password-only unlock mode, or to configure your BIOS to boot each OS from a separate drive without touching the other boot environment.
Is BitLocker safe enough for business and compliance use?
BitLocker with XTS-AES 256-bit encryption meets the requirements for most major compliance frameworks including HIPAA, PCI DSS, and various ISO standards. For enterprise deployments, pair it with Microsoft Intune or Active Directory to centrally store recovery keys and enforce encryption policy across all devices.
What is the difference between 128-bit and 256-bit BitLocker encryption?
Both are considered unbreakable by current standards. AES-128 is slightly faster. AES-256 provides a larger security margin against future cryptographic advances. For most users and even most businesses, 128-bit is sufficient. If you are in a government, defense, or high-sensitivity environment, 256-bit is the right choice. You can set this via Group Policy before enabling BitLocker.
