Taking screenshots on a Mac is simple once you know the keyboard shortcuts. Press Shift + Command + 3 to capture your entire screen, or Shift + Command + 4 to select a specific area. Your screenshot saves automatically to your desktop as a PNG file.
That’s the quick answer. But Mac offers several screenshot methods, each designed for different situations. This guide covers every way to capture your screen, where files go, and how to customize the process.
Mac Screenshot Basics
Mac computers come with built-in screenshot tools that don’t require any third-party software. Every method uses keyboard shortcuts, which might feel awkward at first but become natural with practice.
Screenshots save to your desktop by default. The file name includes the date and time, like “Screenshot 2026-01-26 at 2.30.15 PM.png”. This automatic naming helps you organize captures without manually renaming each one.
The Three Main Keyboard Shortcuts
Capture the Entire Screen
Press Shift + Command + 3 simultaneously.
Your screen flashes white briefly. The screenshot appears on your desktop within seconds.
This method works best when you need to save everything visible on your monitor. Multiple displays? Each screen gets its own screenshot file.
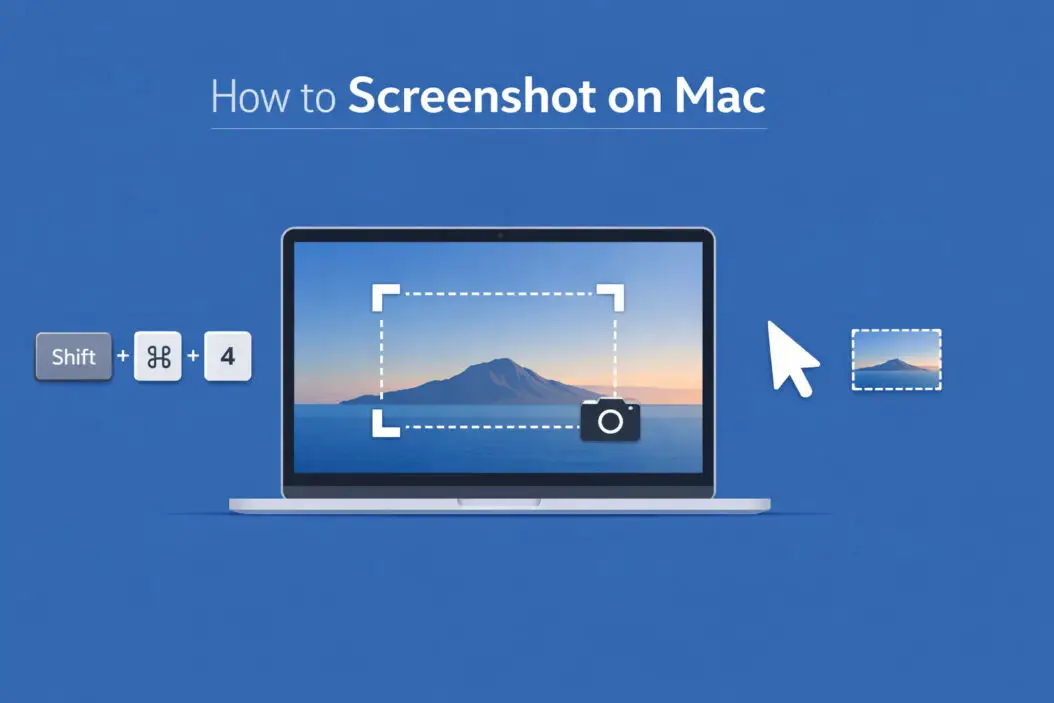
Select a Specific Area
Press Shift + Command + 4.
Your cursor changes to a crosshair. Click and drag to select the area you want. Release your mouse button to capture.
The selected region becomes your screenshot. This method gives you precision control over what you capture.
Pro tip: After pressing Shift + Command + 4, press the spacebar to switch to window capture mode. Your cursor becomes a camera icon. Click any window to capture just that window with a clean border.
Open the Screenshot Toolbar
Press Shift + Command + 5.
A control panel appears at the bottom of your screen with all screenshot options visible. This toolbar is the most beginner-friendly method because you can see your choices instead of memorizing shortcuts.
The toolbar includes:
- Capture entire screen
- Capture selected window
- Capture selected portion
- Record entire screen
- Record selected portion
Screenshot Toolbar Features Explained
The toolbar (Shift + Command + 5) offers more than basic captures. Click “Options” to access powerful settings.
Save Location
Change where screenshots save:
- Desktop (default)
- Documents
- Clipboard
- Messages
- Preview
- Custom folder
Saving to clipboard means the screenshot doesn’t create a file. Instead, it’s ready to paste directly into an email, document, or image editor.
Timer Options
Set a 5-second or 10-second delay before the screenshot captures.
This helps when you need to:
- Position your cursor somewhere specific
- Open a menu that disappears when you press keys
- Capture a tooltip or hover state
- Get yourself out of the frame during a screen recording
Show Mouse Pointer
Toggle whether your cursor appears in screenshots. Useful for tutorials where you want to show exactly where to click.
Advanced Screenshot Techniques
Capture Touch Bar Content
MacBook Pro models with a Touch Bar need a different shortcut.
Press Shift + Command + 6 to screenshot your Touch Bar.
The image saves to your desktop like regular screenshots. This helps document Touch Bar customizations or create tutorials for Touch Bar features.
Copy Instead of Save
Add the Control key to any screenshot shortcut to copy the image to your clipboard instead of saving a file.
Examples:
- Control + Shift + Command + 3 = Copy entire screen
- Control + Shift + Command + 4 = Copy selected area
This skips the file creation step when you want to paste directly into another app.
Cancel a Screenshot in Progress
Changed your mind? Press Escape to cancel after triggering a screenshot shortcut.
Working with Screenshot Thumbnails
Recent macOS versions show a small thumbnail preview in the bottom-right corner after taking a screenshot. This thumbnail disappears after a few seconds.
Quick Edits
Click the thumbnail before it disappears to open markup tools.
Available markup options:
- Draw with different colors and pen styles
- Add text boxes
- Insert shapes (arrows, circles, rectangles)
- Crop the image
- Add your signature
- Magnify specific areas
Click “Done” to save your edits. The original screenshot updates with your changes.
Drag and Drop
Drag the thumbnail directly into an email, message, or document before it disappears. This creates an instant share without opening files or folders.
Delete Immediately
Don’t need the screenshot after all? Swipe the thumbnail left and click the trash icon. The file deletes without cluttering your desktop.
Screenshot App for More Control
macOS includes a dedicated Screenshot app found in Applications > Utilities > Screenshot.
Opening this app is identical to pressing Shift + Command + 5. The app exists primarily for users who prefer clicking an icon to pressing keyboard shortcuts.
You can add Screenshot to your Dock for one-click access:
- Open Applications > Utilities
- Find Screenshot
- Drag it to your Dock
- Release to create a permanent shortcut
Changing Default Screenshot Settings
You can customize screenshot behavior through Terminal commands or third-party apps. Most users find the built-in options sufficient, but power users appreciate these tweaks.
Change File Format
Screenshots save as PNG files by default. PNG offers high quality but larger file sizes.
To change the format to JPG (smaller files):
- Open Terminal (Applications > Utilities > Terminal)
- Type:
defaults write com.apple.screencapture type jpg - Press Enter
- Type:
killall SystemUIServer - Press Enter
Replace “jpg” with “pdf”, “tiff”, or “gif” for other formats. To return to PNG, use “png” in the command.
Remove Screenshot Shadows
Window screenshots include a subtle drop shadow. Remove it with this Terminal command:
defaults write com.apple.screencapture disable-shadow -bool true
Then restart SystemUIServer:
killall SystemUIServer
Change Default Filename
The default name “Screenshot” can change to anything you prefer:
defaults write com.apple.screencapture name "YourNameHere"
Then: killall SystemUIServer
Your screenshots now start with “YourNameHere” followed by the date and time.
Troubleshooting Common Screenshot Problems
Screenshots Not Saving
Check your save location in the Screenshot toolbar options. If set to Clipboard, screenshots won’t create files.
Verify you have write permission to the save location. Try changing the save location to Desktop temporarily.
Restart your Mac if screenshots completely stop working. This resets the screenshot service.
Wrong Key Combination
Mac keyboards vary slightly. Some models require the fn key for certain shortcuts to work.
If Shift + Command + 3 doesn’t work, try: fn + Shift + Command + 3
This primarily affects keyboards with media control keys where F-keys require the fn modifier.
Screenshot Shows Black Screen
Some apps block screenshots for security or privacy reasons. Banking apps, streaming services, and corporate software often prevent screen capture.
Certain DRM-protected content appears black in screenshots even when visible on screen. This is intentional protection by the content provider.
No Sound When Taking Screenshots
macOS Ventura and later versions removed the camera shutter sound. This isn’t a problem, it’s an intentional change.
If you prefer audio feedback, enable VoiceOver (System Settings > Accessibility > VoiceOver) for confirmation sounds.
Third-Party Screenshot Tools
Apple’s built-in tools handle most needs, but specialized apps add features like:
CleanShot X offers scrolling captures for long webpages, cloud uploading, and annotation tools. It’s popular among professionals who screenshot frequently.
Snagit provides advanced editing, video recording with editing, and organized screenshot libraries. Best for content creators and technical writers.
Most users don’t need these apps. Start with built-in Mac tools and upgrade only if you identify specific missing features.
Screenshot Organization Tips
Regular screenshot users accumulate hundreds of files. Keep them organized with these strategies.
Create a Screenshot Folder
- Make a new folder: Documents > Screenshots
- Open Screenshot toolbar (Shift + Command + 5)
- Click Options > Save to > Other Location
- Select your Screenshots folder
All new screenshots save to this dedicated location instead of cluttering your desktop.
Use Descriptive Names
Rename important screenshots immediately. Right-click the file, choose Rename, and type something meaningful.
Instead of “Screenshot 2026-01-26 at 3.45.12 PM.png”, use “expense-report-january.png”.
Regular Cleanup
Schedule monthly desktop cleanup. Sort screenshots by date, move keepers to organized folders, delete the rest.
The Finder search function helps locate all screenshots at once. Search for “Screenshot” in your home folder to find everything.
Screenshots for Different Purposes
Tutorial Creation
Capture clear, focused screenshots for instructions:
- Use Shift + Command + 4 for precise area selection
- Enable mouse pointer in toolbar options
- Leave space around the important element
- Use markup tools to add arrows or highlights
Bug Reporting
Developers need specific information when you report software problems:
- Capture the entire window (Shift + Command + 4, then Spacebar)
- Include menu bars and error messages
- Take multiple screenshots showing the sequence of events
- Note the timestamp in the filename
Presentations
Clean screenshots enhance slides and documents:
- Disable shadows for professional appearance
- Capture at high resolution
- Crop unnecessary content using markup tools
- Save as JPG if file size matters
Social Media Sharing
Optimize screenshots for online posting:
- Select only relevant content (Shift + Command + 4)
- Use markup to protect private information
- Consider screen size on mobile devices
- Resize large images before uploading
Privacy and Security Considerations
Screenshots capture everything visible, including sensitive information. Always review before sharing.
Information to Check
Look for these items before sharing screenshots:
- Email addresses in correspondence
- Phone numbers in contacts or messages
- Account numbers in banking apps
- Passwords in password managers
- Private messages or notifications
- Location data in map applications
Markup for Privacy
Use the markup rectangle tool to cover sensitive data:
- Click the screenshot thumbnail
- Select the rectangle shape
- Choose black or solid color fill
- Draw over private information
- Verify coverage before sharing
Professional Settings
Corporate computers may restrict screenshots in certain applications. Apple’s enterprise security features allow IT departments to control screenshot capabilities.
If screenshots don’t work in specific apps, check with your IT department about company policies.
Comparison of Screenshot Methods
| Method | Best For | Saves As | Speed |
|---|---|---|---|
| Shift + Cmd + 3 | Full screen capture | File | Instant |
| Shift + Cmd + 4 | Selected area | File | Quick |
| Shift + Cmd + 4 + Space | Single window | File | Quick |
| Shift + Cmd + 5 | Visual control panel | File/Clipboard | Medium |
| Shift + Cmd + 6 | Touch Bar only | File | Instant |
| Control + Any shortcut | Direct to clipboard | Clipboard | Instant |
Screen Recording on Mac
The screenshot toolbar (Shift + Command + 5) also handles screen recording.
Click “Record Entire Screen” or “Record Selected Portion” to start. A record button appears in the menu bar. Click it to stop recording.
Recordings save as MOV files to the same location as screenshots. File sizes can be large, so monitor your storage space.
Recording options include:
- Show mouse clicks visually
- Record microphone audio
- Set timer before recording starts
Screen recording requires more system resources than screenshots. Close unnecessary apps for smooth recording.
Keyboard Shortcuts Quick Reference
Full screen: Shift + Command + 3
Selected area: Shift + Command + 4
Single window: Shift + Command + 4, then Spacebar
Screenshot toolbar: Shift + Command + 5
Touch Bar: Shift + Command + 6
Copy to clipboard: Add Control to any shortcut
Print this list or save it as a screenshot for easy reference.
Frequently Asked Questions
Where do screenshots save on Mac?
Screenshots save to your desktop by default. You can change this location through the Screenshot toolbar (Shift + Command + 5) by clicking Options and selecting a different save location. Popular alternatives include Documents, Downloads, or a custom Screenshots folder.
How do I screenshot on a Mac without a keyboard?
If your keyboard isn’t working, open the Screenshot app from Applications > Utilities > Screenshot. This gives you all screenshot options through clicking instead of keyboard shortcuts. You can also use Spotlight search (click the magnifying glass in the menu bar) to find and open Screenshot.
Can I edit screenshots on Mac without additional software?
Yes. Click the thumbnail that appears after taking a screenshot to access built-in markup tools. You can crop, draw, add text, insert shapes, and highlight areas. For more advanced editing, double-click any saved screenshot to open it in Preview, which offers additional tools like color adjustment and rotation.
Why are my Mac screenshots blurry?
Screenshots capture exactly what displays on screen at your current resolution. If your display is set to a scaled resolution, screenshots may appear less sharp. Check System Settings > Displays and ensure you’re using the recommended resolution. Some apps also render at lower quality when scaled, which screenshots will capture accurately.
How do I take a screenshot of just one monitor on a Mac with multiple displays?
Press Shift + Command + 3 to capture all screens simultaneously. Each monitor creates a separate screenshot file. Alternatively, use Shift + Command + 4 to manually select the area on one specific monitor, giving you control over which screen to capture.
Conclusion
Taking screenshots on Mac requires just a few keyboard shortcuts. Shift + Command + 3 captures everything, Shift + Command + 4 lets you select specific areas, and Shift + Command + 5 opens the full control panel.
Most users need only these three shortcuts for daily screenshot tasks. The built-in tools offer enough flexibility for casual and professional use without installing additional software.
Practice the shortcuts a few times and they become automatic. Start with the screenshot toolbar if keyboard combinations feel awkward. Once comfortable with the basics, explore advanced features like markup tools, custom save locations, and clipboard copying.

- How to Fix Overscan on Windows 11/10: Stop Your Screen Getting Cut Off (2026) - April 1, 2026
- How to Disable Lock Screen on Windows 11/10 in 2026 - April 1, 2026
- Top 7 NFT Integration Ideas for Brands in 2026 - March 31, 2026