You just need a screenshot. You know how to do it on Windows, but the Mac keyboard has no Print Screen key anywhere. So what now?
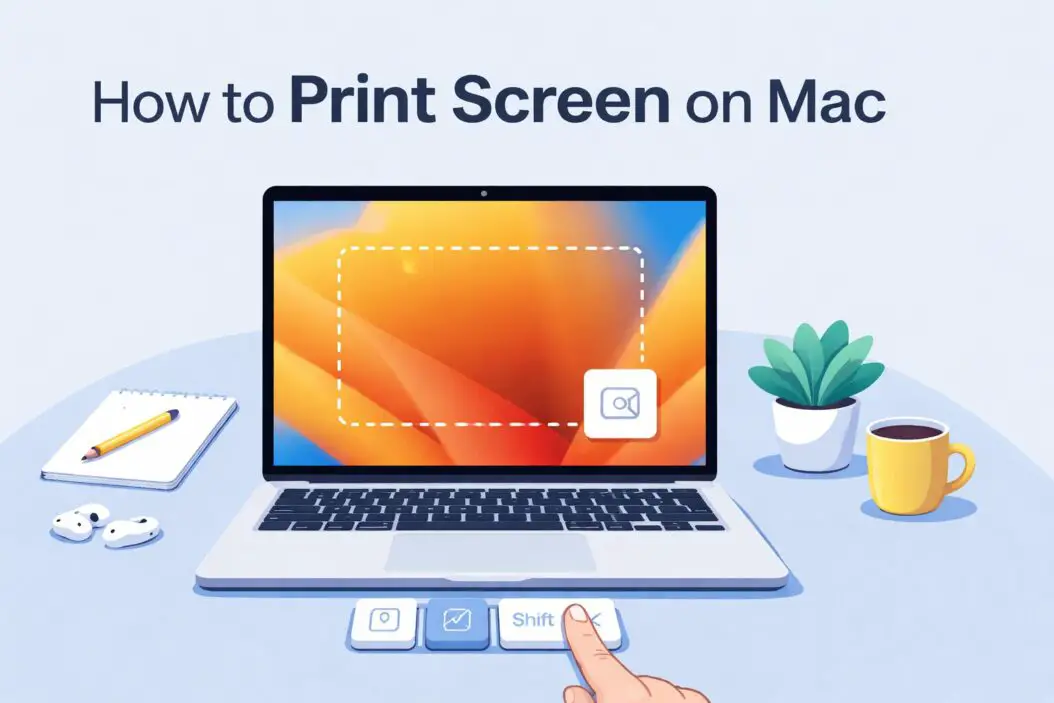
Here is the short answer: on a Mac, you press Command + Shift + 3 to capture your entire screen instantly. The image saves to your desktop. That is it.
But there is a lot more to Mac screenshots than one shortcut. This guide covers every method, every tool, and every situation you might run into, including how to capture part of a screen, how to screenshot on a MacBook with a Touch Bar, how to copy directly to your clipboard, and how to use the built-in Screenshot app for more control.
Why Mac Has No Print Screen Key
Apple replaced the Print Screen key with keyboard shortcuts years ago. The reasoning was practical: a single key only does one thing, while a shortcut combination can do several, like capturing the full screen, a region, a window, or sending the image to the clipboard instead of saving a file.
Once you learn the three main shortcuts, you will actually find them faster than the old Print Screen workflow.
The Main Mac Screenshot Shortcuts
Command + Shift + 3: Capture the Entire Screen
This is the closest Mac equivalent to the Windows Print Screen key.
Press all three keys at the same time. You will hear a camera shutter sound (if your volume is on), and a thumbnail preview appears in the bottom-right corner of your screen for a few seconds. The screenshot saves as a PNG file on your desktop automatically.
If you have multiple monitors, each screen gets its own screenshot file.
Command + Shift + 4: Capture a Selected Area
After pressing this shortcut, your cursor turns into a crosshair. Click and drag to draw a box around the area you want to capture. Release the mouse button, and the screenshot saves to your desktop.
Useful tricks with this shortcut:
- Hold Shift after you start dragging to lock the selection to one axis (horizontal or vertical)
- Hold Option to resize the selection from the center outward
- Hold Space while dragging to move the entire selection box without resizing it
- Press Escape at any time to cancel without taking the screenshot
Command + Shift + 4, Then Space: Capture a Single Window
This one is worth memorizing separately. Press Command + Shift + 4, then immediately press the Space bar. Your cursor changes to a small camera icon. Hover over any open window and it highlights in blue. Click the window to capture it.
The screenshot includes the window’s drop shadow by default, which gives it a clean, polished look. If you want to remove the shadow, hold Option when you click the window.
Command + Shift + 5: Open the Screenshot Toolbar
This shortcut opens the Screenshot app as a floating toolbar at the bottom of your screen. It gives you buttons for all capture types in one place, plus recording options.
The toolbar shows five icons:
- Capture entire screen
- Capture a window
- Capture a selected portion
- Record entire screen
- Record a selected portion
There is also an Options menu on the right side of the toolbar. From there you can:
- Change where screenshots are saved (Desktop, Documents, Clipboard, Mail, Messages, or a custom folder)
- Set a timer (5 or 10 seconds) so you can set up what you want to capture before the shot fires
- Toggle whether to show the floating thumbnail after capture
- Toggle whether to show the mouse cursor in the screenshot
Press Escape to close the toolbar without taking a screenshot.
How to Copy a Screenshot to Clipboard Instead of Saving a File
Sometimes you do not want a file saved at all. You just need the image in your clipboard so you can paste it into Slack, an email, a document, or a design tool.
Add Control to any of the standard shortcuts:
| What you want | Shortcut |
|---|---|
| Copy full screen to clipboard | Command + Control + Shift + 3 |
| Copy selected area to clipboard | Command + Control + Shift + 4 |
| Copy a window to clipboard | Command + Control + Shift + 4, then Space, then click window |
After pressing the shortcut, use Command + V to paste the image wherever you need it.
Using the Screenshot App Directly
The Screenshot app lives in your Applications > Utilities folder. You can open it from Spotlight by pressing Command + Space, typing “Screenshot,” and pressing Enter.
It opens the same toolbar that appears with Command + Shift + 5. For most people, the keyboard shortcut is faster, but if you find the toolbar useful, you can add Screenshot to your Dock for quick access.
How to Take a Screenshot on a MacBook with Touch Bar
If you have a MacBook Pro with a Touch Bar, capturing the Touch Bar itself is a separate action from capturing the main screen.
To screenshot the Touch Bar, press: Command + Shift + 6
This saves an image of whatever is currently displayed in the Touch Bar. The file is a wide, short PNG that captures the full strip.
Where Do Mac Screenshots Save?
By default, screenshots save to your Desktop as PNG files. The file name follows this format: “Screenshot [date] at [time].png” (for example, Screenshot 2026-03-05 at 10.34.21 AM.png).
If your desktop is getting cluttered, you can change the default save location.
To change where screenshots save:
- Press Command + Shift + 5 to open the Screenshot toolbar
- Click Options
- Under “Save to,” select an existing location or click “Other Location” to choose any folder on your Mac
You can also set screenshots to copy directly to the clipboard by default from the same menu, which keeps your desktop clean entirely.
How to Edit a Screenshot Right After Taking It
When you take a screenshot, a small thumbnail appears in the bottom-right corner for a few seconds. Do not ignore it.
Click the thumbnail before it disappears and it opens in Markup, Apple’s built-in quick-edit tool. From there you can:
- Crop the image
- Draw, highlight, or annotate
- Add text, arrows, shapes, or a magnifier
- Sign the image
- Rotate or flip it
Click Done to save. If you want to discard the edits, click the trash icon.
If the thumbnail disappears before you click it, find the screenshot on your desktop and open it in Preview. Preview also has Markup tools (View > Show Markup Toolbar).
Third-Party Screenshot Tools Worth Knowing
The built-in Mac tools are solid for most uses. But if you take a lot of screenshots for work, documentation, or tutorials, a dedicated app can speed up your workflow significantly.
CleanShot X is one of the most popular options. It lets you capture scrolling windows (entire web pages in one shot), annotate with more precision, record GIFs, and manage a screenshot history so nothing gets lost. You can learn more about what it offers at cleanshot.app.
Snagit from TechSmith is another professional-grade option, widely used for creating documentation, tutorials, and instructional content. It includes a full image editor and video capture.
For most everyday users, the native Mac tools are more than enough. These third-party tools matter most when screenshots are a core part of your daily work.
Screenshot Shortcut Quick Reference Table
| Action | Shortcut | Output |
|---|---|---|
| Capture full screen | Command + Shift + 3 | Saved to desktop |
| Capture full screen to clipboard | Command + Control + Shift + 3 | Clipboard |
| Capture selected area | Command + Shift + 4 | Saved to desktop |
| Capture selected area to clipboard | Command + Control + Shift + 4 | Clipboard |
| Capture a window | Command + Shift + 4, then Space | Saved to desktop |
| Capture a window to clipboard | Command + Control + Shift + 4, then Space | Clipboard |
| Open Screenshot toolbar | Command + Shift + 5 | Opens toolbar |
| Capture Touch Bar | Command + Shift + 6 | Saved to desktop |
Common Problems and How to Fix Them
Screenshots are not saving anywhere
First check your save location. Open Command + Shift + 5, click Options, and see where it is set to save. If it says Clipboard, your screenshots are going there instead of to a file. Switch to Desktop or a folder.
The keyboard shortcuts are not working
Another app on your Mac may have claimed the same shortcut. Go to System Settings > Keyboard > Keyboard Shortcuts > Screenshots and check whether the shortcuts are enabled and not conflicting with another app.
The screenshot thumbnail is not appearing
Open Command + Shift + 5, click Options, and make sure “Show Floating Thumbnail” is checked.
Screenshots look blurry when pasted
Mac screenshots are high-resolution PNG files. If the image looks blurry after pasting, the destination app may be compressing or resizing it. Try inserting it as a file attachment rather than pasting directly, or check the app’s image quality settings.
I need to capture a dropdown menu or tooltip
The timer feature in the Screenshot toolbar is exactly for this. Press Command + Shift + 5, click Options, set a 5-second timer, then click the capture button. You have five seconds to open your menu before the screenshot fires.
How Screenshots Work on macOS Ventura and Later
If your Mac is running macOS Ventura (2022) or any newer version including macOS Sequoia (2024), the screenshot workflow described above applies in full. Apple has kept these shortcuts consistent for several years, so the same commands that worked in macOS Big Sur still work today.
One small addition in recent macOS versions: when you open the Screenshot toolbar, you will see a “Record” option right alongside the capture options. Screen recording is fully integrated into the same tool, so you do not need a separate app just to record your screen.
Conclusion
Taking a screenshot on a Mac is fast once you know the shortcuts. Use Command + Shift + 3 for a full-screen capture, Command + Shift + 4 to draw a region, or add the Space bar after that last shortcut to capture a specific window cleanly. Add Control to any of those to send the image to your clipboard instead of saving a file.
If you want more control over format, save location, and timing, open the Screenshot toolbar with Command + Shift + 5. It gives you everything in one place without needing a third-party app.
Frequently Asked Questions
How do I print screen on a Mac keyboard?
Mac keyboards do not have a dedicated Print Screen key. The equivalent is Command + Shift + 3, which captures your entire screen and saves it as a PNG file to your desktop. If you want to copy to clipboard instead, use Command + Control + Shift + 3.
Where do screenshots go on a Mac?
By default, screenshots save to your Desktop as PNG files named with the date and time. You can change the save location by opening the Screenshot toolbar (Command + Shift + 5), clicking Options, and choosing a different folder or location.
How do I screenshot just part of the screen on Mac?
Press Command + Shift + 4. Your cursor changes to a crosshair. Click and drag to select the area you want to capture. Release the mouse button to take the screenshot. The image saves to your desktop.
How do I take a screenshot on a Mac and copy it to clipboard?
Add the Control key to the usual shortcuts. For a full-screen copy, press Command + Control + Shift + 3. For a selected area, press Command + Control + Shift + 4. Then paste with Command + V wherever you need it.
Can I take a scrolling screenshot on a Mac to capture a full web page?
The built-in Mac screenshot tools do not support scrolling screenshots natively. For a full-page web capture, you can use the developer tools in Safari or Chrome (which have a “Capture full size screenshot” option), or use a third-party app like CleanShot X, which supports scrolling capture directly.

- How to Uninstall Apps from the Start Menu in Windows 11/10 (2026 Guide) - April 2, 2026
- How to Fix Overscan on Windows 11/10: Stop Your Screen Getting Cut Off (2026) - April 1, 2026
- How to Disable Lock Screen on Windows 11/10 in 2026 - April 1, 2026