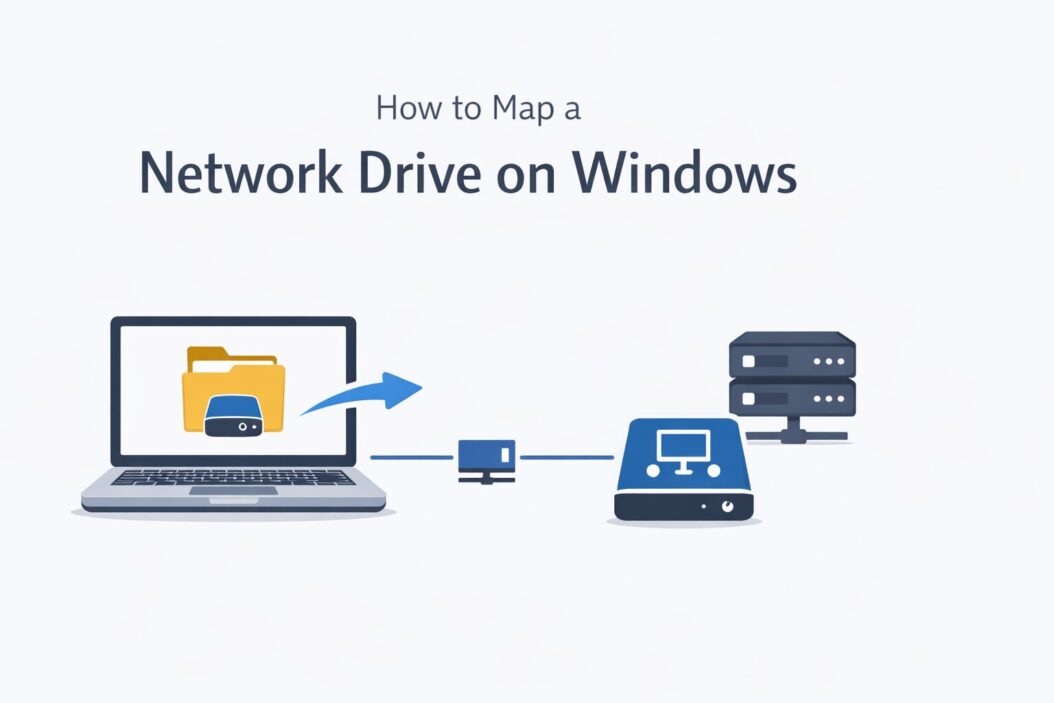
Mapping a network drive on Windows lets you access a shared folder on another computer or server as if it were a local drive on your machine. Instead of navigating through File Explorer every time, you get a dedicated drive letter like Z: or Y: that connects instantly. This guide walks you through exactly how to map a network drive, step by step, for all common Windows versions.
The Quick Answer
Open File Explorer, click “This PC”, then click “Map network drive” in the top menu. Choose a drive letter, enter the folder path (like \ServerName\ShareName), check “Reconnect at sign-in” if you want it permanent, then click Finish. That is it.
Keep reading if you want the full breakdown, troubleshooting tips, command-line method, and everything else you need to make it work properly.
What Is a Mapped Network Drive?
A mapped network drive is a shortcut to a shared folder on a network. Windows assigns it a drive letter, and it shows up alongside your C: and D: drives in File Explorer.
You will see it listed under “This PC” just like a USB drive or hard disk. You can read, write, save, and open files directly from it. The files actually live on the remote computer or server, not on your machine.
This is useful in offices where shared folders live on a central server. It is also useful at home when you want to access files from another PC on the same Wi-Fi network.
Before You Start: What You Need
Before you map anything, make sure these things are in place:
- Both computers are on the same network (Wi-Fi or Ethernet)
- The folder you want to access is already shared on the remote computer or server
- You have the correct network path (example: \DESKTOP-ABC\SharedFolder)
- You have a username and password for the remote computer if it requires login
- File and Printer Sharing is enabled on the host computer
If the folder is not shared yet, you will need to do that first on the host machine. Right-click the folder, go to Properties, then Sharing, and share it with the appropriate permissions.
How to Find the Network Path of a Shared Folder
Before mapping, you need the UNC path of the shared folder. UNC stands for Universal Naming Convention. It looks like this:
\ComputerName\FolderName
To find the computer name of the host machine, go to that machine, open Settings, then System, then About. The device name shown there is what you use as the computer name.
You can also use the IP address instead of the computer name. So the path could be \192.168.1.10\SharedFolder. Using an IP address is more reliable when name resolution fails on a local network.
How to Map a Network Drive on Windows 10 and Windows 11
Method 1: Using File Explorer (Easiest Way)
This is the standard way most people use. It works on both Windows 10 and Windows 11.
- Open File Explorer by pressing Windows + E
- Click on “This PC” in the left panel
- In Windows 10: click the “Computer” tab at the top, then click “Map network drive”. In Windows 11: click the three-dot menu (…) at the top, then select “Map network drive”
- A small window opens. Choose a drive letter from the dropdown (Z: is default but you can pick any)
- In the Folder box, type the full path to the shared folder, like \SERVER\SharedDocs
- Check “Reconnect at sign-in” if you want this drive to reconnect every time you log in
- Check “Connect using different credentials” if you need to log in with a different username and password
- Click Finish
- If prompted, enter the username and password for the remote computer
- The mapped drive now appears under “This PC” in File Explorer
If you checked “Reconnect at sign-in”, Windows will try to reconnect this drive every time you log into your account. This is what you want for permanent access.
Where to Find Map Network Drive: Windows 10 vs Windows 11
| Feature | Windows 10 | Windows 11 |
|---|---|---|
| Map network drive button | Computer tab in ribbon | Three-dot menu in File Explorer |
| Location | File Explorer top bar | File Explorer top bar |
| Works the same? | Yes | Yes |
| Keyboard shortcut | Alt + C then M | No default shortcut |
How to Map a Network Drive Using Command Prompt
If you prefer the command line or need to script it, the net use command is what you need. This method is faster and works on all Windows versions.
Basic Command
net use Z: \\ServerName\ShareName
Replace Z: with your preferred drive letter and adjust the path accordingly.
With Login Credentials
net use Z: \\192.168.1.10\SharedFolder /user:Username Password
If the password has special characters, wrap it in quotes.
To Make It Persistent (Reconnect on Login)
net use Z: \\ServerName\ShareName /persistent:yes
To Disconnect a Mapped Drive
net use Z: /delete
Using Command Prompt is handy for IT teams who need to map drives for multiple users via scripts. You can put the net use command in a batch file and run it automatically at login using Group Policy or Task Scheduler.
How to Map a Network Drive Using PowerShell
PowerShell gives you more control and is better for automation. Here is how to do it:
Basic Mapping
New-PSDrive -Name "Z" -PSProvider FileSystem -Root "\\ServerName\ShareName" -Persist
The -Persist flag makes it show up in File Explorer and reconnect on login.
With Credentials
$cred = Get-Credential
New-PSDrive -Name "Z" -PSProvider FileSystem -Root "\\Server\Share" -Credential $cred -Persist
This prompts you for a username and password securely.
Comparison: GUI vs CMD vs PowerShell
| Method | Best For | Skill Level | Persistent? |
|---|---|---|---|
| File Explorer GUI | Everyday users | Beginner | Yes (checkbox) |
| Command Prompt | Quick tasks, scripting | Intermediate | Yes (/persistent:yes) |
| PowerShell | Automation, IT admins | Intermediate/Advanced | Yes (-Persist) |
| Registry edit | Advanced customization | Advanced | Yes |
Troubleshooting: When Mapping a Network Drive Fails
It does not always work first try. Here are the most common problems and what to do about them.
Error: Windows Cannot Access the Shared Folder
- Check that both computers are on the same network
- Ping the host computer from Command Prompt: ping ComputerName or ping 192.168.x.x
- Make sure File and Printer Sharing is turned on in the host computer’s network settings
- Check that the folder is actually shared and the share name is correct
Error: The Network Path Was Not Found
- Try using the IP address instead of the computer name
- Open Command Prompt on the host and type ipconfig to find its IP
- Make sure Network Discovery is enabled on both machines (Settings > Network > Advanced sharing settings)
Mapped Drive Disconnects After Restart
- When mapping, make sure you checked “Reconnect at sign-in”
- If using CMD, add /persistent:yes to the command
- Check if your Windows account logs in with a Microsoft account (online account) vs a local account. Credential mismatches can cause reconnection failures
Being Asked for a Password You Do Not Know
- The password needed is the one for the user account on the host (remote) computer
- If the host uses a Microsoft account, the username format is usually: MicrosoftAccount\email@domain.com
- On the host computer, you can create a local user and share using that account to avoid complexity
Mapped Drive Shows as Unavailable
- The host computer may be turned off or sleeping
- The network connection may have dropped
- Re-entering credentials may be needed if the password changed on the host
Advanced Tips for Mapping Network Drives
Use IP Address for More Reliable Connections
Computer names on local networks rely on NetBIOS or DNS name resolution, which can fail. Using the IP address directly is more reliable. The trade-off is that if the host computer’s IP changes (and it can if DHCP reassigns it), your mapped drive breaks. Fix this by setting a static IP on the host computer or using your router’s DHCP reservation feature to always give the same IP to the same machine.
Map Drives Automatically for All Users via Group Policy
In a business setting, IT admins can use Group Policy to push mapped drives to every user automatically. Open Group Policy Management, go to User Configuration > Preferences > Windows Settings > Drive Maps. This is the professional way to manage shared drives across an organization.
For deeper reading on Group Policy drive mapping, the Microsoft SMB documentation covers SMB shares and related Group Policy settings in detail.
Map a Drive to a Subfolder
You are not limited to mapping the root of a share. You can map directly to a subfolder inside a share. For example: \Server\Documents\Projects\2026. This saves time navigating deep folder structures.
Save Credentials in Windows Credential Manager
If you often get disconnected or re-prompted for passwords, save the credentials in Windows Credential Manager. Search for “Credential Manager” in Start, go to Windows Credentials, and add an entry for the server address with username and password. Windows will use these automatically when connecting.
Security Considerations When Mapping Network Drives
Mapping a drive is convenient but opens up access to shared files. Keep these points in mind:
- Only share folders with the minimum permissions needed (read-only if possible)
- Use strong passwords on accounts that have access to shared folders
- Avoid mapping drives over public Wi-Fi or unsecured networks
- On business networks, use VPN before accessing shared drives remotely
- Regularly review who has access to shared folders and revoke old accounts
How to Disconnect or Remove a Mapped Network Drive
If you no longer need a mapped drive, removing it is easy.
Using File Explorer
- Open File Explorer and go to “This PC”
- Right-click the mapped drive
- Select “Disconnect”
- The drive is removed from your list
Using Command Prompt
net use Z: /delete
To remove all mapped drives at once:
net use * /delete
Quick Reference for Mapping Network Drives
| Task | Method | Command / Location |
|---|---|---|
| Map a drive (GUI) | File Explorer | This PC > Map network drive |
| Map a drive (CMD) | Command Prompt | net use Z: \Server\Share |
| Map with credentials | CMD | net use Z: \Server\Share /user:user pass |
| Make it persistent | CMD | net use Z: \Server\Share /persistent:yes |
| Disconnect a drive | CMD | net use Z: /delete |
| Map via PowerShell | PowerShell | New-PSDrive -Name Z -PSProvider FileSystem -Root … -Persist |
| Find computer name | Settings | Settings > System > About > Device name |
| Save credentials | Control Panel | Credential Manager > Windows Credentials |
Conclusion
Mapping a network drive on Windows is one of those small things that saves a lot of time once it is set up properly. Whether you use the File Explorer GUI, the command line, or PowerShell depends on your situation and comfort level. For a home user with one or two shared folders, the GUI method works perfectly. For IT admins or anyone managing multiple machines, the command line or Group Policy approach is the better route.
The main things to get right: make sure the folder is shared on the host machine, use the correct UNC path or IP address, and check “Reconnect at sign-in” if you want it to persist. Most connection problems come down to incorrect paths, missing share permissions, or network discovery being turned off.
Frequently Asked Questions
Can I map a network drive to an external hard drive connected to another PC?
Yes. As long as the folder on that external drive is shared on the other computer and both machines are on the same network, you can map it just like any other shared folder. The path will point to the computer that the external drive is connected to, not the drive itself.
Why does my mapped network drive show as disconnected after restarting Windows?
This usually happens because Windows tries to reconnect before the network is ready, or the credentials are not saved. To fix it: save the login credentials in Credential Manager, make sure “Reconnect at sign-in” was checked when you mapped the drive, and check if your network adapter initializes quickly enough at startup. Setting a static IP or DHCP reservation on the host also helps avoid path issues.
What is the difference between a mapped network drive and a network location?
A mapped network drive gets an assigned drive letter (like Z:) and shows under “This PC” alongside local drives. A network location is a shortcut to a shared folder that appears under “Network locations” but does not get a drive letter. Mapped drives are easier to use with older programs that need a drive letter to access files.
Can I map a network drive on Windows 11 Home?
Yes. The steps are exactly the same as Windows 11 Pro. Windows 11 Home supports all standard mapped drive features. The only limitation in Home edition is that it cannot act as a domain member, so you cannot join Active Directory. But for local network sharing and drive mapping, Home works fine.
Is it safe to map a network drive over a VPN?
Yes, and it is actually the recommended approach when accessing corporate or home network shares remotely. Connect to the VPN first, then map the drive using the internal network path or IP address. This encrypts the traffic and makes the remote share behave as if it were on a local network. Never map drives to internal shares over an open internet connection without VPN protection.
