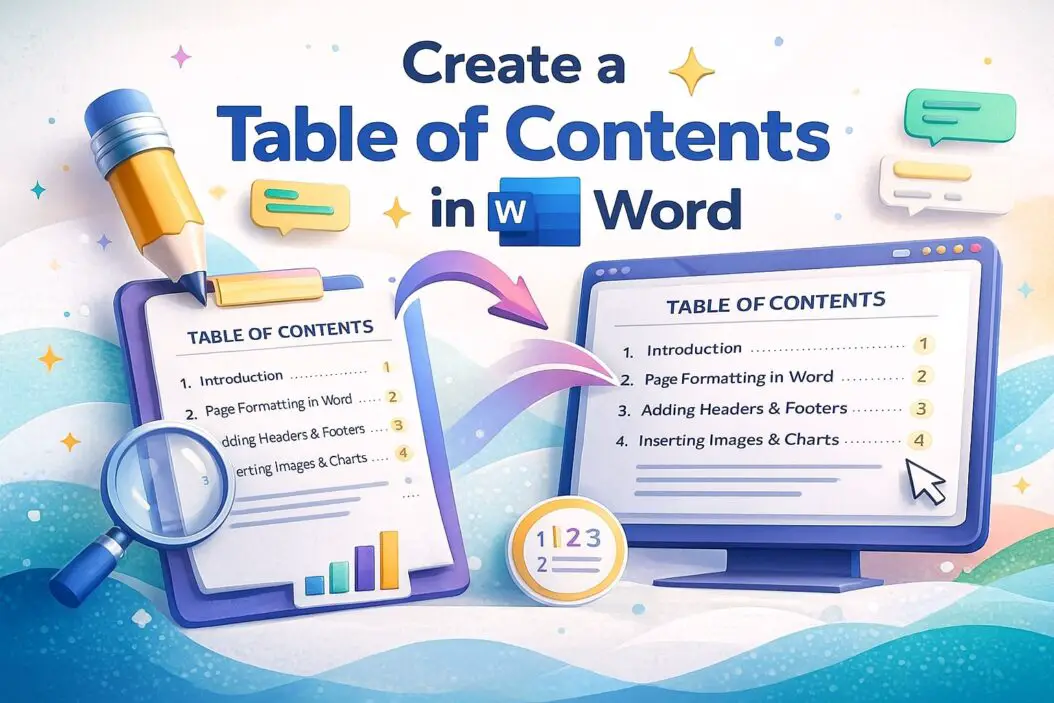
A table of contents saves readers time. It shows where everything is in your document and lets people jump to sections they need. Microsoft Word can build this automatically for you. This guide walks you through the exact process, from setup to final touches.
The key to success is using Word’s heading styles first. Then you generate the table of contents. This takes five minutes once you know the steps.
What You Need Before Starting
Before creating a table of contents in Word, prepare your document properly. This preparation step makes everything work.
Use heading styles for all chapter and section titles. Avoid manually formatting text as bold or large. Instead, apply Word’s built-in heading styles: Heading 1, Heading 2, and Heading 3.
Why does this matter? Word scans for these styles to build your table of contents. If you use bold text instead, Word won’t recognize your sections.
Save your document first. Give it a clear filename. A saved document makes the process smoother and protects your work.
Write your content or at least outline the sections. Your document needs structure. Your headings should represent major sections and subsections.
Step 1: Apply Heading Styles to Your Document
This is the foundation. Everything depends on this step being correct.
For your main chapter titles: Click on the title. Go to the Home tab. In the Styles group, click Heading 1. The text changes appearance and Word registers it as a main heading.
For subsection titles: Apply Heading 2 to secondary sections. Apply Heading 3 to sub-subsections if you have them.
Real example: If you’re writing a report on customer service, you might have:
Heading 1: Customer Service Overview Heading 2: Team Structure Heading 2: Training Programs Heading 2: Performance Metrics Heading 3: Monthly Reports Heading 3: Quarterly Reviews
The outline creates a hierarchy. Your table of contents will reflect this structure.
Check your work. Scroll through your document. Every section title should show a heading style, not manual formatting. Inconsistency causes problems later.
Step 2: Position Your Cursor Where You Want the Table of Contents
Your table of contents goes at the beginning of your document. Usually, this comes after the title page.
Click where you want it. Many documents place it after the cover page and before Chapter 1. Some put it right after the title on the same page. Choose what works for your document.
Pro tip: Insert a page break before and after the table of contents. This separates it from other content.
To insert a page break, go to the Insert tab and click Page Break. Or press Ctrl + Enter.
Step 3: Insert the Table of Contents
This is where Word does the work for you.
Go to the References tab at the top. You’ll see a section called Table of Contents. Click it.
Word shows you several options:
Automatic Table 1: This is the standard choice. Use it for most documents. It includes page numbers and blue hyperlinks to each section.
Automatic Table 2: Similar to the first but with slightly different formatting.
Manual Table: Use only if Word can’t find your headings (rare). You enter content by hand, which defeats the purpose.
Choose Automatic Table 1. Word inserts a formatted table of contents at your cursor position. It reads all your Heading 1, Heading 2, and Heading 3 styles automatically.
The table appears in a box with a light gray background. This shows it’s a field, not regular text.
Step 4: Update Your Table of Contents When Content Changes
Your document isn’t static. When you add sections or change heading names, update the table of contents.
Right-click on the table of contents box. A menu appears.
Click “Update Field.” Word rescans your document for all headings with the current styles applied.
A dialog box asks whether to update page numbers only or the entire table. Choose “Update entire table” if you added new sections or changed heading names. Choose “Update page numbers only” if you just rearranged content without changing titles.
Your table updates in seconds. All new sections appear with correct page numbers.
When should you update? After finishing major editing. If you add three new subsections, update immediately so the table stays accurate.
Customizing Your Table of Contents
Word allows changes to appearance and depth.
Choosing How Many Heading Levels to Display
By default, Word includes Heading 1, 2, and 3 in the table of contents. You can change this.
Right-click the table. Click “Table of Contents Properties.” A dialog opens.
Under “Show levels,” you see a number (usually 3). If you only want main chapters (Heading 1), change it to 1. If you want Heading 1 through 4, change it to 4.
Fewer levels create a shorter, simpler table. More levels add detail. Most documents work well with 2 or 3 levels.
Changing the Format and Style
The table of contents has preset designs. To change the appearance, go to the References tab and click the Table of Contents button again. Select a different design style.
Your current table updates to match. The content stays the same; only the visual formatting changes.
Some designs use blue hyperlinks. Others use plain black text. Some include decorative elements. Choose based on your document’s tone and purpose.
Using Your Table of Contents
Once created, your table of contents becomes functional.
In digital documents: Click any entry in the table. Hold Ctrl and click. Word jumps to that section. This works because the entries are hyperlinked to your headings.
In printed documents: Readers use the page numbers to find sections. The table of contents is purely reference material.
For accessibility: Word includes the table of contents in the document outline. Screen readers recognize it. This helps users with visual impairments navigate your document.
Common Problems and Solutions
The Table Shows “Error: No Table of Contents Entries Found”
This means Word can’t find any headings. Solution: Go back through your document and apply Heading 1, 2, or 3 styles to your section titles. Don’t use manual formatting. Then return and insert the table of contents again.
The Page Numbers Are Wrong
Page numbers update automatically after you edit. Right-click the table and click “Update Field.” Choose “Update entire table.”
If numbers still seem off, check that your page breaks are in the right places. An extra or missing page break throws off numbering.
I Added New Sections but They Don’t Appear
The table doesn’t update automatically when you type. You must manually update it. Right-click the table and select “Update Field.”
The Table Looks Different Than Expected
Different Word templates have different styles. If your headings don’t match the table of contents design, it may look inconsistent. Right-click the table, go to “Table of Contents Properties,” and try a different design.
Entries Include Extra Formatting I Don’t Want
Ensure your headings only use Word’s heading styles. Remove any manual bold, italic, or color formatting from heading text. Then update the table.
Best Practices for Table of Contents
Keep heading titles clear and concise. Your table of contents mirrors your headings. Long, unclear titles make the table confusing. Aim for 5 words or fewer per heading.
Use consistent heading levels. Don’t jump from Heading 1 to Heading 3. Go 1, then 2, then 3 in order. Skipping levels creates irregular tables that look wrong.
Update before sharing or printing. Always update your table of contents as the final step before sending a document to others. Outdated page numbers look unprofessional.
Test the hyperlinks. In digital documents, click several entries to confirm they jump to the correct sections. This catches any issues before distribution.
Review the table for accuracy. Read through it once. Look for misspellings or missing sections. The table of contents is often the first thing readers see.
Table of Contents Features in Microsoft Word
| Feature | What It Does | When to Use |
|---|---|---|
| Automatic Table | Generates TOC from heading styles | Standard documents, reports, theses |
| Manual Table | Requires hand-entry of content | Rarely needed; only if auto fails |
| Update Field | Refreshes page numbers and entries | After editing; before sharing |
| Show Levels | Controls how many heading levels appear | Customizing depth and detail |
| Hyperlinks | Links entries to actual sections | Digital documents for navigation |
| Different Styles | Changes visual design of the table | Matching document formatting |
FAQs
Can I edit the table of contents directly?
You can edit individual entries, but Word will overwrite changes when you update. Instead, edit the actual heading in your document, then update the table. This keeps everything consistent.
What if my document doesn’t have chapters, just short sections?
Apply Heading 1 to all section titles. Build the table of contents normally. It works for documents of any length.
Can I have multiple tables of contents?
Yes. Create one after your introduction, then another near the end if needed. Use different heading styles or section breaks to separate them.
Does the table of contents appear on the page count?
Yes. The table of contents is part of your document, so it counts toward total pages. Some formal documents intentionally add pages for this reason.
How do I remove a table of contents?
Right-click it and select “Remove Table of Contents.” The headings stay; only the table disappears. Regenerate a new one anytime by following Step 3 again.
Conclusion
Creating a table of contents in Word is straightforward once you understand the system. Use heading styles consistently. Insert the table from the References tab. Update it when your document changes. That’s the entire process.
A well-built table of contents improves any document. Readers find information faster. Your document looks professional and organized. The few minutes you invest in setup pays off every time someone reads your work.
Start with your next document. Apply heading styles as you write. Generate the table of contents when you finish your first draft. Update it before sharing. You’ll see the difference immediately.
For more detailed guidance on document formatting, Microsoft’s official Word documentation provides additional options and troubleshooting. For academic or formal documents with specific style requirements, consult resources a

- How to Uninstall Apps from the Start Menu in Windows 11/10 (2026 Guide) - April 2, 2026
- How to Fix Overscan on Windows 11/10: Stop Your Screen Getting Cut Off (2026) - April 1, 2026
- How to Disable Lock Screen on Windows 11/10 in 2026 - April 1, 2026