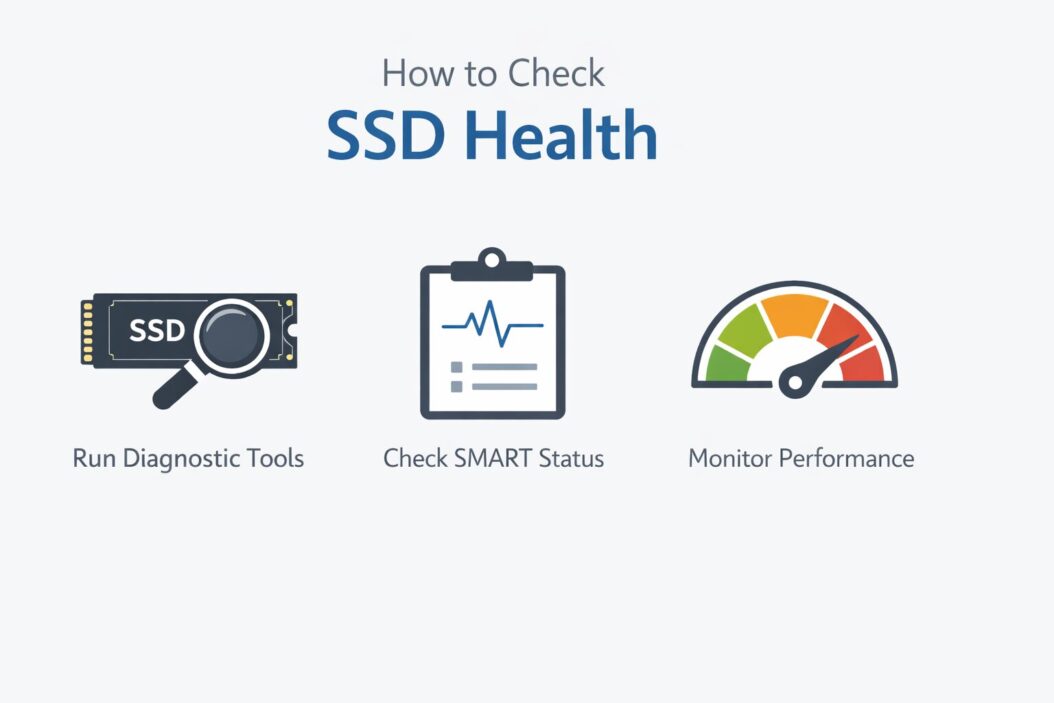
Solid state drives are fast, quiet, and reliable. But they don’t last forever. If you want to avoid sudden data loss, you need to check your SSD health regularly. This guide shows you exactly how to do that on Windows, using built-in tools and free software.
The short answer: Use CrystalDiskInfo (free) or Windows’ built-in SMART data tool to check your SSD health in minutes. Read on for the full walkthrough.
Why SSD Health Matters
SSDs work differently from traditional hard drives. They use flash memory cells, and each cell can only be written to a limited number of times. When those cells wear out, your drive starts failing.
The problem is, SSDs often fail without obvious warning signs. One day your PC boots fine. The next, your drive is dead. Checking health regularly gives you time to back up and replace the drive before that happens.
Signs your SSD might be struggling:
- Slow file transfers that used to be fast
- Files that suddenly become corrupted
- Programs freezing or crashing unexpectedly
- Windows taking much longer to boot
- The drive disappearing from File Explorer
Any of these? Check your SSD health right now.
What Is SMART Data and Why It Matters
SMART stands for Self-Monitoring, Analysis, and Reporting Technology. Every modern SSD has a SMART system built in. It quietly tracks dozens of health metrics in the background, around the clock.
Key SMART values you should care about:
| Attribute | What It Means |
|---|---|
| Reallocated Sectors | Bad sectors moved to a spare area. Higher is worse. |
| Wear Leveling Count | How evenly data is spread across cells. Lower means more wear. |
| Total Host Writes | Total data written to the drive in its lifetime. |
| Power On Hours | How long the drive has been running in total. |
| Uncorrectable Error Count | Errors the drive could not fix itself. Any value above 0 is a red flag. |
| Available Spare | Percentage of reserve space left. Should stay above 10%. |
You do not need to memorize these. Good tools read them automatically and give you a simple health status.
Method 1: Check SSD Health Using CrystalDiskInfo (Recommended)
CrystalDiskInfo is the most trusted free tool for checking drive health on Windows. It reads SMART data and shows you everything in a clear dashboard.
Step 1: Download CrystalDiskInfo
Go to crystalmark.info and download the Standard Edition. It is completely free and does not require installation if you pick the portable version.
Step 2: Open the Program
Run CrystalDiskInfo. It opens and scans your drives automatically. No setup needed.
Step 3: Read Your Health Status
Look at the top left of the screen. You will see a colored status label:
- Good (Blue): Your SSD is healthy. No action needed.
- Caution (Yellow): Some values are out of range. Start backing up your data now.
- Bad (Red): Drive is failing. Back up everything immediately and replace it.
Step 4: Check the Key Numbers
Look at these specific values in the list:
- 05 Reallocated Sectors Count should be 0
- C5 Current Pending Sector Count should be 0
- C6 Uncorrectable Sector Count should be 0
- E8 Available Spare should be above 10
If any of those are showing a yellow or red warning, treat it seriously.
Step 5: Check Temperature
CrystalDiskInfo also shows your SSD temperature. A healthy SSD should run between 30C and 50C under normal use. Anything above 60C consistently is a problem.
Method 2: Check SSD Health Using Windows PowerShell
You do not need third-party software to get a basic health check. Windows 10 and Windows 11 both have a built-in way to check drive health using PowerShell.
How to Do It
- Press Windows + X and click Windows PowerShell (Admin) or Terminal (Admin)
- Type this command and press Enter:
Get-PhysicalDisk | Select-Object FriendlyName, MediaType, OperationalStatus, HealthStatus
- Look at the HealthStatus column
You will see one of these results:
| Result | Meaning |
|---|---|
| Healthy | Drive is working normally |
| Warning | Something needs attention |
| Unhealthy | Drive has a serious problem |
This is a quick check, not a deep diagnostic. For full SMART data, use CrystalDiskInfo or the method below.
Method 3: Check NVMe SSD Health in Windows 11
Windows 11 has a built-in drive health feature specifically for NVMe SSDs. If you have a newer laptop or desktop, your SSD is likely NVMe.
Steps to Check
- Open Settings (Windows + I)
- Go to System then Storage
- Scroll down and click Advanced Storage Settings
- Click Disk and Volumes
- Select your SSD and click Properties
- Look for Drive Health at the top
You will see the drive status, estimated remaining life, and available spare capacity. Simple and built right into Windows.
Method 4: Use Manufacturer Tools for More Accuracy
Every major SSD brand has its own diagnostic tool. These are often more accurate than generic software because they are built specifically for that drive’s firmware.
| Brand | Tool Name | Where to Get It |
|---|---|---|
| Samsung | Samsung Magician | samsung.com/magician |
| Western Digital / SanDisk | WD Dashboard | support.wd.com |
| Crucial / Micron | Crucial Storage Executive | crucial.com |
| Kingston | Kingston SSD Manager | kingston.com |
| Seagate | SeaTools | seagate.com |
If you know your SSD brand, grab their official tool. It often shows health percentage, remaining life estimate, and firmware version. Some even let you update firmware directly.
How to Find Your SSD Brand
Not sure what SSD you have? Here is how to check:
- Press Windows + X and open Device Manager
- Expand Disk Drives
- Look at the name listed. It usually includes the brand and model number.
You can also use CrystalDiskInfo. It shows the full drive model at the top.
How to Understand SSD Lifespan: TBW Explained
Every SSD comes with a TBW rating. TBW means Terabytes Written. It is the total amount of data you can write to the drive before it is expected to wear out.
Examples of typical TBW ratings:
| SSD Model | Capacity | TBW Rating |
|---|---|---|
| Samsung 870 EVO | 1TB | 600 TBW |
| WD Blue SN580 | 1TB | 600 TBW |
| Crucial MX500 | 1TB | 360 TBW |
| Kingston A2000 | 1TB | 600 TBW |
CrystalDiskInfo shows your Total Host Writes value. Compare that to your drive’s TBW rating. If you are at 80% or more of your TBW, think about getting a replacement soon.
Average home users write around 30 to 50 GB per day. At that rate, a 500 TBW drive lasts over 25 years. Heavy users who do video editing or run servers will wear drives out faster.
How Often Should You Check SSD Health
There is no single answer. Here is a practical guide:
- Normal home user: Check every 3 to 6 months
- Work laptop used daily: Check every 1 to 2 months
- Workstation with heavy writes: Check monthly
- SSD already showing Caution: Check weekly
The best habit is to set a calendar reminder. Health checks take less than two minutes with CrystalDiskInfo.
You can also set CrystalDiskInfo to Resident Mode so it runs in your system tray and alerts you if something changes.
What to Do If Your SSD Is Showing Problems
If your SSD shows Caution or Bad status, here is exactly what to do:
Step 1: Back Up Your Data Right Now
Do not wait. Copy everything important to an external drive, USB, or cloud storage. If the drive is already showing errors, every hour counts.
Step 2: Stop Writing to the Drive
Avoid installing new programs or creating large files. The more you write to a failing drive, the more you risk unrecoverable data loss.
Step 3: Check the Drive Again With a Second Tool
Use your manufacturer’s tool alongside CrystalDiskInfo. Sometimes one tool catches things another misses.
Step 4: Run Windows Check Disk
Open Command Prompt as admin and type:
chkdsk C: /f /r
Replace C: with your drive letter. This scans for file system errors and tries to repair them. Restart when prompted.
Step 5: Replace the Drive
If the health status is Bad, the drive needs to be replaced. SSDs are affordable now. A 1TB SSD costs around $50 to $80 in 2026. It is not worth risking your data to avoid replacing it.
SSD vs HDD Health Checks: Key Differences
| Feature | SSD | HDD |
|---|---|---|
| Failure type | Cell wear out | Mechanical failure |
| Warning signs | Often none until late | Usually clicking or slowing |
| SMART data | Yes, wear-focused metrics | Yes, sector-focused metrics |
| Best check tool | CrystalDiskInfo | CrystalDiskInfo or HD Tune |
| Lifespan indicator | TBW, Available Spare | Reallocated sectors |
Both drive types use SMART, but the metrics that matter are different. For SSDs, focus on wear and spare capacity. For HDDs, focus on bad sectors and spin errors.
Tips to Keep Your SSD Healthy Longer
Checking health is reactive. These habits keep your drive healthy in the first place:
Do not fill it to 100%. Keep at least 10 to 15% free. SSDs need free space to manage wear leveling efficiently.
Enable TRIM. TRIM tells your operating system to clean up deleted data blocks so the drive does not slow down. On Windows, TRIM is enabled by default for SSDs. Verify it by running this in Command Prompt as admin:
fsutil behavior query DisableDeleteNotify
If the result is 0, TRIM is enabled. Good.
Avoid defragmenting your SSD. Windows knows not to defrag SSDs automatically. But if you run defrag manually, skip SSDs. Defragging adds unnecessary writes.
Keep firmware updated. Use your manufacturer’s tool to check for SSD firmware updates. Firmware updates often fix bugs that can cause data errors or premature wear.
Monitor temperature. Keep your PC ventilated. SSDs run fine at room temperature but can throttle or fail in sustained heat above 70C.
For more on SSD best practices, StorageReview is one of the most trusted sources for independent drive testing and real-world benchmarks.
SSD Health Check Cheat Sheet
| What You Want | Best Tool | Time Needed |
|---|---|---|
| Quick health status | CrystalDiskInfo | 2 minutes |
| Windows built-in check | PowerShell command | 1 minute |
| NVMe health in Win 11 | Settings > Storage | 2 minutes |
| Deep brand-specific scan | Manufacturer tool | 5 to 10 minutes |
| File system repair | chkdsk command | 10 to 60 minutes |
Conclusion
Checking your SSD health is simple and fast. You do not need to be technical. Download CrystalDiskInfo, open it, and look at the status. That alone takes less than two minutes and tells you exactly where your drive stands.
Do not wait until something goes wrong. Check your SSD every few months. Back up regularly. If you see yellow, act fast. If you see red, act now.
Your data is worth more than the cost of a new SSD. Treat it that way.
For anyone running servers or managing multiple drives, Backblaze’s SSD reliability reports are some of the best real-world data available on long-term SSD performance. Worth bookmarking.
Frequently Asked Questions
How do I know if my SSD is failing?
Look for slow performance, frequent file corruption, crashes, or drives disappearing from Windows. Use CrystalDiskInfo for a definitive answer. A Caution or Bad status confirms a problem.
Can I check SSD health without installing software?
Yes. On Windows 11, go to Settings > System > Storage > Advanced Storage Settings > Disk and Volumes. You can also use PowerShell with the Get-PhysicalDisk command for a basic check.
How long does an SSD last?
Most SSDs last 5 to 10 years under normal home use. The exact lifespan depends on how much data you write to it. Check your drive’s TBW rating and compare it to your actual writes shown in CrystalDiskInfo.
Is it safe to use a drive showing Caution status?
Use it only to recover your data. Immediately copy everything important to another drive. A Caution status means one or more health metrics are out of range. It may not fail today, but it is unreliable.
Does checking SSD health damage the drive?
No. Health checks are read-only operations. They do not write data to the drive. Running CrystalDiskInfo or any SMART check has zero effect on drive lifespan.
