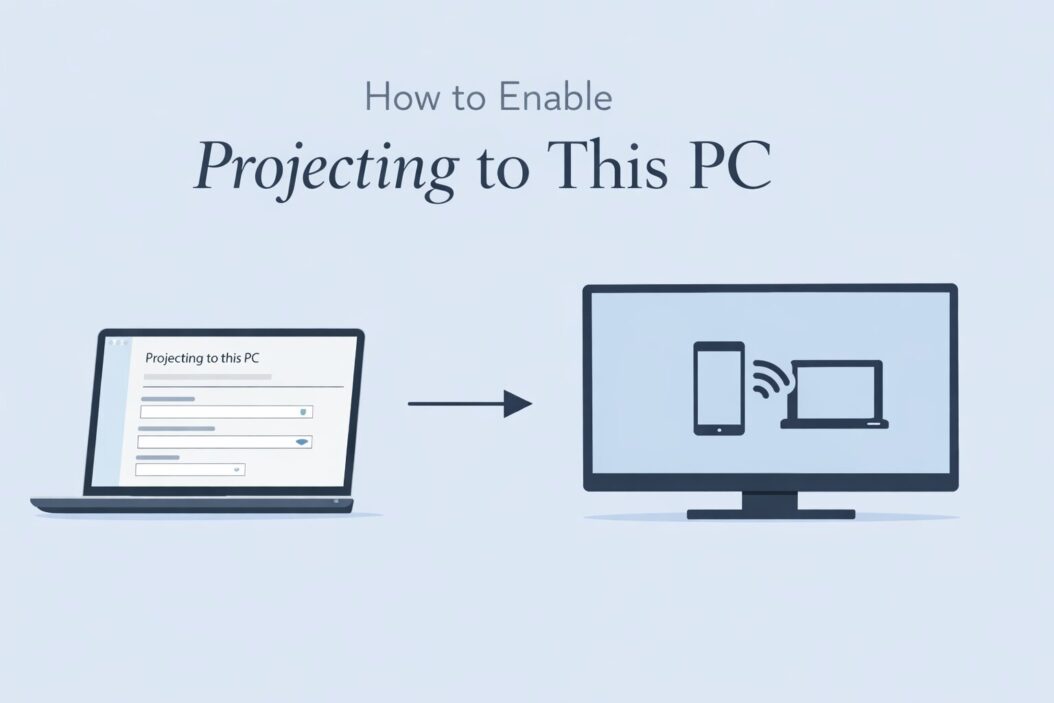
If you want to wirelessly cast your phone screen, another laptop, or a tablet onto your Windows PC, you need to enable “Project to This PC.” It takes about two minutes. Here is exactly how to do it, plus what to do when things go wrong.
What Is “Project to This PC”?
Windows has a built-in feature called Project to This PC. It turns your computer into a wireless display receiver. Other devices, like an Android phone or another Windows laptop, can then cast their screen to your PC over Wi-Fi using the Miracast standard.
Think of it like a built-in Chromecast, but for Windows devices. No cables, no extra hardware, no third-party apps needed.
This is useful when you want to:
- Show your phone screen on a bigger monitor
- Mirror one laptop onto another for presentations
- Share content without HDMI or USB-C adapters
How to Enable Projecting to This PC: Step by Step
Step 1: Open Settings
Press Windows + I to open Settings. This works on both Windows 10 and Windows 11.
Step 2: Go to the Right Section
On Windows 11: Go to System > Projecting to this PC
On Windows 10: Go to System > Projecting to this PC
The path is the same on both versions. Just click “System” in the left panel, then scroll down to find “Projecting to this PC.”
Step 3: Install the Wireless Display Feature (If Required)
When you open the Projecting to This PC page for the first time, Windows may show a message:
“This device doesn’t support receiving Miracast, so you can’t project to it wirelessly.”
If you see this, it usually means the optional wireless display feature is not installed. Here is how to fix it:
- Click Optional features at the top of the Projecting to This PC settings page
- Click Add a feature (or View features on Windows 11)
- Search for Wireless Display
- Select it and click Install
- Wait for installation to finish (takes about 1 to 2 minutes)
- Go back to Projecting to This PC
Step 4: Configure the Settings
Once the feature is installed, you will see several options on the Projecting to This PC settings page.
Here is what each setting does:
| Setting | What It Means |
|---|---|
| Available everywhere | Any device on the network can project |
| Available everywhere on secured networks | Only devices on trusted networks can project |
| First time only / Every time | Controls whether Windows asks for a PIN when connecting |
| Require PIN | Adds a 4-digit code for security |
| Wake this PC… | Lets devices wake your PC from sleep |
| PC name | The name other devices will see when searching |
Recommended settings for most people:
- Set availability to Available everywhere on secured networks
- Set PIN requirement to First time only
- Leave “Wake this PC” off unless you specifically need it
Step 5: Open the Connect App
After enabling the settings, you need to open the Connect app on your PC. This is the app that actually receives the incoming projection.
There are two ways to open it:
Option A: Press Windows + K and click Connect at the bottom of the panel
Option B: Search for Connect in the Start menu and open the app
The Connect app will open and show a message like: “Waiting for connection from another device.” Your PC is now ready to receive a wireless display connection.
How to Project From Another Device to Your PC
From an Android Phone
- Open your phone’s quick settings panel
- Look for Cast, Screen Mirror, Smart View, or Wireless Display (it depends on your phone brand)
- Tap it and wait for your PC to appear in the list
- Tap your PC name to connect
From Another Windows PC or Laptop
- On the sending device, press Windows + K
- Wait for nearby devices to appear
- Click your PC name from the list
From a Windows Tablet
Same as the Windows PC steps above. Press Windows + K and select your PC from the list.
Why “Projecting to This PC” Is Greyed Out or Not Working
This is a common issue. Here are the real reasons it happens and how to fix them.
Reason 1: Your PC Does Not Support Miracast
Miracast requires specific Wi-Fi hardware. Older PCs without the right Wi-Fi adapter may not support it.
How to check: Open PowerShell and run:
netsh wlan show wirelesscapabilities
Look for Wireless Display Supported. If it says “Not Supported,” your hardware cannot use this feature without a Miracast adapter dongle.
Reason 2: Wi-Fi Is Disabled or You Are on Ethernet Only
Miracast works over Wi-Fi Direct, which means your Wi-Fi adapter must be on even if you are connected to the internet via Ethernet.
Fix: Turn on Wi-Fi even if you do not connect to a network. Just having the adapter enabled is enough.
Reason 3: Wireless Display Feature Is Not Installed
See Step 3 above. Install the optional Wireless Display feature from Settings.
Reason 4: Both Devices Must Be on the Same Network (or Use Wi-Fi Direct)
Some casting methods require both devices to be on the same Wi-Fi network. If your phone is on mobile data and your PC is on Wi-Fi, it may not work.
Fix: Connect both devices to the same Wi-Fi network, or use Wi-Fi Direct mode (where the devices connect directly without a router).
Reason 5: The Connect App Is Not Running
The Project to This PC settings just enable the feature. You still need the Connect app open and waiting.
Fix: Search for the Connect app in Start and open it before trying to cast.
Troubleshooting Table
| Problem | Likely Cause | Fix |
|---|---|---|
| Settings page is greyed out | Miracast not supported | Check hardware, install optional feature |
| Device not showing up in cast list | Wi-Fi off or different network | Enable Wi-Fi, same network |
| Connection drops immediately | Driver issue | Update Wi-Fi adapter driver |
| “Cannot connect” error | PIN mismatch | Remove previous pairing, reconnect |
| Lag or stuttering | Distance or interference | Move devices closer, reduce interference |
Improving Performance When Projecting
Wireless display can lag if you are far from your router or have interference. Here are practical tips:
- Move the devices closer together. Wi-Fi Direct works best within 10 to 15 feet.
- Update your Wi-Fi drivers. Go to Device Manager, find your Wi-Fi adapter, right-click, and choose Update Driver.
- Use 5GHz Wi-Fi. If both devices support it, 5GHz is faster and less crowded than 2.4GHz.
- Close background apps on both devices to free up processing power.
- Avoid microwave ovens and Bluetooth devices near the setup. They can interfere with the 2.4GHz band.
According to Microsoft’s official documentation on Miracast and wireless display, both devices need to be within Wi-Fi Direct range for a stable connection.
Does This Work on All Versions of Windows?
| Windows Version | Project to This PC Support |
|---|---|
| Windows 11 (all editions) | Yes |
| Windows 10 (Home, Pro, Enterprise) | Yes |
| Windows 8.1 | Partial (Miracast supported, no Settings panel) |
| Windows 7 | No |
For Windows 10, you need at least version 1607 or later. Most devices running Windows 10 today are well past this.
Using a Third-Party App Instead
If your hardware does not support Miracast or the built-in feature keeps failing, third-party apps can fill the gap.
LonelyScreen and Reflector are popular options that let you receive AirPlay or screen cast connections on your PC without Miracast hardware. They run as a receiver app in the background.
For a broader look at wireless display standards and how they compare, the Wi-Fi Alliance’s Miracast overview explains the technical requirements clearly.
Security Considerations
Enabling Project to This PC opens a door on your computer. Anyone nearby with a compatible device could try to connect.
To stay safe:
- Do not set it to “Available everywhere” unless you are in a private, trusted environment
- Use a PIN so unknown devices cannot connect without your approval
- Turn the feature off when you are not using it by setting the dropdown back to “Always Off”
The “Available everywhere on secured networks” setting is a good middle ground. It blocks connections on public Wi-Fi but allows them at home.
Conclusion
Enabling Project to This PC is straightforward once you know where to look. Open Settings, go to System > Projecting to This PC, install the Wireless Display optional feature if needed, configure your preferences, and open the Connect app. From there, any Miracast-compatible device can cast to your Windows PC wirelessly.
If things go wrong, the most common fixes are enabling Wi-Fi, installing the optional feature, or updating your Wi-Fi drivers. Hardware that does not support Miracast is the one case where the built-in feature simply will not work, and a third-party app or Miracast dongle is your best option.
Frequently Asked Questions
Can I project to this PC without Wi-Fi?
Not with the built-in Miracast feature. Miracast uses Wi-Fi Direct, so both devices need Wi-Fi hardware enabled. You do not need to be connected to a router, but Wi-Fi must be turned on. If you want a wired option, use a USB-C to HDMI cable or a capture card instead.
Why does “Projecting to This PC” say my device does not support Miracast?
This message appears when either the Wireless Display optional feature is not installed, or your Wi-Fi adapter does not support Miracast. Run netsh wlan show wirelesscapabilities in PowerShell to check hardware support. If it shows “Not Supported,” you need a Miracast USB adapter.
Can I project my iPhone to a Windows PC using this feature?
No. iPhones use Apple’s AirPlay protocol, which is not compatible with Miracast or the Windows Connect app. To mirror an iPhone to a Windows PC, you need a third-party app like Reflector or LonelyScreen that supports AirPlay reception on Windows.
Does projecting to this PC work over a VPN?
Usually not. Miracast and most casting methods rely on local network discovery, which VPNs can block or reroute. Disable the VPN temporarily on both devices when trying to use the Project to This PC feature.
Is there a keyboard shortcut to start projecting from one Windows PC to another?
Yes. Press Windows + K on the device you want to send from. A panel appears showing nearby wireless display devices. Click your PC’s name to start casting. The receiving PC must have the Connect app open and Projecting to This PC enabled.
