If your hardware is acting up, drivers are missing, or a device just stopped working, devmgmt.msc is the first place you should go. It opens Device Manager, a built-in Windows tool that shows every piece of hardware connected to your computer and lets you manage it directly.
This guide explains everything you need to know: what devmgmt.msc is, how to open it, what to do inside it, and how to fix common problems using it.
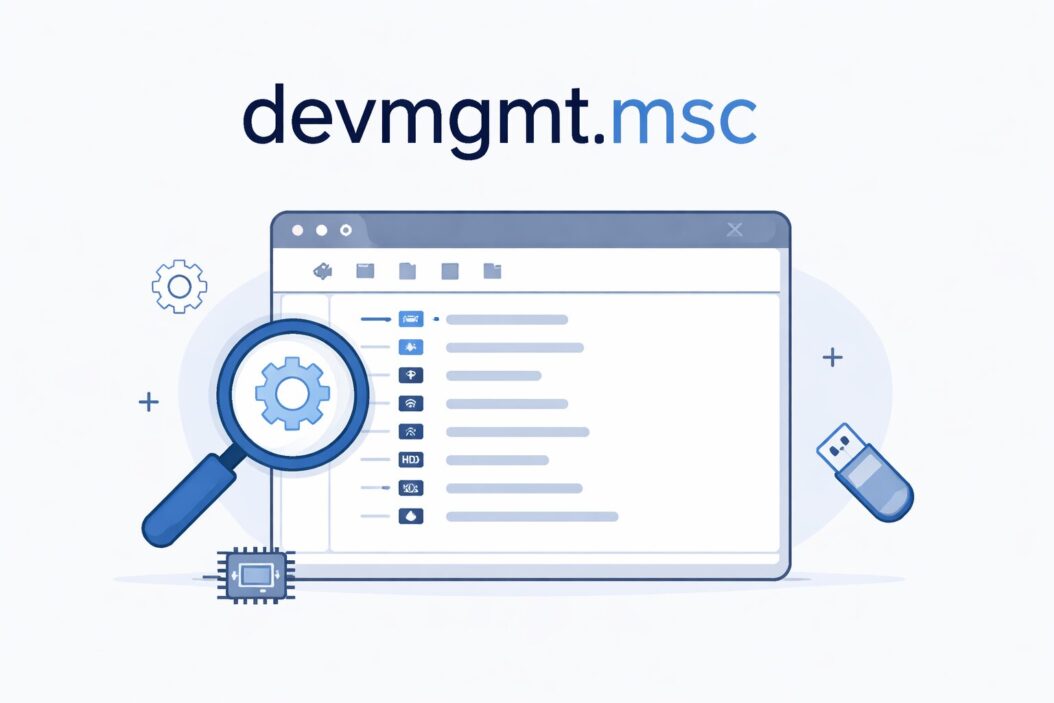
What Is devmgmt.msc?
devmgmt.msc is a Microsoft Management Console (MMC) snap-in file. When you run it, Windows opens Device Manager. It has been part of Windows since Windows 95, and it still works the same core way in Windows 10 and Windows 11 in 2026.
Device Manager gives you a full tree view of every hardware component your system recognizes, including:
- Processors
- Display adapters (GPU)
- Network adapters
- USB controllers
- Disk drives
- Keyboards and mice
- Sound, video, and game controllers
- Bluetooth devices
- System devices
Each item in that list can be expanded. Each device has its own properties panel where you can update drivers, disable hardware, check status, and more.
How to Open devmgmt.msc (Every Method)
There are multiple ways to open Device Manager. Use whichever is fastest for you.
Method 1: Run Dialog (Fastest)
- Press Windows + R
- Type devmgmt.msc
- Press Enter
Device Manager opens immediately. No admin credentials needed for viewing, but you will need admin rights to make changes.
Method 2: Search Bar
- Click the Start menu or press the Windows key
- Type Device Manager
- Click the result that appears
Method 3: Right-Click the Start Button
- Right-click the Start button (or press Windows + X)
- Select Device Manager from the menu
Method 4: Command Prompt or PowerShell
Open CMD or PowerShell and type:
devmgmt.msc
Press Enter. Works exactly the same way.
Method 5: Control Panel
- Open Control Panel
- Go to Hardware and Sound
- Click Device Manager under Devices and Printers
All five methods open the exact same tool. The Run dialog method (Windows + R) is the quickest.
Understanding the Device Manager Interface
When devmgmt.msc opens, you see a tree with categories. Each category has an arrow you can click to expand it.
Yellow exclamation mark means there is a problem with that device. The driver may be missing, corrupted, or conflicting with something.
Red X means the device is disabled. It is not broken, just turned off in software.
Blue “i” icon means the device is using manually assigned resources (rare in modern Windows).
No icon means the device is working normally.
At the top of Device Manager, you have a menu bar with Actions, View, and Help. The View menu is useful because it lets you show hidden devices, which is important when troubleshooting ghost hardware or leftover driver entries.
What You Can Do in devmgmt.msc
Update Drivers
Right-click any device and select Update driver. You get two options:
- Search automatically for drivers: Windows looks online and in its local cache. Works well for common hardware.
- Browse my computer for drivers: Use this when you have already downloaded a driver manually from the manufacturer’s website.
For best results with graphics cards, network adapters, or printers, download the driver from the official manufacturer site first, then use the browse option. Manufacturer drivers are usually more up to date and stable than what Windows finds automatically.
Roll Back a Driver
If a device stopped working after a Windows update or a driver update, rolling back is often the fastest fix.
- Right-click the device
- Select Properties
- Go to the Driver tab
- Click Roll Back Driver
This option is only available if Windows saved a previous driver version. If the button is grayed out, there is nothing to roll back to.
Disable and Enable Devices
Sometimes you need to temporarily turn off a device, like a touchpad when you use an external mouse, or a network adapter to troubleshoot connectivity.
Right-click the device and select Disable device. To turn it back on, right-click and select Enable device.
Disabling a device does not uninstall it. It just tells Windows to stop using it.
Uninstall a Device
Right-click any device and click Uninstall device. Windows will ask if you want to also delete the driver software. If you check that box, the driver files are removed from your system too.
After uninstalling, you can go to Action > Scan for hardware changes. Windows will rediscover the device and reinstall a basic driver if one is available.
This is one of the most effective troubleshooting steps. Uninstall, scan, let Windows reinstall fresh.
View Device Properties
Double-click any device or right-click and choose Properties. This opens a panel with several tabs:
| Tab | What It Shows |
|---|---|
| General | Device name, type, status, location |
| Driver | Driver version, date, provider, digital signature |
| Details | Deep hardware and driver metadata |
| Events | Recent log of device-related events |
| Resources | IRQ, memory range, I/O ports (advanced) |
The Details tab is especially useful for troubleshooting. You can find hardware IDs here, which you can paste into a search engine or the Microsoft Update Catalog to find the exact right driver.
How to Fix Common Problems Using devmgmt.msc
Problem: Yellow Exclamation Mark on a Device
This usually means a driver is missing or broken.
Steps to fix:
- Right-click the device with the warning
- Click Update driver
- Try automatic search first
- If that fails, go to the manufacturer’s website, download the driver, and use browse to install it manually
- If it still fails, uninstall the device, restart, and let Windows reinstall from scratch
Problem: Unknown Device
An “Unknown Device” entry in Device Manager means Windows cannot identify the hardware. This often happens after a clean Windows install or when third-party hardware lacks a built-in driver.
How to identify it:
- Right-click Unknown Device
- Click Properties
- Go to the Details tab
- Change the property dropdown to Hardware IDs
- Copy the top string (it looks like VEN_10DE&DEV_1C82)
- Paste it into Google or the Microsoft Update Catalog to find the correct driver
That hardware ID is a fingerprint for the device. It always points you to the right driver.
Problem: Device Not Showing Up At All
If a device does not appear in Device Manager, it may be:
- Not physically connected properly
- A hidden device
- A device that was never detected
Show hidden devices:
- In Device Manager, click View
- Select Show hidden devices
Hidden devices appear slightly faded. These include devices that were once connected but are no longer present. You can uninstall these ghost entries to clean things up.
If a device still does not appear after showing hidden devices, check physical connections, BIOS settings, or try the device on another computer.
Problem: Driver Keeps Reinstalling or Breaking After Updates
Windows Update sometimes replaces your drivers with generic ones. You can stop this by hiding a specific update using the Microsoft Show or Hide Updates tool, or by going into advanced Windows Update settings and turning off driver updates temporarily.
For a permanent fix, after installing the correct driver version, you can also set driver update behavior through Group Policy on Windows Pro and Enterprise editions.
Problem: Device Manager Says “This device cannot start (Code 10)”
Code 10 is a generic driver failure. Steps to fix:
- Update the driver
- Roll back the driver if the update failed
- Uninstall the device and restart
- Check if the hardware is physically damaged or faulty
- Check Event Viewer for more details about the failure
devmgmt.msc for Specific Devices
Display Adapters (GPU)
Expand Display adapters to see your graphics card. If it shows a warning, reinstall the GPU driver from NVIDIA, AMD, or Intel directly. Do not rely on Windows Update for GPU drivers if you use your computer for gaming or design work.
Network Adapters
If your internet stopped working, open devmgmt.msc and check Network adapters. Look for warnings or missing entries. Disable and re-enable the adapter as a first step. If that does not work, uninstall it, restart, and let Windows reinstall.
USB Devices
Expand Universal Serial Bus controllers. You will find all USB host controllers and hubs here. If a USB port stops working, uninstalling the affected USB Root Hub and rescanning can fix it without a restart in most cases.
Audio Devices
Under Sound, video and game controllers, you will find your audio hardware. If sound is not working, check here first before digging into audio settings. A missing or yellow-flagged entry here is usually the cause.
Running devmgmt.msc as Administrator
Most view actions in Device Manager work without admin rights. But to make changes, like updating, uninstalling, or disabling drivers, you need administrator privileges.
If you are logged in as a standard user:
- Press Windows + R
- Type devmgmt.msc
- Instead of pressing Enter, press Ctrl + Shift + Enter
This runs it as administrator. You may be prompted for a password or confirmation.
devmgmt.msc vs Other Tools
| Tool | What It Does |
|---|---|
| devmgmt.msc | Manage hardware devices and drivers |
| msconfig.exe | Manage startup programs and boot options |
| services.msc | Manage Windows services |
| diskmgmt.msc | Manage disk partitions and volumes |
| compmgmt.msc | Full computer management console (includes Device Manager) |
All of these follow the same .msc format. They are Management Console snap-ins, and they all open with the Run dialog.
Tips for Using devmgmt.msc Effectively
- Always check Device Manager before reinstalling Windows for hardware problems. Most issues are driver-related, not OS-related.
- After a fresh Windows install, open devmgmt.msc immediately and look for yellow warnings. Address them before doing anything else.
- Use the Driver tab in Properties to note the current driver version before updating. If the update breaks things, you know exactly what you had before.
- Expand all categories with View > Show hidden devices when you are doing deep troubleshooting. You might find old ghost devices causing conflicts.
- The Events tab in Properties is underused. It shows a timeline of what happened with a device, which helps identify intermittent issues.
Conclusion
devmgmt.msc is one of the most powerful tools built into Windows, and it is free, always available, and faster than most third-party alternatives. Whether you are dealing with a broken driver, an unknown device, a hardware conflict, or just want to see what is inside your machine, Device Manager is where you start.
Open it with Windows + R, type devmgmt.msc, and you are already ahead of most users. Learn to read the warning icons, know how to update and roll back drivers, and understand how to use hardware IDs to find the right driver for any device. Those three skills will get you through almost every hardware problem Windows can throw at you.
Frequently Asked Questions
What does devmgmt.msc do?
devmgmt.msc opens Windows Device Manager. It is a system tool that displays all hardware connected to your computer and lets you manage drivers, enable or disable devices, check device status, and troubleshoot hardware problems.
How do I open devmgmt.msc?
Press Windows + R, type devmgmt.msc, and press Enter. That is the fastest method. You can also search for “Device Manager” in the Start menu or right-click the Start button and select it from the menu.
Why does devmgmt.msc show a yellow exclamation mark?
A yellow exclamation mark means the device has a problem, usually a missing, corrupted, or incompatible driver. Right-click the device and try updating the driver or uninstalling it and rescanning for hardware changes.
Can devmgmt.msc fix driver issues automatically?
Partially. The automatic driver search in Device Manager can fix some driver issues by downloading the right driver from Windows Update. For more specific hardware, especially GPUs and network cards, downloading directly from the manufacturer website and installing manually gives better results.
Is it safe to uninstall a device in Device Manager?
Yes. Uninstalling a device in devmgmt.msc removes the driver entry but does not damage your hardware. Windows will usually reinstall a basic driver automatically after a restart or after you select Scan for hardware changes. It is a standard troubleshooting step.

- How to Fix Overscan on Windows 11/10: Stop Your Screen Getting Cut Off (2026) - April 1, 2026
- How to Disable Lock Screen on Windows 11/10 in 2026 - April 1, 2026
- Top 7 NFT Integration Ideas for Brands in 2026 - March 31, 2026