Low disk space errors disrupt your work, slow down your computer, and prevent important updates. This guide shows you exactly how to fix these errors fast, with clear steps that work on Windows 10 and Windows 11.
Quick Answer: Delete temporary files using Disk Cleanup, remove old Windows updates with Storage Sense, uninstall unused programs, and move large files to external storage. These actions typically free 10-50 GB immediately.
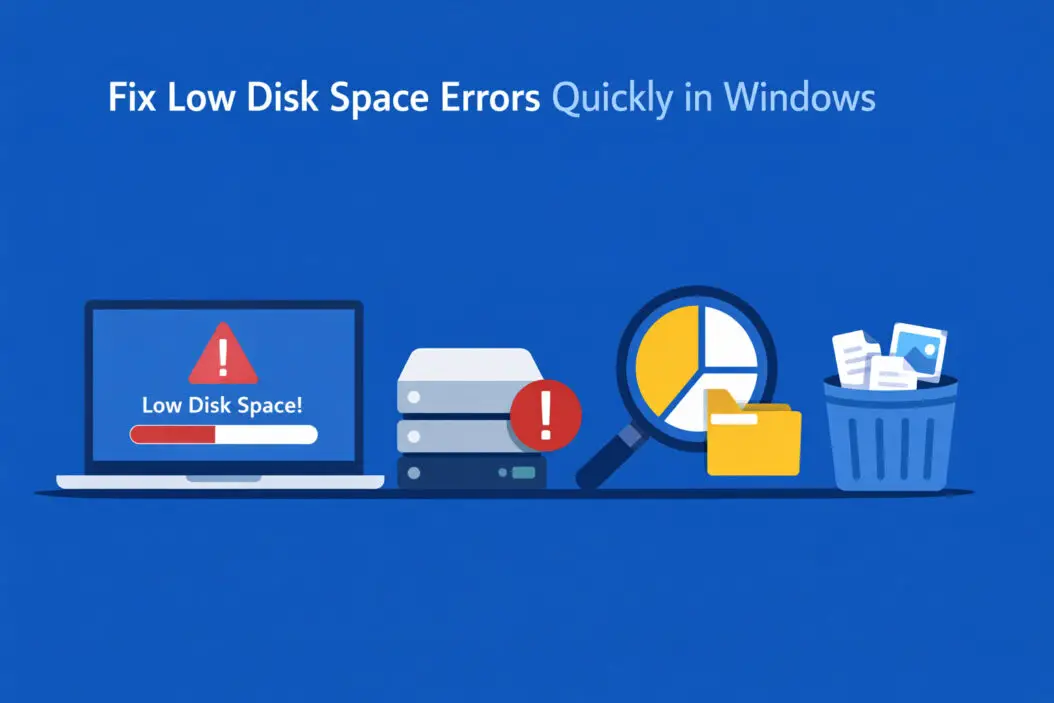
Let’s solve your disk space problem right now.
Low Disk Space Warnings
Windows shows a low disk space warning when your main drive (usually C:) drops below 10% free space. This happens because:
Your system needs room for temporary files during operations. Windows updates require significant temporary storage. Programs create cache files that accumulate over time. Virtual memory (pagefile) needs space to function properly.
When space gets critically low, you’ll experience:
- Slower performance
- Failed Windows updates
- Programs crashing unexpectedly
- Cannot save files errors
- System restore points failing
Check Your Current Disk Space
Before fixing anything, see exactly what you’re working with.
Windows 11 method:
- Open Settings (Win + I)
- Click System, then Storage
- View capacity and what’s using space
Windows 10 method:
- Open File Explorer
- Click This PC
- Right-click your C: drive
- Select Properties
You’ll see a visual breakdown showing used versus free space. If free space is red or below 20 GB, take immediate action.
Method 1: Use Disk Cleanup Tool (Fastest Fix)
Disk Cleanup removes temporary files, system cache, and unnecessary Windows files. This tool alone typically frees 5-20 GB.
Step by step process:
- Type “Disk Cleanup” in Windows search
- Select your C: drive
- Wait for the scan to complete
- Check these boxes:
- Temporary files
- Downloaded program files
- Recycle Bin
- Temporary Internet files
- Thumbnails
- Click “Clean up system files” button
- Check “Windows Update Cleanup”
- Check “Previous Windows installations”
- Click OK, then Delete Files
The process takes 5-15 minutes depending on file size. Previous Windows installations can consume 10-30 GB alone.
Method 2: Enable and Configure Storage Sense
Storage Sense automatically cleans temporary files on a schedule. Set it once and prevent future space problems.
Setup instructions:
- Open Settings
- Go to System, then Storage
- Turn on Storage Sense
- Click “Configure Storage Sense”
- Set these options:
- Run Storage Sense: Every week
- Delete files in Recycle Bin: After 14 days
- Delete files in Downloads folder: Never (unless you want automatic deletion)
- Delete temporary files: Always
Storage Sense runs in the background without interrupting your work. It maintains healthy disk space automatically.
Method 3: Uninstall Unused Programs and Apps
Programs you never use waste gigabytes of space. Some pre-installed apps serve no purpose for most users.
Remove programs efficiently:
- Open Settings
- Click Apps, then Installed apps (Windows 11) or Apps & features (Windows 10)
- Sort by Size to see biggest space hogs
- Click the three dots next to unwanted programs
- Select Uninstall
Common space wasters to consider removing:
- Old games you finished
- Trial software you never activated
- Duplicate utility programs
- Manufacturer bloatware
- Old versions of software
Check each program’s size before uninstalling. Some programs show 0 MB but actually use several GB in hidden data folders.
Method 4: Delete Temporary Files Manually
Windows stores temporary files in multiple locations. Automatic tools miss some of these folders.
Safe folders to clear:
Open Run (Win + R) and paste these paths one at a time:
%temp% Delete everything in this folder. These are user temporary files.
C:\Windows\Temp Delete all contents. These are system temporary files.
C:\Windows\SoftwareDistribution\Download Delete contents to remove Windows Update cache files.
If you cannot delete a file, skip it. Windows protects files currently in use. Restart your computer and try again if needed.
Method 5: Clear Browser Cache and Data
Web browsers cache gigabytes of data over time. Clearing this data frees space without losing important information.
Chrome:
- Click three dots (top right)
- Settings, then Privacy and security
- Clear browsing data
- Select “All time” as time range
- Check Cached images and files
- Click Clear data
Edge:
- Click three dots
- Settings, then Privacy
- Choose what to clear
- Select Cached data and files
- Click Clear now
Firefox:
- Click three lines menu
- Settings, then Privacy & Security
- Cookies and Site Data section
- Click Clear Data
- Uncheck Cookies, keep Cached Web Content checked
- Click Clear
This process typically recovers 2-8 GB depending on browsing habits.
Method 6: Move Files to External Storage
Large personal files belong on external drives or cloud storage, not your system drive.
Files to move first:
| File Type | Typical Size | Priority |
|---|---|---|
| Videos | 1-50 GB each | High |
| Photo libraries | 10-100 GB total | High |
| Music collections | 5-50 GB | Medium |
| Old documents | 1-10 GB | Medium |
| Game recordings | 5-100 GB | High |
How to move files safely:
- Connect external hard drive or USB drive
- Open File Explorer
- Navigate to Videos, Pictures, or Documents
- Select large files or folders
- Right-click and choose Cut
- Navigate to external drive
- Right-click and Paste
- Wait for transfer to complete
- Verify files copied correctly
- Delete from original location
Never move files from C:\Windows, C:\Program Files, or C:\Users[YourName]\AppData. These contain system and program files.
Method 7: Use Disk Space Analyzer Tools
Specialized tools show exactly what fills your drive with visual maps.
WinDirStat (free):
- Download from WinDirStat official site
- Install and run as administrator
- Select C: drive only
- Wait for scan completion
- View the treemap showing file distribution
Large colored blocks represent big files or folders. Click any block to see the exact location and size. This reveals hidden space hogs regular tools miss.
The tool helped me find a 40 GB folder of old game mods I forgot existed. Visual representation makes cleanup decisions obvious.
Method 8: Disable Hibernate to Save Space
Hibernate saves your RAM contents to disk for fast startup. The hiberfil.sys file matches your RAM size (8-32 GB typically).
Check if you use hibernate:
Most people never use it. Sleep mode works better for modern computers.
Disable hibernate:
- Open Command Prompt as administrator
- Type:
powercfg /hibernate off - Press Enter
The hiberfil.sys file deletes immediately, freeing 8-32 GB. You can still use sleep mode normally.
Re-enable later if needed:
Type powercfg /hibernate on in Command Prompt as administrator.
Method 9: Adjust System Restore Space
System Restore keeps restore points that consume 5-15 GB. You need some restore points, but Windows often allocates too much space.
Optimize restore point storage:
- Type “Create a restore point” in Windows search
- Click your C: drive
- Click Configure button
- Move slider to 2-5% of disk space
- Click Apply
This maintains protection while freeing several gigabytes. Delete old restore points by clicking Delete in the same window.
Method 10: Clean Windows Update Files
Failed or superseded updates accumulate in hidden folders. Windows Update Cleanup in Disk Cleanup handles most of this, but manual cleaning catches more.
Advanced cleanup method:
- Stop Windows Update service first
- Open Services (search “services” in Start)
- Find Windows Update
- Right-click and select Stop
- Navigate to C:\Windows\SoftwareDistribution
- Delete the Download folder contents
- Restart Windows Update service
Method 11: Find and Remove Large Duplicate Files
Duplicate files waste space invisibly. Photos, videos, and downloads often exist in multiple locations.
Find duplicates manually:
- Open File Explorer
- Search for common file types:
*.mp4,*.jpg,*.pdf - Sort by Size
- Look for identical file sizes with similar names
- Delete confirmed duplicates
For automatic detection, use free tools like dupeGuru. Always verify before deleting to avoid removing different files with similar sizes.
Method 12: Manage Game and App Installation Locations
Modern games consume 50-150 GB each. Installing them on your system drive creates space problems.
Move existing games (Steam example):
- Open Steam
- Settings, then Downloads
- Steam Library Folders
- Add Library Folder on different drive
- Right-click game in library
- Properties, then Local Files
- Move Install Folder
Change default installation drive:
Most game launchers (Steam, Epic, Xbox) let you choose installation drives during setup. Always select a secondary drive if available.
Method 13: Clear Microsoft Store Cache
The Windows Store cache grows large over time, especially with frequent app updates.
Reset Store cache:
- Press Win + R
- Type:
wsreset.exe - Press Enter
- Wait for blank window to appear and close
- Store opens automatically when complete
This command clears several gigabytes without affecting installed apps.
Prevent Future Low Disk Space Errors
After cleaning your disk, maintain healthy space with these habits:
Weekly tasks:
- Empty Recycle Bin manually
- Check Downloads folder and delete unneeded files
- Close programs completely instead of minimizing
Monthly tasks:
- Run Disk Cleanup
- Review installed programs
- Check for large files in Documents
Best practices:
Save new downloads to a secondary drive if possible. Uninstall games after completing them. Use cloud storage for important documents. Keep at least 20% free space for optimal performance.
Set up alerts:
- Open Task Scheduler (search in Start)
- Create Basic Task
- Name it “Low Disk Space Alert”
- Set trigger for Weekly
- Action: Display a message
- Configure to run when space drops below 15%
This reminds you to clean up before problems occur.
When to Consider Hardware Upgrades
Sometimes software solutions reach their limit. Consider upgrading if:
You constantly run out of space despite regular cleaning. Your C: drive is 128 GB or smaller. You work with large video or photo files professionally. Cleanup recovers less than 10 GB total.
Upgrade options:
| Solution | Cost Range | Space Gained | Difficulty |
|---|---|---|---|
| External SSD | $50-150 | 500 GB – 2 TB | Easy |
| Internal SSD upgrade | $60-200 | 500 GB – 2 TB | Medium |
| Cloud storage subscription | $2-10/month | 100 GB – 2 TB | Easy |
| Secondary internal drive | $40-120 | 1-4 TB | Medium-Hard |
External drives offer the easiest solution. Modern USB 3.0 external SSDs perform nearly as fast as internal drives for storing files and games.
Summary
Low disk space errors frustrate users but respond quickly to systematic cleanup. Start with Disk Cleanup and Storage Sense for immediate relief. Remove unused programs and move large personal files to external storage. Disable hibernate if you don’t use it, and adjust system restore settings.
The methods in this guide typically recover 20-80 GB total, depending on how long your system accumulated files. Regular maintenance prevents future problems. Keep at least 20% of your drive free for smooth performance.
Most users solve low disk space problems in 30-60 minutes using these methods. No technical expertise required, just patience to work through the steps systematically.
Frequently Asked Questions
What causes low disk space on Windows suddenly?
Windows updates are the most common culprit for sudden disk space loss. Feature updates download 5-10 GB of files and create backup copies of your previous Windows version consuming another 10-30 GB. Large program updates, especially for games, also trigger sudden space drops. System restore points accumulate in the background, and temporary files from crashed programs sometimes fail to delete automatically. Check Windows Update history first when space disappears unexpectedly.
How much free disk space does Windows need to run properly?
Windows requires at least 20 GB free space for optimal performance. The operating system needs room for virtual memory, temporary files during operations, and update downloads. Below 10% free space, you’ll experience slowdowns, update failures, and program crashes. Aim to keep 50-100 GB free if possible. This buffer ensures smooth operation during large updates and prevents emergency cleanup sessions.
Can I delete everything in the Windows Temp folder safely?
Yes, deleting Windows Temp folder contents is completely safe. Windows protects files currently in use by preventing deletion. Any file you can delete is no longer needed. Access the folder by typing %temp% or C:\Windows\Temp in File Explorer. Delete all contents without worry. Some files may refuse deletion while programs run, simply skip these and continue. Restart your computer if you want to clear stubborn locked files.
Will deleting Windows Update files cause problems?
No, deleting downloaded Windows Update files through Disk Cleanup is safe and recommended. Windows keeps copies of update installers after installation completes. The Windows Update Cleanup option in Disk Cleanup only removes these outdated installers, not the updates themselves. Your system remains fully updated and protected. Microsoft designed this feature specifically for safe cleanup. Never manually delete files from C:\Windows\WinSxS, but using the official cleanup tools causes no issues.
Is it better to use an external drive or upgrade internal storage?
External drives offer the easiest, cheapest solution for most users. Modern USB 3.0 external SSDs transfer files almost as fast as internal drives. They cost $50-100 for 500 GB to 1 TB. Internal upgrades provide better performance and cleaner setup but require opening your computer and reinstalling Windows or cloning your drive. For storing videos, photos, and games, external drives work perfectly. Choose internal upgrades only if you need maximum performance for professional work or cannot tolerate external devices.

- How to Fix Overscan on Windows 11/10: Stop Your Screen Getting Cut Off (2026) - April 1, 2026
- How to Disable Lock Screen on Windows 11/10 in 2026 - April 1, 2026
- Top 7 NFT Integration Ideas for Brands in 2026 - March 31, 2026