Rolling back to a previous version of Windows isn’t as complicated as it sounds. Whether you upgraded to Windows 11 and want Windows 10 back, or you installed a problematic Windows update, you can reverse the change within a specific timeframe. This guide shows you exactly how to do it, why it works, and what to do when the standard options aren’t available.
Why You Might Need to Roll Back Windows
Windows updates don’t always go smoothly. You might experience:
Performance problems like slower startup times or programs freezing Hardware compatibility issues where your printer, graphics card, or other devices stop working Software conflicts with critical applications you use for work Battery drain issues on laptops after major updates Missing features you relied on in the previous version
The good news is that Microsoft builds rollback options into Windows specifically for these situations.
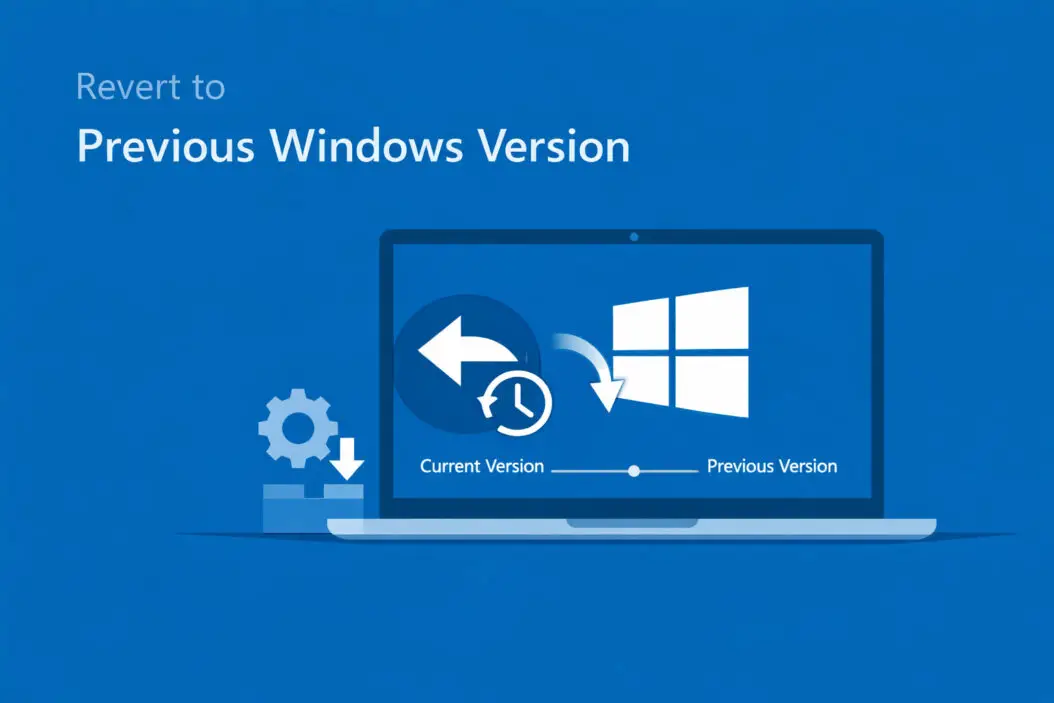
Quick Answer: The 10-Day Window Rule
You have 10 days after a major Windows upgrade to easily roll back. This applies to version upgrades like Windows 10 to Windows 11, or major feature updates within Windows 10 or 11. Microsoft keeps your old Windows files in a folder called Windows.old for exactly 10 days.
After 10 days, Windows automatically deletes these files to free up disk space. Once deleted, the simple rollback method won’t work anymore.
For regular monthly security updates or cumulative updates, you have more time and different options.
Method 1: Rolling Back Within 10 Days of a Major Upgrade
This is the easiest method if you’re within the 10-day window after upgrading to a new Windows version.
Step-by-Step Process
Open Windows Settings
- Press Windows key + I on your keyboard
- Or click Start, then click the gear icon for Settings
Navigate to Recovery Options
For Windows 11:
- Click System in the left sidebar
- Click Recovery
- Look for “Go back” or “Recovery options”
For Windows 10:
- Click Update & Security
- Click Recovery in the left menu
- Find “Go back to Windows [previous version]”
Start the Rollback
- Click the “Go back” button
- Windows will ask why you’re rolling back (select any reason)
- Click Next through the warnings
Important Warnings to Read
- You’ll need the password you used in the previous version
- Some apps installed after upgrading will be removed
- Settings changes made after upgrading will be lost
- The process takes 30 minutes to 2 hours depending on your system
Let the Process Complete
- Your computer will restart multiple times
- Don’t turn off your computer during this process
- A progress bar shows the rollback status
What Happens During Rollback
Windows restores your previous operating system from the Windows.old folder. Your personal files stay intact, but any new programs installed after the upgrade need reinstalling.
Method 2: Uninstalling Recent Quality Updates
Monthly updates sometimes cause problems. Here’s how to remove them.
For Windows 11 and Windows 10
Access Update History
- Open Settings (Windows + I)
- Go to Windows Update
- Click “Update history”
- Click “Uninstall updates”
Choose the Problem Update
- Updates are listed by installation date
- The most recent appears at the top
- Click the update causing problems
- Click Uninstall
Restart Your Computer
- Windows removes the update
- Your system restarts to complete the process
- The problematic update is gone
Identifying Problem Updates
Look for updates installed right before your issues started. Quality updates have names like “KB5034441” or similar KB numbers. Feature updates say “Feature Update to Windows 11, version 23H2.”
Method 3: Using System Restore Points
System Restore reverses system changes without affecting your personal files. This works if you have restore points created before your problems started.
Creating a Restore Point (For Future Protection)
Open System Properties
- Press Windows + R
- Type “sysdm.cpl” and press Enter
- Click the System Protection tab
Configure System Restore
- Select your main drive (usually C:)
- Click Configure
- Select “Turn on system protection”
- Allocate at least 5-10% of disk space
- Click OK
Create a Manual Restore Point
- Click Create
- Name it (like “Before Windows Update Jan 2026”)
- Click Create
- Wait for confirmation
Using an Existing Restore Point
Access System Restore
- Press Windows + R
- Type “rstrui.exe” and press Enter
- Click Next
Choose Your Restore Point
- Select a restore point from before your problems began
- Click “Scan for affected programs” to see what changes
- Click Next, then Finish
Confirm and Restore
- Click Yes to start the process
- Your computer restarts
- The restore takes 15-45 minutes
- Windows reverts to the state captured in that restore point
System Restore doesn’t remove your documents, photos, or personal files. It only reverses system settings, installed programs, and drivers.
Method 4: When the 10-Day Window Has Passed
If more than 10 days passed since your upgrade, the simple rollback option disappears. You have three choices.
Option A: Clean Install of Previous Windows Version
You’ll need to completely reinstall Windows. This erases everything, so backup your files first.
Requirements:
- USB flash drive (8GB or larger)
- Windows installation media
- Product key (usually embedded in your device)
- External drive for backing up files
Backup Your Files
- Copy all important documents, photos, videos to an external drive
- Export browser bookmarks
- Note down installed programs you’ll need to reinstall
Download Windows Installation Media
- Visit the Microsoft Windows download page
- For Windows 10, download the Media Creation Tool
- For Windows 11, download from the Windows 11 download page
- Run the tool and create a bootable USB drive
Perform Clean Installation
- Insert the USB drive
- Restart your computer
- Press F12, F2, or Del (varies by manufacturer) during startup
- Select the USB drive from boot menu
- Follow installation prompts
- Choose “Custom installation”
- Select your drive and install
Option B: Recovery Partition Method
Many computers have a hidden recovery partition that restores factory settings.
Access Recovery Environment
- Go to Settings > System > Recovery
- Under Advanced startup, click Restart now
- Your computer reboots to a blue screen menu
Navigate to Factory Reset
- Click Troubleshoot
- Click “Reset this PC”
- Choose “Remove everything” if you want a fresh start
- Or choose “Keep my files” to preserve personal data
Complete the Reset
- Follow the prompts
- The process takes 30 minutes to 3 hours
- Your computer returns to its original Windows version
This only works if your computer came with a different Windows version and the recovery partition wasn’t deleted.
Option C: Contact Manufacturer Support
If your device came with an older Windows version, the manufacturer might provide recovery media or downgrade tools. Check their support website or contact them directly.
Prevention: How to Avoid Rollback Situations
Pause Windows Updates Temporarily
Windows 11:
- Settings > Windows Update
- Click “Pause updates”
- Select pause duration (up to 5 weeks)
Windows 10:
- Settings > Update & Security > Windows Update
- Advanced options
- Pause updates for up to 35 days
Enable Automatic Restore Points
Configure your system to create restore points automatically before major changes.
Automatic Creation Settings:
- System Protection (covered earlier) creates points before updates
- Verify it’s enabled on your main drive
- Allocate sufficient disk space (5-10GB minimum)
Extend the Rollback Window
You can extend the default 10-day window up to 60 days using a registry edit or command line. This is for advanced users.
Using Command Prompt:
- Right-click Start and select Terminal (Admin) or Command Prompt (Admin)
- Type:
DISM /Online /Set-OSUninstallWindow /Value:60 - Press Enter
- This extends the window to 60 days
Important: Do this immediately after upgrading, not after the 10 days expire.
Test Updates on Non-Critical Times
Install major updates on Friday evenings or before weekends when you have time to troubleshoot if needed.
Common Problems and Solutions
“Go Back” Option Is Grayed Out
Causes:
- More than 10 days passed since upgrade
- Windows.old folder was deleted manually
- Disk Cleanup removed old Windows files
Solution: Use System Restore or clean installation methods instead.
Rollback Fails Halfway
What to do:
- Let Windows attempt automatic repair
- If stuck for over 2 hours, force restart
- Boot into Recovery Environment (restart while holding Shift)
- Use System Restore from there
- Or perform a clean installation
Files Missing After Rollback
Prevention:
- Always backup important files before rolling back
- Use OneDrive, Google Drive, or external drives
- Verify backups before starting the rollback
If files disappear, check the Windows.old folder after rollback. Sometimes files get moved there.
Activation Issues After Rollback
Windows activation usually transfers automatically. If not:
- Go to Settings > Update & Security > Activation
- Click Troubleshoot
- Follow prompts to reactivate
- Your digital license should reactivate automatically
For detailed activation guidance, visit Microsoft’s activation support page.
Different Scenarios Explained
Windows 10 to Windows 11 Rollback
The 10-day rule applies here. After upgrading from Windows 10 to Windows 11, you have 10 days to use the built-in rollback feature.
Process: Settings > System > Recovery > Go back to Windows 10
What stays: Personal files, most programs installed before upgrade
What changes: Programs installed after upgrade need reinstalling, Windows 11 specific settings reset
Windows 11 Feature Update Rollback
Feature updates like 23H2 to 24H2 also qualify for the 10-day rollback.
Process: Settings > System > Recovery > Previous version of Windows
Monthly Cumulative Update Removal
You can uninstall these anytime within 30 days using the update uninstall method described earlier.
Rollback Methods
| Method | Time Limit | Keeps Personal Files | Difficulty | Best For |
|---|---|---|---|---|
| Built-in Rollback | 10 days | Yes | Easy | Recent major upgrades |
| Uninstall Updates | 30 days | Yes | Easy | Monthly updates |
| System Restore | Depends on restore points | Yes | Medium | System changes, driver issues |
| Clean Install | Anytime | No (requires backup) | Hard | After 10-day window |
| Recovery Partition | Anytime | Optional | Medium | Factory reset needs |
Should You Roll Back or Wait?
Sometimes issues resolve themselves through subsequent updates. Before rolling back, try these quick fixes:
Run Windows Troubleshooters
- Settings > System > Troubleshoot
- Run relevant troubleshooters for your specific issue
Update Drivers Manually
- Visit manufacturer websites
- Download latest drivers for your hardware
- Install and restart
Check for New Updates
- Sometimes Microsoft releases fixes within days
- Settings > Windows Update > Check for updates
Wait 48-72 Hours
- Some updates need time to optimize
- Performance often improves after initial indexing completes
If problems persist beyond 3 days, rolling back makes sense.
Frequently Asked Questions
Will rolling back Windows delete my files?
No, the built-in rollback feature keeps your personal files intact. However, programs installed after the upgrade get removed. You’ll need to reinstall them. Always backup important data before any system change as a safety precaution.
Can I roll back Windows after 10 days?
The simple rollback option disappears after 10 days. You’ll need to use System Restore (if you have restore points), perform a clean installation of the previous Windows version, or use your computer’s recovery partition to restore factory settings. All these methods require more steps than the standard rollback.
How long does rolling back Windows take?
Expect 30 minutes to 2 hours for a standard rollback. The time varies based on your computer’s speed, hard drive type (SSDs are faster), and how much data needs processing. Your computer will restart several times automatically. Don’t interrupt the process.
Does rolling back fix all problems?
Rolling back fixes issues caused specifically by the Windows update. If your problems existed before the update, rolling back won’t help. If a hardware component is failing or you have malware, rolling back Windows won’t address those root causes.
Can I upgrade again after rolling back?
Yes, you can upgrade again anytime. Windows will offer the update again through Windows Update. Before re-upgrading, research whether Microsoft released fixes for the issues you experienced. Check update release notes and user forums for current experiences.
Conclusion
Rolling back Windows is straightforward within the 10-day window after a major upgrade. Use Settings > System > Recovery > Go back for the easiest method. For monthly updates, uninstall them through Update History. Keep System Restore enabled and create manual restore points before major changes.
If you’re past the 10-day window, System Restore or clean installation are your options. Always backup important files before making system changes. Extended the rollback window to 60 days using DISM commands if you anticipate needing more time.
Prevention works better than cure. Pause updates during critical work periods, enable automatic restore points, and test major updates when you have time to troubleshoot. Most Windows update issues get resolved through subsequent patches, so sometimes waiting a few days proves easier than rolling back.
