The Microsoft Store is your central hub for downloading, updating, and controlling all your Windows applications. If you’re wondering how to manage apps in Microsoft Store, you’re in the right place. This guide walks you through every essential task, from installation to troubleshooting, so you can take full control of your software.
Open Microsoft Store, click your profile icon (top right), select “Library” to view all apps, then use options like “Get updates,” “Install,” or right-click any app for more controls. You can also manage settings, permissions, and storage through Windows Settings > Apps.
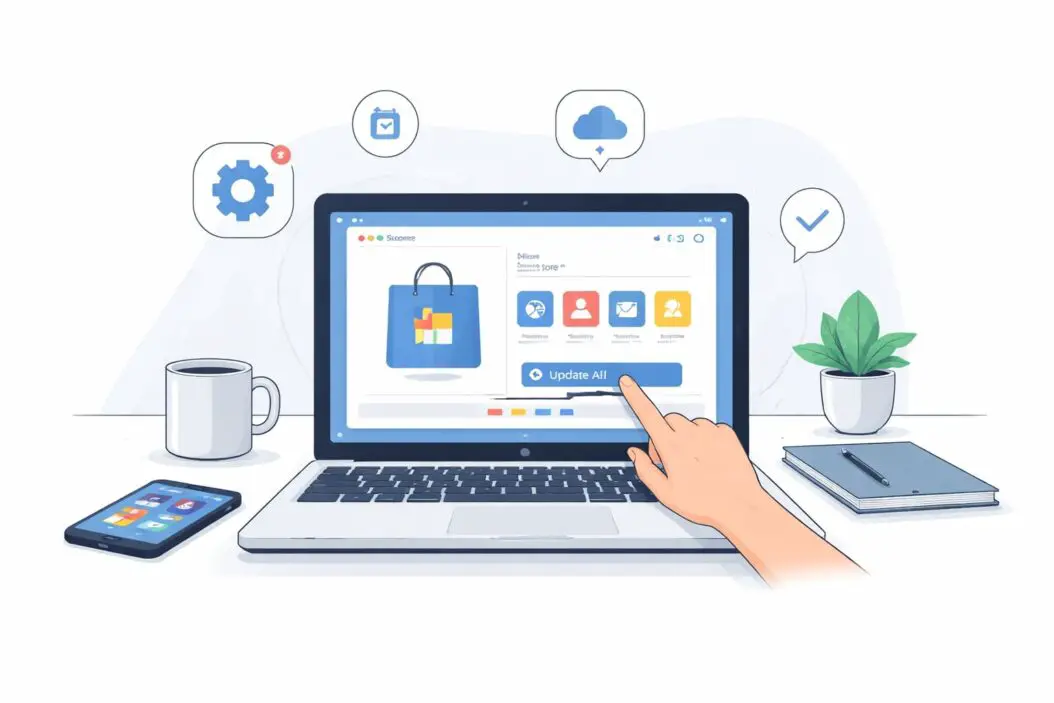
Let’s break down everything you need to know.
Microsoft Store Interface
The Microsoft Store has evolved significantly in recent years. When you open it, you’ll see several key areas:
Main navigation sections:
- Home: Featured apps and recommendations
- Gaming: Xbox games and gaming content
- Movies & TV: Digital entertainment purchases
- Library: Your installed and owned apps
- Downloads: Active and queued installations
Your profile icon sits in the top right corner. This is your command center for account settings, payment methods, and app management tools.
The search bar at the top lets you find specific apps quickly. Type what you need, and you’ll see suggestions appear instantly.
How to Install Apps from Microsoft Store
Installing apps is straightforward, but knowing the details helps you make better decisions.
Basic Installation Steps
- Open Microsoft Store from your Start menu or taskbar
- Search for the app you want or browse categories
- Click on the app to open its details page
- Review the app information, ratings, and screenshots
- Click “Get” or “Install” (free apps) or the price button (paid apps)
- Wait for the download and installation to complete
The app will appear in your Start menu automatically after installation.
Understanding App Requirements
Before installing, check the system requirements section on the app page. This tells you:
- Minimum Windows version needed
- Required processor type
- RAM and storage space
- Any special hardware requirements
If your system doesn’t meet requirements, the Store will warn you or prevent installation.
Installing Apps on Multiple Devices
Your Microsoft account syncs across devices. When you install an app on one computer, it becomes available on all your Windows devices through your Library.
To install an owned app on another device:
- Sign in with the same Microsoft account
- Open Microsoft Store
- Go to Library
- Find the app and click “Install”
This works seamlessly across desktop computers, laptops, and tablets running Windows 10 or 11.
Managing Your App Library
Your Library is where all your apps live, whether installed or not.
Accessing Your Library
Click your profile icon, then select “Library.” You’ll see three tabs:
Apps & games: Everything you’ve downloaded or purchased Videos: Movies and TV shows you own Books: Digital books from the Store
The apps list shows installation status for each item. Installed apps have a checkmark. Apps you own but haven’t installed show an “Install” button.
Organizing Your Apps
You can filter your library view:
- Sort by name, installation date, or size
- Filter by “Installed” or “Not installed”
- Search within your library for specific apps
This helps when you have dozens or hundreds of apps tied to your account.
Updating Apps in Microsoft Store
Microsoft Store apps update automatically by default, but you control when and how this happens.
Checking for Updates Manually
- Open Microsoft Store
- Click your profile icon
- Select “Downloads and updates”
- Click “Get updates”
The Store scans for available updates and downloads them immediately. You’ll see progress bars for each updating app.
Managing Automatic Updates
To control automatic updates:
- Click your profile icon
- Go to “Settings”
- Find “App updates”
- Toggle “Update apps automatically” on or off
Turning off automatic updates means you’ll need to check manually, but it gives you control over when updates happen. This matters if you have limited bandwidth or want to test apps before updating.
Why Some Apps Don’t Update
Common reasons include:
- Your Windows version is too old for the new app version
- The app requires admin permissions and you’re on a standard account
- Corrupted download cache (fixable through troubleshooting)
- Network restrictions blocking the Store
According to Microsoft’s official support documentation, clearing the Store cache resolves most update issues.
Uninstalling and Removing Apps
You have multiple ways to remove Microsoft Store apps.
Method 1: Through Microsoft Store
- Open your Library in Microsoft Store
- Find the app you want to remove
- Click the three dots menu next to the app
- Select “Uninstall”
- Confirm the removal
Method 2: Through Windows Settings
- Open Settings (Windows key + I)
- Go to Apps > Installed apps
- Find your app in the list
- Click the three dots menu
- Choose “Uninstall”
This method works for all apps, not just Store apps, making it more versatile.
Method 3: From Start Menu
Right-click the app in your Start menu and select “Uninstall.” Windows will guide you through the removal process.
What Happens When You Uninstall
Uninstalling removes the app and most of its data from your device. However:
- Your license remains tied to your Microsoft account
- You can reinstall anytime from your Library
- Some apps store data in the cloud, which persists
- Local save files may remain in specific folders
Managing App Permissions and Settings
Modern apps request various permissions to function. Managing these protects your privacy.
Viewing App Permissions
- Go to Settings > Privacy & security
- Select “App permissions”
- Choose a permission type (Camera, Microphone, Location, etc.)
- See which apps have access and toggle them on or off
Common permission categories:
| Permission Type | What It Controls | Why Apps Need It |
|---|---|---|
| Camera | Access to webcam | Video calls, photo apps |
| Microphone | Audio recording | Voice chat, recording tools |
| Location | GPS and location data | Maps, weather apps |
| Notifications | Alert permissions | Communication apps |
| Background apps | Running when closed | Music players, sync tools |
Controlling Background Activity
Apps running in the background consume system resources and battery. To manage this:
- Settings > Apps > Installed apps
- Click the three dots next to an app
- Select “Advanced options”
- Find “Background apps permissions”
- Choose “Always,” “Power optimized,” or “Never”
Setting apps to “Never” saves resources but may break functionality that depends on background operations.
Resetting App Data
If an app misbehaves, resetting it often helps:
- Go to the app’s Advanced options (same path as above)
- Scroll to the Reset section
- Choose “Repair” first (fixes issues without losing data)
- If that doesn’t work, choose “Reset” (wipes all app data)
Reset only affects the app itself, not your Microsoft account data.
Managing Storage and Download Locations
Microsoft Store apps consume storage space. Understanding where they install helps you manage disk usage.
Checking App Sizes
In Settings > Apps > Installed apps, you can see each app’s size. Sort by size to identify space hogs.
Changing Install Location
To set where new apps install:
- Open Microsoft Store
- Go to Settings (profile icon > Settings)
- Under “Storage,” see current drive usage
- New apps install to your Windows drive by default
Unfortunately, you can’t easily change the install location for Microsoft Store apps like you can with traditional programs. They must install to your Windows drive or, on some systems, designated app drives.
Moving Installed Apps
For some apps, you can move them between drives:
- Settings > Apps > Installed apps
- Click the three dots next to an app
- If “Move” is available, click it
- Select the destination drive
Not all Store apps support moving. The option appears grayed out for apps that must stay on the system drive.
Troubleshooting Common Microsoft Store Issues
Problems with Microsoft Store are common but usually fixable.
Store Won’t Open or Load
Try these solutions in order:
Clear the Store cache:
- Press Windows key + R
- Type
wsreset.exeand press Enter - A blank command window appears briefly
- Microsoft Store reopens automatically
Check your internet connection: The Store requires an active connection. Test by opening a website.
Sign out and back in: Click your profile icon, sign out, restart the Store, and sign in again.
Apps Won’t Download or Update
Run the Windows Update Troubleshooter:
- Settings > System > Troubleshoot
- Select “Other troubleshooters”
- Run “Windows Store Apps” troubleshooter
- Follow the prompts
Check date and time settings: Incorrect system time breaks Store authentication. Verify your clock is set correctly in Settings > Time & language.
Disable VPN or proxy: These can interfere with Store connections. Temporarily disable them and retry.
Error Codes Explained
Common error codes and meanings:
- 0x80073CF3: App installation files are corrupted. Clear cache and retry.
- 0x80070005: Permission denied. Run Store as administrator.
- 0x8024500C: Network timeout. Check your connection and firewall.
- 0x80073D0D: App conflicts with existing software. Uninstall conflicting apps.
For persistent errors, Microsoft’s troubleshooting resource center provides detailed fixes for specific codes.
Microsoft Store Keeps Crashing
If the Store crashes repeatedly:
- Check for Windows updates (Settings > Windows Update)
- Install all available updates
- Restart your computer
- Reset Microsoft Store from Settings > Apps > Installed apps > Microsoft Store > Advanced options > Reset
Managing Payment Methods and Subscriptions
Some apps involve purchases or subscriptions. Managing these prevents unwanted charges.
Adding or Removing Payment Methods
- Open Microsoft Store
- Click your profile icon
- Select “Payment and billing”
- Choose “Payment options”
- Add, edit, or remove cards and payment methods
Your payment methods sync across all Microsoft services, including Xbox and Office subscriptions.
Viewing Purchase History
To see what you’ve bought:
- Profile icon > Payment and billing
- Select “Order history”
- Review all purchases by date
This helps track expenses and identify charges on your credit card.
Managing Subscriptions
Apps with recurring payments appear under subscriptions:
- Profile icon > Payment and billing
- Select “Subscriptions”
- View active subscriptions
- Cancel or modify as needed
Cancel at least one day before renewal to avoid the next charge. Most subscriptions continue until the current period ends after cancellation.
Parental Controls and Family Features
If you share your computer with children, Microsoft Store offers robust controls.
Setting Up Family Safety
- Sign in to account.microsoft.com/family
- Add family members
- Configure settings for each child account
Within Microsoft Store specifically:
- Restrict app installations by age rating
- Require approval for purchases
- Block specific content types
- Monitor activity reports
Age Ratings Explained
Microsoft Store uses standard age ratings:
- E (Everyone): Suitable for all ages
- E10+ (Everyone 10+): Mild content
- T (Teen): Ages 13 and up
- M (Mature): Ages 17 and up
- A (Adults Only): Ages 18 and up
Filter by rating in your family settings to control what children can access.
Advanced Management Through PowerShell
For power users, PowerShell offers deeper control over Microsoft Store apps.
Viewing All Installed Store Apps
Open PowerShell as administrator and run:
Get-AppxPackage | Select Name, PackageFullName
This lists every Store app on your system with its technical name.
Uninstalling Apps Via PowerShell
To remove an app:
Get-AppxPackage *appname* | Remove-AppxPackage
Replace “appname” with part of the app’s name from the previous command.
Reinstalling Default Store Apps
If you accidentally removed a system app:
Get-AppxPackage -AllUsers *appname* | Foreach {Add-AppxPackage -DisableDevelopmentMode -Register "$($_.InstallLocation)\AppXManifest.xml"}
This reinstalls apps like Calculator, Photos, or the Store itself.
Best Practices for Managing Store Apps
Follow these tips to keep your app management smooth:
Keep Windows updated: Store functionality improves with each Windows update. Never skip critical updates.
Review permissions regularly: Check app permissions quarterly. Revoke access apps don’t need.
Monitor storage usage: Large apps accumulate over time. Uninstall what you don’t use.
Enable automatic updates selectively: Keep security apps current, but manual update others if you prefer stability.
Use family safety features proactively: Set up controls before giving devices to children.
Back up important app data: Some apps store data locally. Before resetting or uninstalling, check if you need to export anything.
Summary
Managing apps in Microsoft Store involves several key areas: installation, updates, permissions, storage, and troubleshooting. The Store provides a centralized location for all these tasks, with most controls accessible through your Library and profile settings.
For day-to-day use, focus on these core actions:
- Check your Library regularly to update or remove apps
- Review permissions in Windows Settings to protect privacy
- Monitor storage to keep your system running smoothly
- Use troubleshooting tools when issues arise
The Microsoft Store continues evolving with each Windows update. Familiarizing yourself with these management tools ensures you stay in control of your software environment, whether you use a handful of apps or manage dozens across multiple devices.
Frequently Asked Questions
Can I use Microsoft Store without a Microsoft account?
No. Microsoft Store requires a Microsoft account for downloading and managing apps. You can browse without signing in, but installation needs authentication. Creating a free account takes minutes and unlocks full Store functionality.
Why do some apps I uninstall keep coming back?
Windows includes default apps that reinstall during major updates. These include Photos, Mail, and other system apps. To permanently prevent this, you need to uninstall them through PowerShell with specific commands that remove provisioning.
Do Microsoft Store apps work offline?
Yes, once installed. You need internet to download and update apps, but most function fully offline afterward. Some apps with cloud features require connectivity for those specific functions, but core features remain available offline.
Can I transfer my purchased apps to another Microsoft account?
No. App licenses permanently tie to the purchasing account. If you switch accounts, you’ll need to repurchase apps. This applies to free apps too; you must reinstall them under the new account.
How do I fix “This app couldn’t be installed” errors?
Start by clearing the Store cache with wsreset.exe. Then check for Windows updates, verify you have enough storage space, and ensure your Windows version meets the app’s requirements. If problems persist, run the Windows Store Apps troubleshooter from Settings.

- How to Fix Overscan on Windows 11/10: Stop Your Screen Getting Cut Off (2026) - April 1, 2026
- How to Disable Lock Screen on Windows 11/10 in 2026 - April 1, 2026
- Top 7 NFT Integration Ideas for Brands in 2026 - March 31, 2026