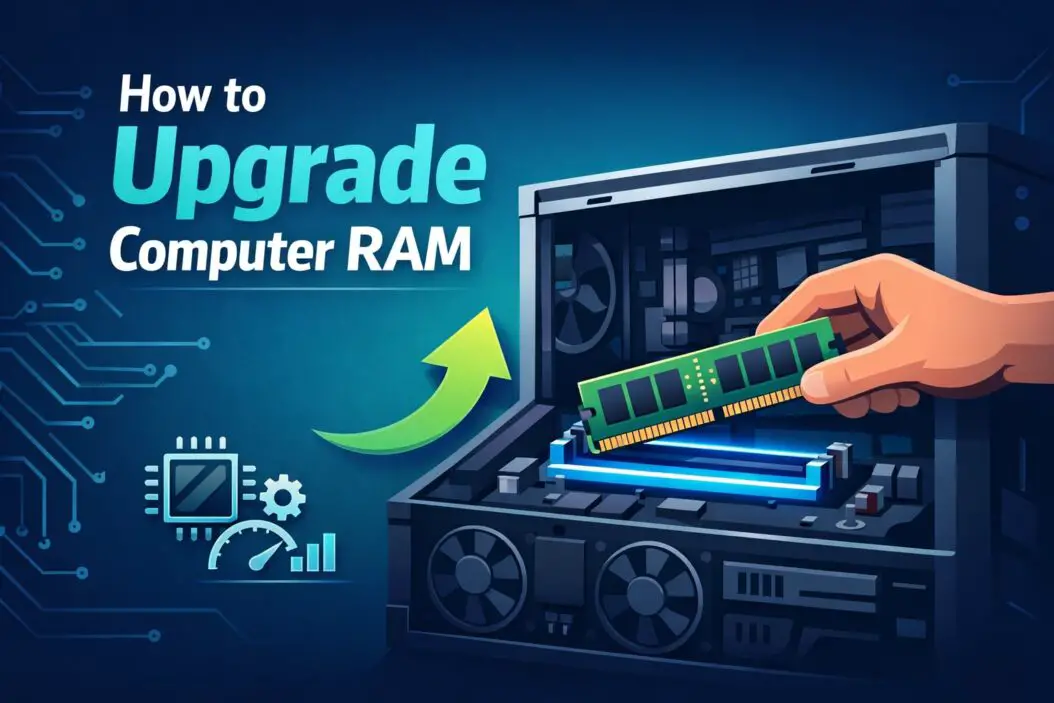
Upgrading your computer’s RAM takes 10 to 30 minutes and costs between $30 and $200. You buy new memory modules that match your computer’s specifications, open your case, push out old RAM if needed, and insert the new modules into available slots. The process is straightforward because RAM is designed to be user replaceable.
Most people notice their computer running faster immediately after an upgrade. Tasks like browsing with many tabs, video editing, and gaming become smoother. This is because your computer stops relying on slow hard drive space to compensate for insufficient memory.
What is RAM and Why It Matters
RAM stands for Random Access Memory. Think of it as your computer’s workspace. When you open an application or browser tab, data gets loaded into RAM. Your processor works with this data directly from RAM, which is much faster than reading from your hard drive.
If you don’t have enough RAM, your computer uses something called virtual memory. The system writes data to your hard drive and reads it back. This process is slow. Your computer feels sluggish because it’s constantly moving data between RAM and storage.
Common signs you need more RAM include frequent freezing, slow application loading, and your computer running slower with multiple programs open. You might notice your fans running constantly as the system works harder to manage limited memory.
How Much RAM Do You Actually Need?
RAM requirements depend on what you do with your computer.
For everyday use (browsing, email, documents): 8GB is adequate. 16GB gives you breathing room for the next five years.
For content creation (photo editing, video work, music production): 32GB is becoming standard. Professional editors often use 64GB or more.
For gaming: 16GB handles modern games well. 32GB ensures smooth performance with multiple applications running.
For programming and software development: 16GB works for most projects. 32GB helps if you run virtual machines or compile large codebases.
For business and office work: 8GB manages most tasks. 16GB eliminates lag when working with large spreadsheets or data analysis tools.
Check what you currently have. On Windows, right-click “This PC” and select “Properties.” On Mac, click the Apple menu, select “About This Mac,” and look for “Memory.” On Linux, open Terminal and type “free -h”.
Identifying Your Computer Type and RAM Compatibility
Your computer type determines which RAM you can buy. Different systems use different RAM types.
Laptops typically use SO-DIMM (Small Outline Dual Inline Memory Module) RAM, which is smaller than desktop RAM. Some modern laptops have RAM soldered directly to the motherboard, meaning it cannot be upgraded.
Desktop computers use standard DIMM RAM, which is larger and easier to work with.
All-in-one computers vary. Some have removable RAM like laptops. Others have soldered memory.
Check if your system is upgradeable before buying anything. Search your exact computer model online with “RAM upgrade” to confirm.
Steps to Identify Your Current RAM Specs
Finding your exact RAM specifications ensures you buy compatible memory.
Open Windows PowerShell (or Terminal on Mac/Linux) and run these commands to see detailed information:
Windows: “systeminfo” or “Get-WmiObject Win32_PhysicalMemory” Mac: “system_profiler SPMemoryDataType” Linux: “sudo dmidecode -type 17”
These commands show your RAM’s speed (MHz), type (DDR4, DDR5, etc.), and manufacturer.
Alternatively, download free software like CPU-Z (Windows) or Speccy. These tools display all hardware information in an easy-to-read format. Visit CPU-Z’s official site to download safely.
Checking Available RAM Slots
Not all computers have empty slots for new RAM. You need to know how many slots are occupied and how many are free.
Open your system settings:
Windows: Settings > System > About, scroll down to “Device specifications” Mac: Apple Menu > About This Mac > Memory tab Linux: “lsblk” or “inxi -m” in terminal
This shows your total RAM and may indicate the number of slots. For more detailed information, you can physically open your computer (we’ll cover this next).
If you have two slots and both are full, you have two options. You can buy two new modules with higher capacity (removing the old ones), or you can replace one module if your motherboard supports mixed RAM capacity (not recommended).
Preparing to Open Your Computer
Before physically opening your system, take precautions to protect sensitive components.
Shut down your computer completely. Don’t just close the lid on a laptop. Power off entirely.
Unplug the power cable. This prevents electrical damage. Wait five minutes before opening the case.
Gather your tools: You’ll need a Phillips head screwdriver. An anti-static wrist strap is optional but recommended, especially in dry climates. This strap grounds you to prevent static electricity from damaging components.
Work in a clean environment. Avoid carpeted rooms if possible. Dust damages components over time. Wipe your work surface with a damp cloth before starting.
Set up proper lighting. You’ll need to see inside the computer clearly. Use a desk lamp or headlamp.
Opening Your Computer Case
Different computers have different designs. Laptop cases are usually secured by small screws on the underside. Desktop cases have removable side panels held by latches or screws.
For desktops:
Locate the side panel. Some cases have thumb screws you can turn by hand. Others require a Phillips screwdriver. Remove 2 to 4 screws and slide the panel off gently.
For laptops:
Flip the computer upside down. You’ll see the underside panel. Remove the screws holding this panel. They’re usually small and sometimes of different lengths, so keep them organized.
For MacBooks:
MacBooks often require a Pentalobe screwdriver (P5 size). Check the Apple support page for your specific model, as designs vary significantly.
Once open, look inside. You’ll see your existing RAM sticks. They look like small green or blue circuit boards, roughly 3 inches long for laptops or 5 inches for desktops.
Locating and Removing Old RAM Safely
RAM modules sit vertically or horizontally in slots. Each slot has clips on the ends.
To remove existing RAM:
Look at the two clips on either end of the RAM module. Push both clips away from the module simultaneously. The RAM will pop up at an angle.
Grasp the module by its edges (not the gold connectors) and lift it straight out. Avoid touching the gold connector pins at the bottom. Even small amounts of dust or skin oils can cause connection problems.
Place the old RAM on a static-safe surface like the original packaging or an anti-static bag. You might sell or donate working RAM, so keep it in good condition.
Important: Some laptops have all their memory soldered to the motherboard. If you don’t see removable RAM modules, stop. Your system cannot be upgraded. Check your model’s specification sheet online before purchasing new RAM.
Selecting Compatible RAM
Compatibility is crucial. Buying the wrong type of RAM means wasting money because it won’t work.
You need to match four specifications:
Type: DDR3, DDR4, or DDR5. Older computers use DDR3. Most computers built after 2015 use DDR4. New systems use DDR5. Check your current RAM or your motherboard’s manual to confirm.
Speed (MHz): Common speeds are 2400MHz, 2666MHz, 3000MHz, 3200MHz, and 3600MHz. Faster RAM costs more. Your motherboard has a maximum supported speed. Buy RAM at or below this maximum. The system will run at the slowest module’s speed if you mix different speeds, so aim to match existing RAM when possible.
Capacity: Available in 4GB, 8GB, 16GB, 32GB, and higher increments. Choose based on your needs.
Form factor: SO-DIMM for laptops, DIMM for desktops.
Checking the manual:
Search online for your motherboard or computer model name plus “RAM specifications” or “memory support list.” This gives you exact compatibility information. Your motherboard manual (often available as a PDF online) lists the maximum supported memory amount and speed.
Reputable brands to consider: Kingston, Corsair, Crucial, G.Skill, and Samsung. These manufacturers have good quality control and warranty support. See reviews on Crucial’s RAM selector which helps identify compatible modules by entering your system information.
Installing Your New RAM
Installation is the easiest part. RAM modules are designed to fit only one way.
Locate the RAM slots. Open slots have plastic clips on both ends.
Position the new module. The notch on the bottom of the RAM module must align with the key in the slot. This prevents installing it backward.
Push the module in at a 45-degree angle until it’s halfway seated. Push down firmly until you hear a click. Both clips should snap into place on either side. The module should be horizontal and flush with the motherboard.
For multiple modules: Install them one at a time. Leave at least one empty slot between modules if possible, as this improves air circulation and cooling.
Double-check: All modules should sit at the same level. If one is higher than the others, it’s not fully seated. Reseat it with firm downward pressure.
Closing Your Computer and Testing
Close the case carefully. Replace screws in their original positions, using the correct size to avoid stripping threads.
Power on the system. It takes slightly longer than usual while it detects the new RAM. Don’t worry about this. This is normal.
Check that the system recognizes the new RAM. Open your system information again. The total memory should match your new configuration.
Windows: Settings > System > About Mac: Apple Menu > About This Mac > Memory Linux: “free -h” in terminal
Run a memory test to ensure everything works correctly. Windows users can use “Windows Memory Diagnostic.” Linux users can use “memtest86.” Mac users can use the built-in “Memory” tool under “Utilities” folder.
Troubleshooting Common Issues
Computer won’t start: This usually means RAM isn’t fully seated. Power down, open the case, and reseat each module firmly until you hear the click.
System recognizes only part of the new RAM: Different module speeds can cause this. Verify all modules are the same speed and type. Mix-matching RAM is possible but not recommended.
Random crashes or errors: The RAM may be defective. Try the memory test utility. If errors appear, try each module individually in different slots to isolate the problem.
Computer is slow after upgrade: You probably have defective RAM or installation issues. Run memory tests first. If tests pass, restart your computer. Sometimes a restart is needed for the system to fully recognize the upgrade.
Overheating: This is rare but possible if you blocked airflow. Remove any RAM you added and check for obstructions. Ensure cooling fans have space to run.
Performance Expectations After Upgrading
You’ll notice changes immediately in most scenarios.
Applications launch faster. Software no longer waits to load data from your hard drive.
Multitasking improves. You can keep more programs open without slowdowns. Browser tabs run smoothly even with 20 open.
Gaming is smoother. Frame rates stabilize, and stuttering decreases.
Video editing and design work feel responsive. Creative software processes information faster.
No change in maximum speed. RAM upgrades don’t increase your processor’s speed. If your processor is slow, upgrading RAM helps but won’t eliminate all lag.
Monitor performance for a few days. If the system still feels slow, other hardware might be your bottleneck (like an older hard drive). Newer solid-state drives (SSDs) improve performance more than RAM upgrades in some situations.
Summary
Upgrading RAM is straightforward. Identify what your computer needs, buy compatible modules, open your case, remove old RAM if necessary, install new modules, and power on. The entire process takes 30 minutes.
If you’re unsure about any step, watch a YouTube video for your specific computer model. Seeing someone perform the upgrade on your exact system builds confidence.
Most computer issues stem from insufficient RAM. If your system struggles with multiple applications, an upgrade usually fixes the problem. You’ll spend under $200 for a noticeable improvement that lasts years.
Keep your old RAM as backup. If new modules fail, you have working memory to test with. Store it in anti-static packaging.
FAQs
Can I use RAM from different manufacturers?
Yes. Mixing Kingston and Corsair RAM in the same computer works fine. Ensure the speed and type match.
Will upgrading RAM void my warranty?
Most manufacturers don’t void warranties for user-installed RAM upgrades. Check your specific warranty documentation. Some prebuilts like Dell and HP explicitly allow RAM upgrades.
How long do RAM modules last?
Quality RAM lasts 10 to 15 years under normal use. Failure is rare. Buy from reputable manufacturers with good warranties.
Is faster RAM always better?
Faster RAM helps but makes less difference than having enough RAM. A system with 8GB of fast RAM performs worse than a system with 32GB of slower RAM. Balance speed and capacity based on your needs.
Do I need to enable XMP or DOCP settings?
If your RAM is rated faster than your motherboard’s default speed, enabling XMP or DOCP in BIOS settings activates the higher speed. This is optional but recommended for gamers and performance enthusiasts. Consult your motherboard manual for the exact steps.
