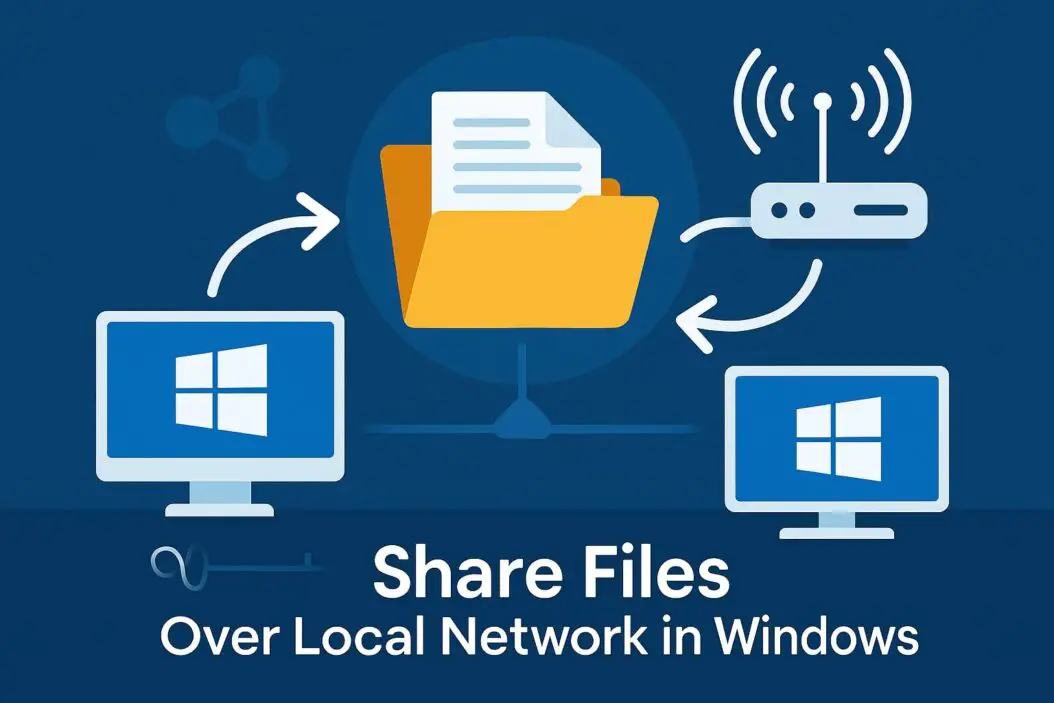
Sharing files between computers on your local network doesn’t require cloud storage, USB drives, or complicated software. Windows has built-in tools that let you transfer files directly between devices on the same network. This article shows you exactly how to set up file sharing and start transferring files quickly and securely.
What Is Local Network File Sharing?
Local network file sharing lets computers on the same Wi-Fi or Ethernet network access files stored on other computers. Instead of emailing files to yourself or using a flash drive, you can directly transfer documents, photos, videos, and other files between your devices.
This works for:
- Home networks with multiple computers
- Small office networks
- Sharing files between your laptop and desktop
- Accessing files from your work computer at your home office
Quick Answer: To share files over a local network in Windows, you need to enable network discovery, turn on file sharing, create a shared folder, and set permissions. Other computers on the network can then access these shared folders through File Explorer.
Prerequisites Before You Start
Before setting up file sharing, make sure:
- All computers are connected to the same network (same Wi-Fi or router)
- You know your Windows version (Windows 10 or 11 work similarly)
- You have administrator access on the computer
- Windows Firewall is active (for security)
- You know the computer name or IP address of each device
Checking Your Network Connection
Open Command Prompt and type:
ipconfigLook for your IPv4 Address. All devices should have similar IP addresses (like 192.168.1.x) to be on the same network.
Step 1: Enable Network Discovery and File Sharing
Network discovery allows your computer to see other devices on the network and be seen by them.
For Windows 10 and 11:
- Open Settings (Windows key + I)
- Click Network & Internet
- Click Ethernet or Wi-Fi (whichever you’re using)
- Click Advanced network settings
- Click Advanced sharing settings
- Under Private networks, enable these options:
- Turn on network discovery
- Turn on automatic setup of network connected devices
- Turn on file and printer sharing
- Click Save changes
Using Control Panel Method:
- Press Windows key + R
- Type
controland press Enter - Click Network and Sharing Center
- Click Change advanced sharing settings on the left
- Expand Private network profile
- Select Turn on network discovery
- Select Turn on file and printer sharing
- Click Save changes
Important: Always use the Private network profile for home and trusted networks. Public networks should keep these features disabled for security.
Step 2: Set Your Network Profile to Private
Windows treats networks differently based on their profile. For file sharing to work properly, your network should be set to Private.
- Go to Settings > Network & Internet
- Click your connection (Wi-Fi or Ethernet)
- Find Network profile type
- Select Private
If you see Public and cannot change it, you may need to forget the network and reconnect, choosing Private when prompted.
Step 3: Create a Shared Folder
Now you’ll designate which folders other computers can access.
Basic Folder Sharing:
- Right-click the folder you want to share
- Select Properties
- Click the Sharing tab
- Click Share button
- In the dropdown, select users to share with:
- Choose specific user accounts
- Or select Everyone for easier access
- Click Add
- Set permission level:
- Read: Users can view and copy files
- Read/Write: Users can modify, add, and delete files
- Click Share
- Click Done
You’ll see the network path (like \\DESKTOP-ABC123\FolderName). Save this path for accessing from other computers.
Advanced Sharing Options:
For more control, use Advanced Sharing:
- Right-click the folder, select Properties
- Go to Sharing tab
- Click Advanced Sharing
- Check Share this folder
- Give it a share name (avoid spaces and special characters)
- Click Permissions
- Set permissions for different users or groups
- Click OK on all windows
Step 4: Configure Sharing Permissions
Permissions control what others can do with your shared files. There are two permission types: Share permissions and NTFS permissions. Both need to allow access.
Share Permissions:
| Permission Level | What Users Can Do |
|---|---|
| Read | View files, open files, copy files to their computer |
| Change | Everything in Read plus modify files, create new files, delete files |
| Full Control | Everything in Change plus change permissions |
Setting NTFS Permissions:
- Right-click the shared folder, select Properties
- Go to Security tab
- Click Edit
- Select a user or group
- Check boxes under Allow:
- Read & execute
- List folder contents
- Read
- Write (if needed)
- Modify (if needed)
- Click OK
Security Tip: Only grant Write or Modify permissions to people you trust. Read-only access prevents accidental deletion or changes.
Step 5: Access Shared Folders from Another Computer
Once you’ve shared folders, other computers can access them.
Method 1: Through Network in File Explorer
- Open File Explorer (Windows key + E)
- Click Network in the left sidebar
- Wait for computers to appear
- Double-click the computer name
- Enter username and password if prompted
- Browse shared folders
If you don’t see the computer, make sure both have network discovery enabled.
Method 2: Using the Network Path
- Open File Explorer
- Click the address bar at the top
- Type the network path:
\\ComputerName\SharedFolder
- Or use IP address:
\\192.168.1.5\SharedFolder
- Press Enter
- Enter credentials if asked
Method 3: Map a Network Drive
Mapping makes the shared folder appear as a drive letter (like E: or Z:) for quick access.
- Open File Explorer
- Click This PC
- Click Map network drive in the toolbar
- Choose a drive letter
- Enter the folder path:
\\ComputerName\SharedFolder - Check Reconnect at sign-in to keep it permanent
- Check Connect using different credentials if using another account
- Click Finish
- Enter username and password if needed
The shared folder now appears as a drive under This PC.
Troubleshooting Common File Sharing Problems
Problem: Cannot See Other Computers on Network
Solutions:
- Verify network discovery is enabled on both computers
- Check that both computers are on the same network
- Restart the Function Discovery Resource Publication service:
- Press Windows key + R
- Type
services.mscand press Enter - Find Function Discovery Resource Publication
- Right-click and select Restart
- Disable and re-enable your network adapter
- Turn off VPN software temporarily
Problem: Access Denied When Trying to Open Shared Folder
Solutions:
- Check share permissions and NTFS permissions
- Make sure the user account exists on the host computer
- Try accessing with
\\ComputerNameusing the host computer’s username and password - Verify password-protected sharing settings:
- Go to Advanced sharing settings
- Under All Networks, check if Turn off password protected sharing helps (less secure but easier)
Problem: Files Open Very Slowly
Solutions:
- Check your network speed and Wi-Fi signal strength
- Close unnecessary programs on both computers
- Use Ethernet cables instead of Wi-Fi for faster speeds
- Disable antivirus software temporarily to test if it’s causing slowdown
- Make sure Windows is updated on both computers
Problem: Connection Works But Then Disconnects
Solutions:
- Prevent computers from going to sleep:
- Go to Settings > System > Power & sleep
- Set sleep to Never when plugged in
- Keep network adapters active:
- Open Device Manager
- Expand Network adapters
- Right-click your adapter, select Properties
- Go to Power Management tab
- Uncheck Allow the computer to turn off this device to save power
Security Best Practices for Network File Sharing
Network file sharing can expose your files to risks if not configured properly.
Essential Security Measures:
Use Strong Passwords:
- Never share folders using accounts without passwords
- Create strong passwords for all user accounts
- Change default passwords immediately
Limit Shared Folders:
- Only share specific folders, never your entire C: drive
- Create a dedicated “Shared” folder for network access
- Review shared folders regularly and remove old shares
Set Appropriate Permissions:
- Use Read-only access when possible
- Grant Write access only when necessary
- Avoid using “Everyone” with full control
Keep Network Private:
- Always use Private network profile for home networks
- Disable file sharing on Public networks
- Turn off sharing when connecting to coffee shop or hotel Wi-Fi
Enable Windows Firewall:
- Never disable Windows Firewall completely
- It allows file sharing while blocking external threats
- Configure exceptions properly rather than turning it off
Use Encryption:
- For sensitive data, enable encryption on shared folders:
- Right-click folder, select Properties
- Click Advanced button
- Check Encrypt contents to secure data
- Click OK
Advanced File Sharing Methods
Using Nearby Sharing (Windows 10 and 11)
For quick file transfers without setting up folder shares:
- Enable Nearby Sharing on both computers:
- Open Settings > System > Shared experiences
- Turn on Nearby sharing
- Select Everyone nearby or My devices only
- To send a file:
- Right-click the file
- Select Share
- Choose the recipient computer
- The other computer receives a notification to accept
Nearby Sharing uses Bluetooth and Wi-Fi, so both must be enabled.
Creating a Homegroup (Windows 7 and 8)
Windows 10 and 11 removed Homegroups, but older Windows versions can still use this simpler sharing method. If you have mixed versions, use the standard sharing methods described earlier instead.
Using Third-Party Software
While Windows built-in sharing works well, alternatives include:
- LAN Share: Specialized file sharing apps with user-friendly interfaces
- Total Commander: Advanced file manager with network features
- FTP Servers: FileZilla Server for more controlled access
- Samba: For sharing between Windows and Linux systems
For most home users, Windows built-in sharing provides everything needed without extra software.
Optimizing File Transfer Speed
Transfer speed depends on several factors you can control.
Network Infrastructure:
Ethernet vs Wi-Fi:
| Connection Type | Typical Speed | Best For |
|---|---|---|
| Ethernet (Gigabit) | 100-125 MB/s | Large files, video editing, backups |
| Wi-Fi 6 (802.11ax) | 40-100 MB/s | Modern devices, good signal |
| Wi-Fi 5 (802.11ac) | 20-50 MB/s | Most home networks |
| Wi-Fi 4 (802.11n) | 5-20 MB/s | Older devices |
Improvement Tips:
- Use Ethernet cables (Cat5e or Cat6) for computers that don’t move
- Upgrade to a modern router supporting Wi-Fi 5 or 6
- Position router centrally, away from walls and interference
- Use 5GHz Wi-Fi band instead of 2.4GHz when possible
Computer Performance:
- Close unnecessary programs during large transfers
- Check that storage drives aren’t full (leave 15-20% free space)
- Update network adapter drivers
- Disable real-time antivirus scanning temporarily for trusted transfers
- Use SSD drives instead of HDD for faster read/write speeds
File Considerations:
- Compress large files before sharing (right-click > Send to > Compressed folder)
- Transfer fewer large files rather than many small files
- Avoid transferring files while streaming video or gaming
- Use file synchronization software for ongoing sharing needs
Alternative File Sharing Solutions
Different situations call for different approaches.
Cloud Storage Services
When to use: Sharing with people outside your local network, accessing files from anywhere, automatic backup.
Popular services:
- OneDrive (built into Windows)
- Google Drive
- Dropbox
Advantages: Internet-based, accessible anywhere, automatic sync
Disadvantages: Requires internet, storage limits, subscription costs, privacy concerns
Direct File Transfer Tools
When to use: One-time large file transfers, maximum speed, no setup needed.
Examples:
- USB drives or external hard drives
- Direct cable connections (Ethernet crossover)
- Wi-Fi Direct transfers
Network Attached Storage (NAS)
When to use: Multiple users, large storage needs, always-on access, media streaming.
A NAS device acts as a dedicated file server on your network. It provides:
- Centralized storage accessible to all devices
- RAID configurations for data protection
- Runs 24/7 without keeping a computer on
- Often includes backup and media server features
Popular brands: Synology, QNAP, Western Digital, Asahi Kasei
Cost: $150-$600+ for device, plus hard drives
Summary:
Follow these steps for successful file sharing:
- Enable Network Discovery:
- Settings > Network & Internet > Advanced sharing settings
- Turn on network discovery and file sharing
- Set network to Private
- Share a Folder:
- Right-click folder > Properties > Sharing > Share
- Add users and set permissions
- Note the network path
- Access from Another Computer:
- Open File Explorer > Network
- Or type
\\ComputerName\FolderNamein address bar - Enter credentials if prompted
- Secure Your Shares:
- Use strong passwords
- Set appropriate permissions
- Only share necessary folders
- Keep Windows updated
- Optimize Performance:
- Use Ethernet when possible
- Update network drivers
- Keep computers awake during transfers
The Windows support documentation provides additional troubleshooting resources for specific issues.
Frequently Asked Questions
Can I share files between Windows 10 and Windows 11?
Yes, file sharing works seamlessly between different Windows versions. Both use the SMB protocol, so Windows 7, 8, 10, and 11 can all share files with each other on the same network. Just follow the same setup steps on each computer.
Do both computers need to be turned on for file sharing to work?
Yes, the computer hosting the shared files must be powered on and awake (not in sleep mode). The accessing computer also needs to be on. To maintain constant access, disable sleep mode in power settings or consider using a NAS device instead.
Is file sharing safe from hackers outside my network?
When properly configured with Private network settings and Windows Firewall enabled, local file sharing only works within your local network. Devices from the internet cannot access your shares. However, anyone on your Wi-Fi network can potentially access shared folders, so use strong Wi-Fi passwords and avoid sharing on public networks.
Why can’t I see the other computer in Network folder?
Common causes include: network discovery disabled on either computer, computers on different networks (one on Wi-Fi, one on guest network), firewall blocking connections, or outdated network drivers. Instead of browsing, try accessing directly by typing \\ComputerName or \\IPaddress in File Explorer’s address bar.
What’s the difference between sharing and mapping a network drive?
Sharing makes a folder available on the network for others to access. Mapping creates a permanent shortcut to that shared folder on your computer, appearing as a drive letter (like E: or Z:). Mapping is more convenient for folders you access frequently, while regular sharing works fine for occasional access.

- How to Fix Overscan on Windows 11/10: Stop Your Screen Getting Cut Off (2026) - April 1, 2026
- How to Disable Lock Screen on Windows 11/10 in 2026 - April 1, 2026
- Top 7 NFT Integration Ideas for Brands in 2026 - March 31, 2026