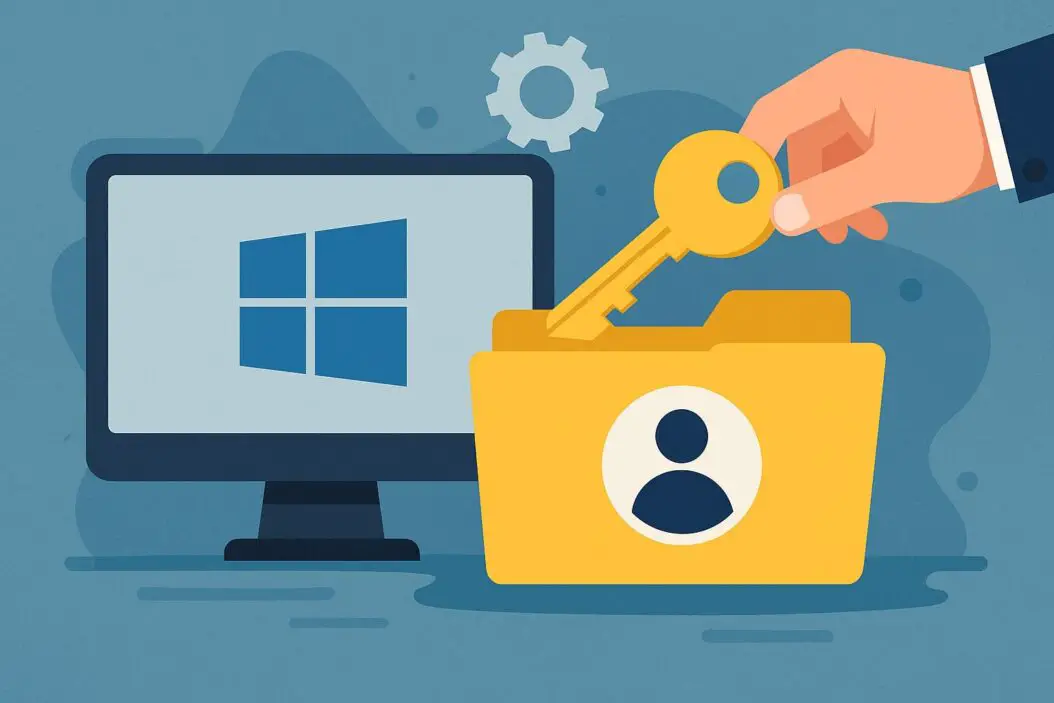
Taking ownership of files and folders in Windows means getting full control over them when you’re blocked from accessing, modifying, or deleting them. This happens when permissions are set incorrectly, or when you’ve transferred files from another user account or computer.
This guide shows you exactly how to take ownership in Windows, step by step.
Why You Need to Take Ownership of Files
Windows uses a security model where every file and folder has an owner. The owner has special rights that regular users don’t have. Sometimes you’ll encounter “Access Denied” errors even though you’re the administrator. This happens because:
- The previous owner’s account no longer exists
- Files came from another computer
- System files are protected
- Permissions got corrupted during updates
- You’re using a new administrator account
Taking ownership gives you full control to read, modify, or delete these files.
Windows File Permissions
Before taking ownership, you should understand how Windows handles permissions.
Three key concepts:
Owner: The user account that created the file or currently owns it. Owners can always change permissions.
Permissions: Rules that determine who can read, write, modify, or delete files.
Groups: Collections of users who share the same access rights (like Administrators or Users).
When you take ownership, you’re changing who has ultimate control. This is different from just changing permissions.
Methods to Take Ownership in Windows
There are four main ways to take ownership:
- File Explorer (GUI method)
- Command Prompt
- PowerShell
- Third-party tools
I’ll walk you through each method so you can choose what works best for you.
Method 1: Taking Ownership Through File Explorer
This is the easiest method for most people. It works on individual files or entire folders.
Step-by-Step Process
Step 1: Right-click the file or folder you want to take ownership of.
Step 2: Select “Properties” from the menu.
Step 3: Click the “Security” tab at the top.
Step 4: Click the “Advanced” button at the bottom.
Step 5: Look for the “Owner:” line near the top. Click “Change” next to it.
Step 6: In the new window, type your username in the box. If you’re not sure of your exact username, click “Advanced” then “Find Now” to see all accounts.
Step 7: Click “Check Names” to verify the username is correct. It will underline if valid.
Step 8: Click “OK” to close the user selection window.
Step 9: For folders, check the box that says “Replace owner on subcontainers and objects.” This gives you ownership of everything inside.
Step 10: Click “Apply” then “OK.”
You now own the file or folder. But you might still need to set permissions.
Setting Permissions After Taking Ownership
Taking ownership doesn’t automatically give you full access. You need to set permissions too.
Step 1: Right-click the file or folder again and select “Properties.”
Step 2: Go to the “Security” tab.
Step 3: Click “Edit” to change permissions.
Step 4: Select your username from the list.
Step 5: Check “Full Control” in the “Allow” column.
Step 6: Click “Apply” then “OK.”
Now you have complete access.
Method 2: Taking Ownership Using Command Prompt
Command Prompt is faster for multiple files or if the GUI method fails. You need to run Command Prompt as administrator.
Opening Command Prompt as Administrator
Windows 10/11:
- Press Windows key + X
- Click “Command Prompt (Admin)” or “Windows Terminal (Admin)”
- Click “Yes” when asked for permission
Taking Ownership Commands
For a single file:
takeown /f "C:\path\to\file.txt"For a folder and everything inside:
takeown /f "C:\path\to\folder" /r /d yThe /r makes it work on all subfolders and files. The /d y automatically answers “yes” to prompts.
Setting Permissions via Command Prompt
After taking ownership, grant yourself permissions:
For a file:
icacls "C:\path\to\file.txt" /grant YourUsername:FFor a folder and contents:
icacls "C:\path\to\folder" /grant YourUsername:F /tReplace “YourUsername” with your actual Windows username. The :F means “Full control.” The /t applies it to all subfolders and files.
Common Command Options Explained
| Command/Parameter | What It Does |
|---|---|
| takeown | Windows command to take ownership |
| /f | Specifies the file or folder path |
| /r | Recursive (includes all subfolders) |
| /d y | Default answer “yes” to prompts |
| icacls | Modifies access control lists |
| /grant | Gives permissions to a user |
| :F | Full control permission |
| /t | Applies to folder and all contents |
Method 3: Using PowerShell to Take Ownership
PowerShell offers more flexibility and better scripting options. It’s particularly useful for complex scenarios.
Opening PowerShell as Administrator
- Right-click the Start button
- Select “Windows PowerShell (Admin)” or “Terminal (Admin)”
- Allow the elevation prompt
PowerShell Ownership Commands
Basic ownership command:
$path = "C:\path\to\folder"
$acl = Get-Acl $path
$user = [System.Security.Principal.WindowsIdentity]::GetCurrent().Name
$owner = New-Object System.Security.Principal.NTAccount($user)
$acl.SetOwner($owner)
Set-Acl $path $acl
This script:
- Gets the current access control list
- Identifies your current user
- Sets you as the owner
- Applies the changes
Taking Ownership Recursively with PowerShell
For folders with many subfolders:
$path = "C:\path\to\folder"
Get-ChildItem $path -Recurse | ForEach-Object {
    $acl = Get-Acl $_.FullName
    $user = [System.Security.Principal.WindowsIdentity]::GetCurrent().Name
    $owner = New-Object System.Security.Principal.NTAccount($user)
    $acl.SetOwner($owner)
    Set-Acl $_.FullName $acl
}
This loops through every file and subfolder, taking ownership of each.
Method 4: Third-Party Ownership Tools
Several tools simplify the ownership process by adding context menu options.
Take Ownership Registry Tweak:
Microsoft provides a registry modification that adds “Take Ownership” directly to your right-click menu. This combines taking ownership and setting permissions in one click.
Other tools:
- Unlocker (for locked files)
- TakeOwnershipEx
- FileAssassin
Use caution with third-party tools. Download only from official sources.
Common Scenarios and Solutions
Taking Ownership of System Files
System files are protected for security reasons. Taking ownership of them can cause Windows problems.
Only proceed if:
- You absolutely need to modify a system file
- You have a backup
- You understand the risks
The process is the same as above, but Windows may require additional steps or prevent changes to critical files.
Taking Ownership After Upgrading Windows
Windows upgrades sometimes create a “Windows.old” folder containing your previous installation. Taking ownership lets you retrieve files or delete the folder.
Process:
- Navigate to C:\Windows.old
- Right-click and select Properties
- Follow the File Explorer method above
- Make sure to check “Replace owner on subcontainers and objects”
This folder can be large (20+ GB), so taking ownership and deleting it frees significant space.
Taking Ownership from Another User Account
When you take over someone else’s computer or need to access another user’s files:
Step 1: Log in as an administrator.
Step 2: Navigate to C:\Users[OtherUsername]
Step 3: Use any method above to take ownership.
Step 4: Set Full Control permissions for your account.
Remember this may violate privacy expectations or company policies. Ensure you have proper authorization.
Taking Ownership of External Drives
External drives sometimes retain ownership and permission settings from other computers.
Quick fix:
- Right-click the drive letter in File Explorer
- Select Properties
- Go to Security tab → Advanced
- Change owner to your account
- Check “Replace owner on subcontainers and objects”
- Apply changes
This gives you access to everything on the drive.
Troubleshooting Common Ownership Issues
“You Don’t Currently Have Permission to Access This Folder”
This appears when you click on a folder you don’t own.
Solution:
Click “Continue” on the prompt. Windows will attempt to grant you access. If that fails, use the manual ownership methods above.
“Unable to Set New Owner” Error
This happens with some system files or when files are in use.
Solutions:
- Close all programs that might be using the file
- Boot into Safe Mode and try again
- Use Command Prompt or PowerShell instead of File Explorer
- Check if the file is read-only (Right-click → Properties → uncheck “Read-only”)
“Access is Denied” Even After Taking Ownership
You took ownership but forgot to set permissions.
Fix:
Follow the “Setting Permissions After Taking Ownership” section above. Taking ownership and having permissions are two separate steps.
Changes Don’t Apply to Subfolders
You didn’t check the recursive option.
For File Explorer: Make sure “Replace owner on subcontainers and objects” was checked.
For Command Prompt: Use the /r parameter with takeown.
For PowerShell: Use the recursive script provided above.
Best Practices and Safety Tips
Create a Restore Point First
Before taking ownership of system files or making major changes:
- Type “Create a restore point” in Windows search
- Click “System Properties”
- Click “Create” button
- Name your restore point
- Wait for completion
This lets you undo changes if something breaks.
Don’t Change System File Ownership Unnecessarily
Windows protects system files for good reasons. Taking ownership of files in these folders can cause problems:
- C:\Windows\System32
- C:\Program Files
- C:\ProgramData
Only modify these if you know exactly what you’re doing.
Keep Track of Changes
Document which files you take ownership of. This helps troubleshoot problems later.
Create a simple text file listing:
- Date of change
- File or folder path
- Reason for taking ownership
- Original owner (if known)
Consider Security Implications
Taking ownership of shared network files affects other users. In work environments:
- Check company policies first
- Notify IT department
- Don’t take ownership of shared resources without permission
According to Microsoft’s security documentation, improper ownership changes can create security vulnerabilities.
Differences Between Windows Versions
Windows 10 vs Windows 11
The ownership process is nearly identical. The interface looks slightly different, but steps remain the same.
Minor differences:
- Windows 11 has redesigned context menus (right-click menus)
- You may need to click “Show more options” to see Properties in Windows 11
- PowerShell is being replaced by Windows Terminal (but commands work the same)
Windows Home vs Professional
Windows Home has the same ownership capabilities as Professional. All methods in this guide work on both versions.
Professional adds group policy options for managing ownership across multiple computers, but individual users rarely need these.
When You Shouldn’t Take Ownership
Some situations where taking ownership causes more problems:
Company computers: Your organization might have monitoring or security policies that flag ownership changes.
Shared family computers: Taking ownership of another user’s personal folders violates privacy.
Program installation folders: This can break software that expects specific permissions.
Active system processes: Files currently in use by Windows shouldn’t be modified.
Instead of taking ownership, consider:
- Asking the IT department for access
- Creating a new file with the content you need
- Using “Run as administrator” for temporary elevated access
- Checking if you actually need to modify the file at all
Choosing the Right Method
| Method | Best For | Difficulty | Speed |
|---|---|---|---|
| File Explorer | Single files or folders, beginners | Easy | Moderate |
| Command Prompt | Multiple items, system files | Medium | Fast |
| PowerShell | Scripting, complex scenarios | Advanced | Very Fast |
| Third-party Tools | Frequent use, convenience | Easy | Very Fast |
Conclusion
Taking ownership of files and folders in Windows is a powerful solution when you encounter access denied errors. The File Explorer method works well for occasional needs, while Command Prompt and PowerShell offer speed and flexibility for advanced users.
Remember these key points:
- Always take ownership only when necessary
- Set permissions after taking ownership for full access
- Create system restore points before modifying system files
- Use the recursive option for folders with subfolders
- Document your changes for future reference
Start with the File Explorer method if you’re new to this. As you become comfortable, explore Command Prompt or PowerShell for faster results. Most importantly, respect privacy and security considerations, especially on shared or work computers.
You now have the knowledge to solve access permission problems and take full control of your files.
Frequently Asked Questions
Can I take ownership of files without administrator rights?
No. Taking ownership requires administrator privileges. You can right-click Command Prompt or PowerShell and select “Run as administrator” to gain these rights. Without admin access, you can only work with files you already own.
Will taking ownership delete my files?
No. Taking ownership only changes who controls the file. It doesn’t delete, modify, or move your files. However, always create backups before making permission changes, especially on important files.
How do I give ownership back to the original owner?
Follow the same process but enter the original owner’s username instead of yours. In the “Select User or Group” window, type “TrustedInstaller” for system files or the specific username for user files. You need to know the original owner’s exact account name.
Why do I still get “Access Denied” after taking ownership?
Taking ownership and having permissions are separate things. After taking ownership, you must also grant yourself “Full Control” permissions through the Security tab in Properties. Follow the “Setting Permissions After Taking Ownership” section to complete both steps.
Is it safe to take ownership of everything on my hard drive?
No. Taking ownership of system files (especially in Windows, Program Files, and System32 folders) can break Windows functionality and create security vulnerabilities. Only take ownership of specific files or folders you need to access, typically in your user directory or external drives.
