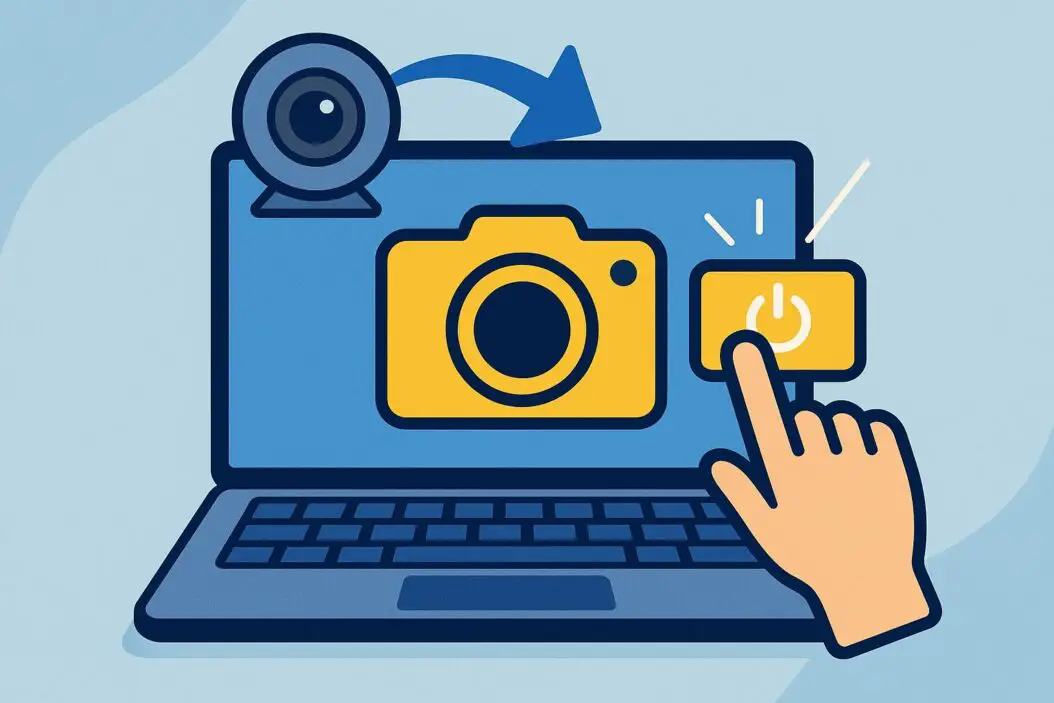
Your computer has a camera built in, but it won’t work until you activate it. This guide shows you exactly how to turn it on across different operating systems. Whether you’re setting up for video calls, streaming, or recording, I’ll walk you through each step clearly.
The fastest way? Check if your camera is disabled in settings, install the right drivers, or allow permissions in your apps. Most people get their camera working in under five minutes.
Why Your Camera Might Not Be Working
Before activation, understand what could be blocking your camera from working.
Physical switches: Some laptops have a physical camera switch or shutter. Check above your screen or on the keyboard for a small slider or button.
Software disabled: Your camera might be off in device settings. This is common after updates or when security software disables it.
Missing drivers: If Windows doesn’t recognize your camera, you need to install drivers from your computer manufacturer.
App permissions: Modern systems require you to give each app permission to use your camera. Apps can’t access it without this approval.
Hardware issues: The camera itself could be damaged, though this is rare.
Activate Camera on Windows
Step 1: Check Device Manager
- Right-click the Start menu and select Device Manager
- Look for Cameras in the list
- If you see your camera with a green checkmark, it’s enabled
- If it has a yellow exclamation mark or is grayed out, right-click it and select Enable device
Step 2: Allow Camera Access in Settings
- Open Settings (Windows key + I)
- Go to Privacy and Security > Camera
- Toggle on Camera access
- Scroll down and turn on Allow applications to access your camera
- Toggle on for each app you want to use your camera with
Step 3: Check for Driver Updates
- Open Device Manager again
- Right-click on your camera
- Select Update driver
- Choose Search automatically for updated driver software
- Windows will download and install the latest version
- Restart your computer when done
Step 4: Test Your Camera
Open the Camera app on Windows by typing Camera in the search box and pressing Enter. If you see your face or the room, your camera is activated.
Activate Camera on Mac
Step 1: Check System Preferences
- Click the Apple menu in the top left
- Select System Settings
- Go to Privacy and Security > Camera
- Make sure Camera access is turned on
Step 2: Allow Apps to Use Camera
- Stay in the Camera privacy settings
- Look for the apps you want to use your camera with
- Make sure each app has camera permission enabled
- Apps like Zoom, FaceTime, or Chrome will appear here
Step 3: Restart the App
Close the app completely and reopen it. Sometimes macOS needs a restart to apply new permissions.
Step 4: Test Your Camera
Open FaceTime or Photo Booth to test. You should see your camera feed immediately.
Activate Camera on Chromebook
Step 1: Open Settings
- Click Settings icon in the bottom right corner
- Go to Privacy and security > Camera
- Toggle on Camera access
Step 2: Allow Individual Apps
- Stay in Camera settings
- Find the app you want to use your camera with
- Toggle it on
Step 3: Test in an App
Open Google Meet, Zoom, or another video app to test your camera.
Troubleshooting: Camera Still Not Working?
Camera shows in Device Manager but won’t work
This means hardware is detected but software isn’t communicating properly.
Go to the manufacturer’s website. Search for your laptop model and camera drivers. Download the driver file specifically for your Windows version. Run the installation file and restart your computer. Check Device Manager again.
Camera not showing in Device Manager at all
Your computer may not recognize the camera hardware.
Restart your computer first. Then check the BIOS settings. Restart and press F2, F10, Del, or Esc during startup (the key depends on your computer model). Look for Integrated Camera or Onboard Camera and make sure it’s enabled. Save changes and restart.
Apps say camera is in use by another app
Only one app can use the camera at a time.
Close all other apps, especially Zoom, Google Meet, or Skype. Close your browser completely if a website was using the camera. Check Task Manager (Ctrl + Shift + Esc) and close any suspicious processes using the camera.
Camera works but looks dark or blurry
This is usually a lens issue, not an activation problem.
Check if a sticker or protective cover is over the camera. Gently wipe the lens with a clean, dry cloth. Make sure the app has permission to access the camera. In video call apps, look for camera settings to adjust brightness and contrast.
Camera activates then crashes the app
Outdated camera drivers cause this frequently.
Update your camera drivers through Device Manager. Update your apps to the latest versions. If the problem continues, try reinstalling the app. Restart your computer after each step.
Setting Up Your Camera After Activation
Adjust Camera Position
Position your camera at eye level. This looks more professional on video calls. Most laptop cameras are too low, so use a small stand or stack of books to raise your monitor.
Test Audio and Video Together
Open the app you’ll use and run the test call feature. Check that both camera and microphone are detected. Most video apps have a settings menu before you join a call.
Optimize Lighting
Good lighting makes your camera feed look clear. Position yourself facing a window or lamp. Avoid sitting with light behind you, as this makes your face dark. Don’t point your camera at bright windows.
Check Background
Look at what the camera sees behind you. Clear clutter or adjust your position. Consider a virtual background if you’re on a professional call.
Quick Comparison
| Operating System | Fastest Way to Activate | Settings Location | Restart Required |
|---|---|---|---|
| Windows 11 | Enable in Device Manager | Privacy > Camera | Sometimes |
| Windows 10 | Enable in Device Manager | Privacy > Camera | Sometimes |
| macOS | Enable in System Settings | Privacy & Security > Camera | Rarely |
| Chromebook | Enable in Settings | Privacy > Camera | No |
| Linux | Install webcam package | Terminal command | Yes |
How to Know Your Camera Is Activated
Your camera is working when you see these signs:
A camera app opens and shows your face or the room. Video call apps like Zoom or Teams detect your camera automatically. A small light appears next to the camera lens when video apps are running. Device Manager shows your camera with a green checkmark. Your camera appears in the list of allowed apps in privacy settings.
Frequently Asked Questions
Is it safe to activate my camera?
Yes, but be aware of what’s around you. Always check what’s in your background before video calls. Cover or disable your camera when you’re not using it if privacy is a concern.
Does activating my camera drain battery?
Only while an app is actually using the camera. Activation itself doesn’t use power. Closing apps stops the camera feed immediately.
Can I use my phone camera on my computer instead?
Yes, with special software. Apps like Codeico’s Codeshot or Epocam let you use your phone as a computer camera by connecting it via USB or WiFi.
Why is my camera asking for permission every time I use it?
This is normal and happens when apps are updated or Windows updates settings. Just grant permission again. You can turn on Remember this choice in most apps to skip this step next time.
Should I use built-in camera or buy an external webcam?
Built-in cameras work fine for regular video calls and basic needs. Buy an external webcam only if you plan professional video work, streaming, or need higher video quality and zoom capability.
Summary
Activating your camera involves three main steps: checking if it’s physically disabled, enabling it in your operating system settings, and granting permission to the apps that need it. Most problems come from drivers, disabled settings, or missing permissions, not hardware failure.
Start with Device Manager on Windows or System Settings on Mac. Run your camera app to test immediately. If it doesn’t work, check for driver updates and restart your computer. These simple steps solve camera activation problems for almost everyone.
Your camera should be ready to use within minutes. If you get stuck, work through the troubleshooting section specific to your operating system. The issue is almost always a simple setting, not a broken camera.
