Your phone knows where you’ve been, who you talk to, and what you buy. Most people don’t realize how much they’re sharing because privacy settings sit buried in menus. This guide shows you exactly how to customize mobile privacy settings on both Android and iOS so only you control your data.
What Mobile Privacy Settings Customization Actually Means
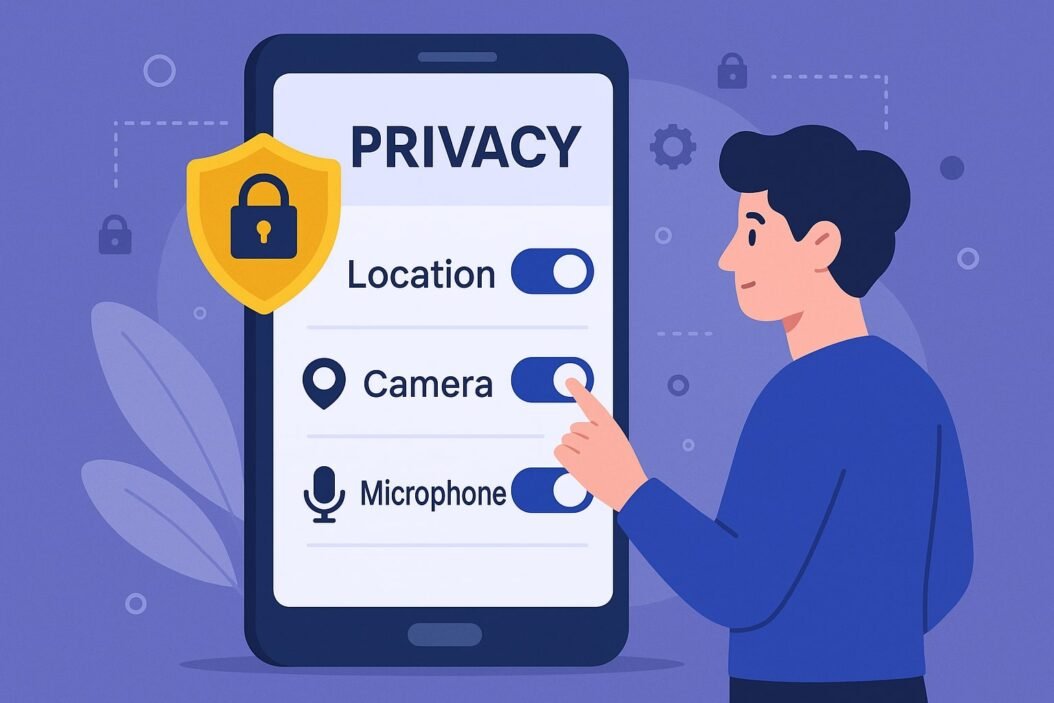
Mobile privacy settings customization is the process of controlling which apps access your personal information and how. Instead of letting apps automatically grab your location, contacts, photos, and microphone, you decide exactly what each app can see.
The key insight: you already have the power to protect yourself. Your phone has built-in tools. Most people just haven’t used them yet.
Why Privacy Settings Matter Right Now
Your smartphone collects data constantly. A weather app that asks for your location doesn’t need 24/7 access. A messaging app doesn’t require permission to read your email. Social media shouldn’t automatically track which websites you visit.
Apps request these permissions because they can collect the data and sell access to advertisers. More data means more money. Customizing your privacy settings stops this before it starts.
Here’s what’s at stake:
- Location data reveals your home address, workplace, and routines
- Contact lists get sold to data brokers
- Photos and videos can be analyzed for facial recognition
- Microphone access means your conversations could be recorded
- Browsing history shows your interests and financial situation
The good news: you can deny most of these requests and still use your phone normally.
How to Customize Privacy Settings on iPhone
Step 1: Access Privacy Settings
Open Settings > Privacy & Security. This is your command center for app permissions.
You’ll see categories like Location Services, Contacts, Photos, Camera, Microphone, and Calendar. Each one controls what different apps can access.
Step 2: Review Location Services
Tap Location Services.
Enable it only if you want location features. Then scroll through the list. You’ll see which apps have requested location access.
For each app, choose one of four options:
Never stops all location sharing. The app won’t know where you are.
Ask Next Time means the app must ask permission each time it wants your location.
While Using allows access only when the app is open on your screen.
Always lets the app track you even when it’s closed.
Most apps only need “While Using.” Social media, weather, and maps work fine with this setting. Banking apps need “Never.”
Step 3: Control App-Specific Permissions
Go back to Privacy & Security. Tap Contacts.
You’ll see which apps have asked for contact access. Deny it for apps that don’t need your phone book. Social media doesn’t require contact access to work properly.
Repeat this for:
- Photos and Videos: Only give access to apps that need to upload pictures
- Camera: Allow only FaceTime, Zoom, and your camera app
- Microphone: Allow only communication apps
- Calendar: Few apps genuinely need this
- Health: Only health apps should access this
- Home Kit: Only smart home apps
Step 4: Check App Store Privacy Labels
Before installing an app, look at the privacy label on its App Store page. Apple requires developers to disclose what data they collect.
Privacy labels show if the app tracks you, sells data, or collects health information. This helps you make informed choices before downloading.
Step 5: Disable Siri and Search Suggestions
Tap Siri & Search.
Turn off “Suggestions in App Library.” Turn off “Suggestions on Lock Screen.” These features send your search queries to Apple.
Step 6: Review Tracking Status
Tap Tracking. This controls App Tracking Transparency.
Enable “Ask Apps Not to Track.” Apps will request permission to track your activity across other apps and websites. You can deny all of them.
How to Customize Privacy Settings on Android
Step 1: Access App Permissions
Open Settings > Apps & notifications (or Apps depending on your device).
The exact menu name varies between Samsung, Google Pixel, and other Android phones. Look for anything labeled “Apps,” “Applications,” or “App Management.”
Step 2: Review Permissions on Each App
Tap Permissions or Permission manager.
You’ll see categories like Location, Camera, Microphone, Contacts, and Calendar.
Tap each category to see which apps requested that permission.
Step 3: Set Granular Controls
For each app and permission combination, choose:
Don’t allow denies access completely.
Allow only while using the app permits access only when the app is actively running.
Allow gives continuous access.
Ask every time requires permission each time the app needs it.
Most apps work fine on “Allow only while using the app.” Messaging and communication apps need microphone access. Maps needs location access. Game apps usually don’t need either.
Step 4: Check app-specific Privacy Settings
Many apps have their own privacy controls inside the app itself.
Open Instagram and go to Settings > Privacy. Turn off “Activity Status” and “Story Sharing.”
Open Google Maps and go to Settings > Privacy. Review location history storage.
Open Gmail and go to Settings > Privacy & Security. Turn off “Personalized ads.”
Step 5: Disable Personalized Ads
Go to Settings > Google > Manage your Google Account > Data & Privacy.
Find “Ad Personalization.” Turn it off. This stops Google from building a profile based on your browsing.
Step 6: Control Location Sharing
Go to Settings > Location.
Turn on “Use precise location” only for apps that genuinely need it.
Go to Google Location Settings > Location history. Consider turning this off completely or deleting your history regularly.
Privacy Settings by App Category
Social Media Apps
Facebook, Instagram, TikTok:
- Deny access to camera and microphone until you actually use them
- Disable location services completely
- Turn off activity status so people can’t see when you’re online
- Disable app tracking
- Clear browsing history weekly
Twitter/X:
- Don’t allow location access
- Disable personalized ads
- Turn off “Allow contacts to find you”
Messaging Apps
WhatsApp, Signal, Telegram:
- Allow microphone access while using the app
- Allow camera access while using the app
- Disable contact sharing
- Turn off “Show last seen”
- Disable backup to cloud storage (or use encrypted storage)
Streaming Services
Netflix, YouTube, Disney Plus:
- Deny location access
- Don’t allow app to track your activity across other apps
- Turn off personalized recommendations if you value privacy over convenience
Map and Navigation
Google Maps, Apple Maps:
- Allow location access while using the app only
- Review location history settings monthly
- Delete location history regularly
- Don’t allow access when app is closed
Banking and Finance
All banking apps and PayPal:
- Never allow location, camera, or contact access
- Use app-specific passwords
- Enable biometric authentication
- Turn off notification previews on lock screen
Advanced Privacy Customization Tips
Use “Ask Every Time” for Sensitive Permissions
Set sensitive permissions like camera and microphone to “Ask Every Time.” Most people allow them anyway, but you’ll notice if an app requests unexpected access.
Regularly Audit Connected Apps
Monthly, check which apps have permission to access your data. Remove permissions from apps you no longer use.
On iPhone: Settings > Privacy & Security > review each category
On Android: Settings > Permissions > review each permission
Create App-Specific Limitations
Some apps don’t need full contact access. They just need to send you reminders. Check if the app has settings to limit what data it stores.
Disable Clipboard Access
This advanced feature lets apps see everything you copy.
iPhone: Settings > Privacy & Security > Clipboard. See which apps accessed it this week.
Android: Open each app settings. Look for “Clipboard Access” and disable it.
Turn Off Automatic App Store Updates
New app versions sometimes add new permission requests. You’ll miss them if apps update automatically.
iPhone: Settings > App Store > toggle off “Automatic Updates”
Android: Open Google Play Store > Settings > Network preferences > toggle off “Auto-update apps”
Use VPN for Public WiFi
A VPN encrypts your traffic on public networks. This prevents WiFi snoopers from seeing what data you send.
Use trusted VPNs like ProtonVPN or Mullvad (check their privacy policy). Free VPNs often sell your data anyway.
Disable Ad ID Sharing
Your Advertising ID tracks your behavior. Apps trade this ID between each other.
iPhone: Settings > Privacy & Security > Apple Advertising > toggle off “Personalized Ads”
Android: Settings > Google > Manage your Google Account > Data & Privacy > toggle off “Ad Personalization”
Privacy Settings Comparison: iOS vs Android
| Feature | iOS | Android | Winner |
|---|---|---|---|
| Default deny for app permissions | Yes | No | iOS |
| Clipboard access control | Yes, shows which apps accessed | No | iOS |
| Privacy labels on App Store | Yes, mandatory | Google Play less strict | iOS |
| Location precision control | Limited | More granular options | Android |
| App-specific permission requests | Yes | Yes | Tie |
| Third-party app store availability | No | Yes | Android |
| Data deletion tools | Yes | Limited | iOS |
| Tracking transparency requirement | Yes | Not enforced | iOS |
What this means: iOS has stricter privacy controls by default. Android gives you more customization options but requires more manual work.
Common Mistakes to Avoid
Mistake 1: Allowing All Permissions at Setup
When you first download an app, iOS and Android ask for permissions. Saying “Allow” to everything is the easiest choice but the worst for privacy. Say “Ask Next Time” instead.
Mistake 2: Never Checking Privacy Settings Again
Apps update and request new permissions. Check your privacy settings monthly.
Mistake 3: Trusting App Descriptions
An app might say it’s free and private while collecting every data point possible. Always check the actual privacy settings in your phone.
Mistake 4: Forgetting About Cloud Backups
Phone backups to iCloud or Google Drive can include sensitive data. Review backup settings and disable backup of sensitive apps.
Mistake 5: Ignoring Location History
Google and Apple store everywhere you’ve been. Turn off location history or delete it regularly.
iPhone: Settings > Privacy & Security > Location Services > System Services > delete history
Android: Settings > Location > Location Services > Google Location Services > delete history
Creating Your Personal Privacy Plan
Step 1: Decide what privacy matters most to you.
Is it location? Contacts? Browsing history? Your answer determines which settings to prioritize.
Step 2: Spend 30 minutes reviewing current permissions.
On each device, go through every app and check what you’ve already allowed.
Step 3: Adjust permissions based on your priorities.
Deny access to what doesn’t align with what you decided in Step 1.
Step 4: Check monthly for changes.
New apps request permissions. Old apps update and ask for new ones.
Step 5: Keep learning about new threats.
Privacy is not a set-and-forget process. New tracking methods emerge constantly.
Frequently Asked Questions
Will customizing privacy settings break my apps?
No. Apps still work when you deny permissions. A weather app shows weather without location access (though you’ll type in your city). Social media still functions without contact access. The only broken feature is tracking.
Can I trust VPNs?
Only trusted, paid VPNs like ProtonVPN or Mullvad. Free VPNs often sell your data to advertisers, defeating the purpose. Check their privacy policy before using one.
Should I turn off all location services?
Not necessarily. Location services help emergency responders find you faster. Keep it on, but review which apps access it. Allow it only for navigation, emergency services, and weather if you want those features.
Is it suspicious to deny app permissions?
No. You’re the phone owner. You decide what data each app receives. Apps requesting unnecessary permissions is the suspicious behavior.
How often should I audit my privacy settings?
Monthly is ideal. At minimum, check your settings when you install a new app or after your phone updates to a new operating system.
Conclusion
Mobile privacy settings customization puts you back in control. You’re not stuck with default settings that leak your data to advertisers and third parties.
Start by opening your privacy settings today. Spend 20 minutes denying unnecessary permissions. You’ll notice your phone works the same, but your data stays yours.
Privacy isn’t about hiding something. It’s about controlling what you share and with whom. Your phone should work for you, not against you.
Use the specific steps in this guide for your device. Review settings monthly. Adjust based on what matters to you. That’s it. You now have the tools to protect yourself.
For more detailed security practices beyond privacy settings, explore EFF’s privacy guide to strengthen your overall digital security strategy.
Remember: every permission you deny is data not collected. Every setting you customize is control you reclaim.
