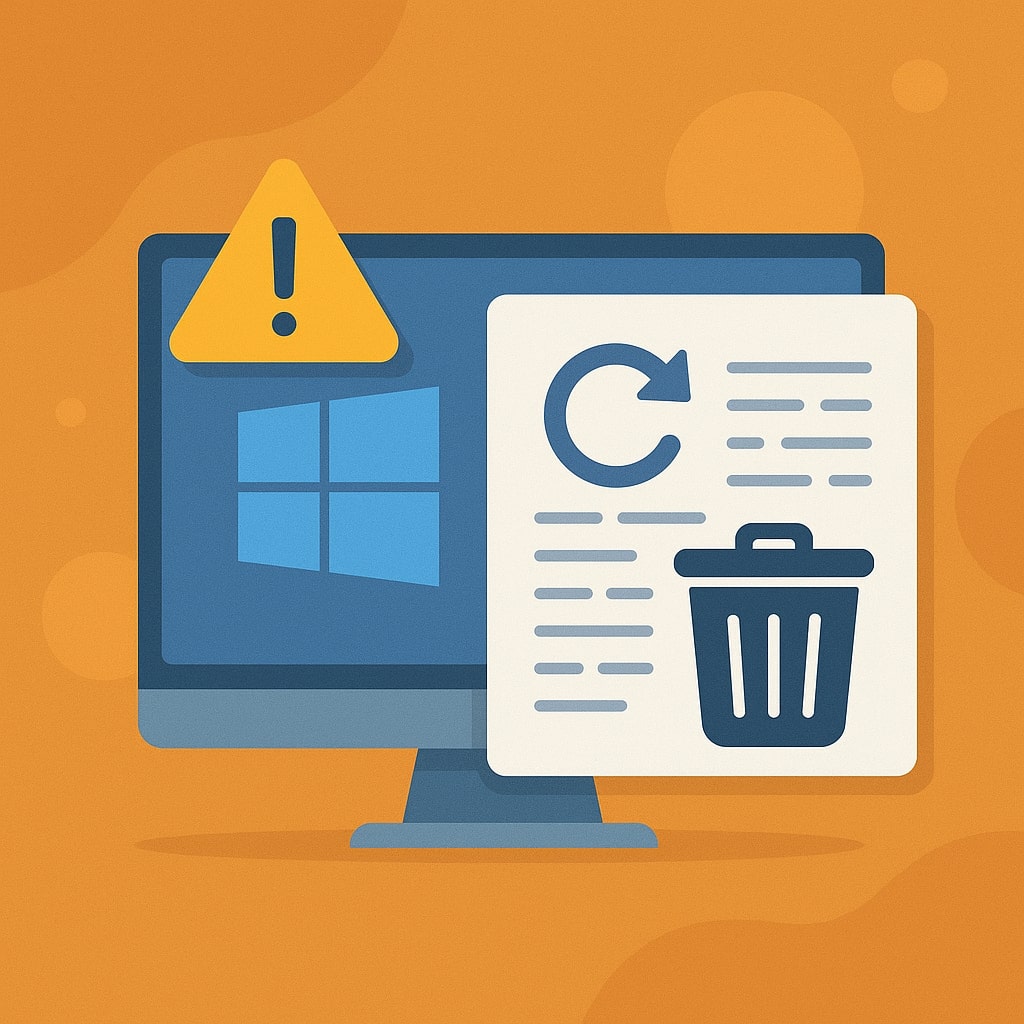
Removing third-party antivirus software from your Windows computer requires more than just clicking uninstall. Many security programs leave behind files, registry entries, and system modifications that can cause conflicts with new software or impact system performance. This comprehensive guide covers multiple methods to ensure complete removal of antivirus programs in 2026.
Why You Need to Properly Remove Antivirus Software
Third-party antivirus programs integrate deeply into Windows systems to provide comprehensive protection. However, this deep integration creates challenges during removal. Incomplete uninstallation can lead to several problems that affect your computer’s functionality and security.
System conflicts represent the most common issue after improper antivirus removal. When remnants of old security software remain active, they can interfere with new antivirus installations or Windows Defender. These conflicts often manifest as slow boot times, frequent system crashes, or security warnings about multiple protection services running simultaneously.
Performance degradation occurs when leftover processes continue consuming system resources. Background services from partially removed antivirus software can use significant CPU and memory, slowing down your computer even without providing active protection.
Registry corruption poses another serious concern. Antivirus programs create numerous registry entries to monitor system activities. Leftover registry keys can cause error messages, prevent software installations, or create stability issues that require system restoration.
Before You Start: Important Preparations
Proper preparation ensures smooth antivirus removal and prevents potential system issues. Taking these preliminary steps protects your computer and data throughout the uninstallation process.
Backup Your System
Creating a system restore point provides a safety net if something goes wrong during removal. Windows automatically creates restore points before major system changes, but manually creating one ensures you have a recent backup.
Access System Properties through the Control Panel or by typing “create restore point” in the Start menu search. Click “Create” and provide a descriptive name like “Before Antivirus Removal.” This process takes several minutes depending on your system’s size and performance.
Consider backing up important files to external storage or cloud services. While antivirus removal rarely causes data loss, having current backups provides peace of mind and protects against unexpected issues.
Download Alternative Protection
Never leave your computer unprotected during the transition between antivirus programs. Download your replacement security software before removing the current one, but avoid installing it until the old program is completely removed.
Windows Defender automatically activates when third-party antivirus software is removed, providing basic protection during the transition. However, if you plan to install different security software, having the installer ready minimizes the time your system remains vulnerable.
Method 1: Using Windows Settings (Windows 10/11)
Windows 10 and 11 offer streamlined app management through the Settings interface. This method works well for most modern antivirus programs and provides a user-friendly approach to software removal.
Step-by-Step Process
Open Windows Settings by pressing Windows key + I or clicking the Start button and selecting Settings. Navigate to “Apps” or “Apps & features” depending on your Windows version.
The Apps section displays all installed programs in alphabetical order. You can also use the search box to quickly locate your antivirus software by typing the program name.
| Step | Action | Notes |
|---|---|---|
| 1 | Open Settings (Win + I) | Alternative: Start menu > Settings |
| 2 | Click “Apps” | May be labeled “Apps & features” |
| 3 | Search for antivirus name | Use search box for quick location |
| 4 | Click program name | Select from list |
| 5 | Click “Uninstall” | Appears after selecting program |
| 6 | Confirm removal | Follow prompts |
Click on your antivirus program name to reveal the uninstall option. Select “Uninstall” and confirm when prompted. The system launches the program’s built-in uninstaller, which guides you through the removal process.
Some antivirus programs require administrative privileges for uninstallation. Windows prompts for permission through User Account Control (UAC) if elevated privileges are needed. Click “Yes” to proceed with the removal.
Troubleshooting Common Issues
If the uninstall option appears grayed out or unavailable, the program may be running in the background. Check the system tray (notification area) for antivirus icons and close the program completely before attempting removal.
Windows Store apps use a different uninstallation process. Right-click the app tile in the Start menu and select “Uninstall” if your security software was installed through the Microsoft Store.
Method 2: Control Panel Removal (All Windows Versions)
The traditional Control Panel method works across all Windows versions and often provides more detailed uninstallation options than the Settings interface. This approach is particularly useful for older antivirus programs or when the Settings method fails.
Accessing Programs and Features
Open the Control Panel through multiple methods depending on your preference and Windows version. Type “Control Panel” in the Start menu search, use the Run dialog (Windows key + R, then type “appwiz.cpl“), or access it through the Settings app’s legacy links.
Navigate to “Programs and Features” or “Add or Remove Programs” depending on your Windows version. This section displays all installed software with detailed information including installation dates, sizes, and publishers.
Complete Uninstallation Steps
Locate your antivirus software in the programs list. The list is typically sorted alphabetically, but you can click column headers to sort by installation date, size, or publisher if needed.
Right-click the antivirus program and select “Uninstall” or “Uninstall/Change.” Some programs only show “Uninstall” while others offer modification options alongside removal.
Follow the uninstaller’s prompts carefully. Many antivirus programs ask whether to keep user settings, quarantined files, or other data. Choose complete removal to ensure no remnants remain on your system.
The uninstallation process may require multiple restarts. Allow the process to complete fully and restart when prompted. Interrupting the uninstallation can leave your system in an unstable state.
Method 3: Using Manufacturer’s Removal Tools
Major antivirus vendors provide specialized removal tools designed to completely eliminate their software when standard uninstallation methods fail. These tools are particularly effective for stubborn installations or corrupted antivirus programs.
Norton Removal Tool
Symantec’s Norton Remove and Reinstall tool addresses complex removal scenarios where standard methods prove insufficient. Download the tool from Symantec’s official support site to ensure authenticity and latest version compatibility.
Run the tool as administrator by right clicking and selecting “Run as administrator.” The tool automatically detects Norton products and guides you through complete removal including registry entries, services, and temporary files.
The Norton removal tool requires an internet connection to download the latest removal definitions. This ensures compatibility with current Norton versions and addresses newly discovered removal challenges.
McAfee Consumer Product Removal Tool (MCPR)
McAfee’s dedicated removal utility handles all consumer McAfee products including antivirus, internet security, and total protection suites. The tool is particularly effective for removing partially corrupted installations that resist standard uninstallation methods.
Download MCPR from McAfee’s official website and run it in Safe Mode for best results. Safe Mode prevents active McAfee processes from interfering with the removal process.
Accept the license agreement and click “Next” to begin the removal process. The tool automatically identifies installed McAfee products and removes all associated files, registry entries, and system modifications.
Kaspersky Removal Tool
Kaspersky Lab provides kavremover (Kaspersky Virus Removal Tool) for complete elimination of their security products. This tool is essential when Kaspersky installations become corrupted or when switching to different security software.
The removal tool supports all Kaspersky consumer and business products. Run the tool from a location outside the Kaspersky installation directory to avoid potential conflicts during the removal process.
Avast Uninstall Utility
Avast’s dedicated uninstaller removes all traces of Avast Antivirus, Internet Security, and Premier products. The utility is particularly useful when standard Windows uninstallation leaves behind active processes or services.
Boot into Safe Mode before running the Avast uninstaller for optimal results. Safe Mode prevents Avast’s self-protection mechanisms from interfering with the removal process.
AVG Remover
AVG provides a comprehensive removal tool that eliminates all AVG security products including antivirus, internet security, and PC tuneup utilities. The tool addresses registry entries, startup items, and system service modifications made by AVG software.
Run the AVG Remover with administrative privileges and follow the on-screen instructions. The tool may require multiple system restarts to complete the removal process thoroughly.
Bitdefender Uninstall Tool
Bitdefender’s removal utility handles complete elimination of all Bitdefender security products. The tool is designed to work even when the standard Windows uninstaller fails due to corruption or system conflicts.
Download the tool directly from Bitdefender’s website and run it offline for security purposes. The offline capability ensures the removal process isn’t interrupted by network issues or external interference.
Trend Micro Diagnostic Toolkit
Trend Micro’s diagnostic toolkit includes comprehensive removal capabilities alongside troubleshooting features. The toolkit addresses complex removal scenarios where multiple Trend Micro products are installed or when installations span multiple user accounts.
Method 4: Third-Party Uninstaller Software
Professional uninstaller software provides advanced removal capabilities that exceed standard Windows tools. These programs are particularly valuable when dealing with stubborn antivirus installations or when you need to remove multiple security programs.
Revo Uninstaller
Revo Uninstaller combines standard uninstallation with advanced cleanup features including registry scanning and leftover file detection. The professional version offers forced uninstallation for completely corrupted programs.
The software creates restore points before major removals and provides detailed logs of all changes made during the uninstallation process. This documentation helps troubleshoot any issues that arise after removal.
Revo’s Hunter Mode allows you to uninstall programs by simply dragging a target icon over the program’s window or desktop icon. This feature is particularly useful for removing programs with unclear names or difficult to locate uninstallers.
IObit Uninstaller
IObit Uninstaller specializes in complete program removal with particular strength in handling security software. The program’s batch uninstall feature allows simultaneous removal of multiple related programs.
The software includes a powerful scan feature that identifies leftover files, folders, and registry entries after standard uninstallation. This deep scanning capability ensures thorough removal of all program traces.
IObit maintains an extensive database of known problematic programs and their complete removal procedures. This database includes specific instructions for major antivirus brands and their various product versions.
Manual Registry Cleanup (Advanced Users)
Registry cleanup should only be attempted by experienced users who understand the risks involved. Incorrect registry modifications can render your system unbootable or cause significant stability issues.
Registry Editor Safety
Before making any registry changes, create a complete system backup and export the current registry state. This precaution allows you to restore the registry if problems occur after manual cleanup.
Create a new restore point specifically for registry editing by typing “create restore point” in the Start menu search. Name the restore point clearly to identify it later if restoration becomes necessary.
Access Registry Editor by typing “regedit” in the Start menu search or Run dialog (Windows key + R). Always run Registry Editor as administrator to ensure full access to all registry sections.
Removing Leftover Entries
Common registry locations for antivirus remnants include HKEY_LOCAL_MACHINE\SOFTWARE, HKEY_CURRENT_USER\SOFTWARE, and HKEY_LOCAL_MACHINE\SYSTEM\CurrentControlSet\Services. Search for entries containing your antivirus program’s name or publisher.
Use the Find function (Ctrl + F) to locate specific entries related to your removed antivirus software. Search for the program name, publisher name, and common file extensions associated with the software.
Delete only entries you can positively identify as belonging to the removed antivirus program. When in doubt, export the registry key before deletion to allow restoration if problems occur.
Common Problems and Solutions
Antivirus removal can encounter various challenges that require specific troubleshooting approaches. Understanding these common issues and their solutions helps ensure successful removal without system damage.
Incomplete Uninstallation
Incomplete removal typically manifests as remaining program files, active services, or startup entries. Check the original installation directory (usually in Program Files) for leftover folders and files after uninstallation.
Task Manager’s Services tab shows remaining antivirus services that may continue running after uninstallation. Disable these services manually and set their startup type to “Disabled” to prevent automatic activation.
System Configuration (msconfig) reveals startup programs that may include antivirus components. Disable any remaining entries related to your removed antivirus software to prevent startup errors or conflicts.
System Conflicts
Multiple security programs running simultaneously cause conflicts that impact system performance and protection effectiveness. Windows Defender may not activate automatically if remnants of third-party antivirus software remain active.
Check Windows Security settings to verify that real-time protection is enabled after removing third-party antivirus software. If Windows Defender remains disabled, manually enable it through the Windows Security interface.
Firewall conflicts may occur if antivirus software includes firewall components that weren’t properly removed. Reset Windows Firewall to default settings through Control Panel if connection issues arise after antivirus removal.
Performance Issues After Removal
System slowdowns after antivirus removal often indicate incomplete cleanup or conflicts with remaining components. Monitor Task Manager’s Performance tab to identify processes consuming excessive resources.
Disk Cleanup removes temporary files and system cache that may include leftover antivirus components. Run Disk Cleanup with administrative privileges and select all available cleanup options for thorough cleaning.
System File Checker (SFC) repairs corrupted system files that may result from improper antivirus removal. Run “sfc /scannow” from an elevated command prompt to scan and repair system file integrity.
Post Uninstallation Steps
Completing the removal process requires specific follow-up actions to ensure system stability and security. These steps verify successful removal and prepare your system for new security software if desired.
System Restart Requirements
Most antivirus removal processes require at least one system restart to complete properly. Some programs may request multiple restarts to fully remove all components and services.
Perform a complete shutdown and restart rather than using Windows’ fast startup feature. Complete restarts ensure all system components reinitialize properly without cached antivirus elements.
Monitor the boot process for error messages or unusual delays that might indicate incomplete removal. Document any persistent issues for further troubleshooting if they affect system stability.
Installing New Security Software
Wait until after the required restarts before installing replacement security software. Installing new antivirus software too quickly can cause conflicts with remaining components from the previous installation.
Verify that Windows Defender is active and providing protection during the transition period. Windows Security settings show the current protection status and any required actions.
Download the latest version of your chosen replacement security software directly from the manufacturer’s website. Avoid bundled installers or third-party download sites that may include additional unwanted software.
Best Practices for Future Antivirus Management
Proper antivirus management prevents many removal challenges and ensures smooth transitions between security products. Following these practices reduces the likelihood of incomplete installations or removal problems.
Research antivirus products thoroughly before installation, including their removal processes and user experiences. Some security products are notorious for difficult removal, while others provide clean uninstallation procedures.
Keep antivirus software updated to the latest versions, as newer releases often include improved uninstaller components. Updated software also reduces the likelihood of corruption that can complicate removal.
Avoid installing multiple antivirus programs simultaneously, as this creates conflicts that complicate both operation and removal. Use only one antivirus solution alongside Windows Defender when it’s disabled.
Create regular system backups and restore points, particularly before installing or removing security software. These backups provide recovery options if installation or removal processes encounter problems.
Document your security software choices and configuration settings. This information helps during troubleshooting and ensures you can replicate successful configurations on multiple systems.
Conclusion
Successfully removing third-party antivirus software requires understanding the various methods available and choosing the appropriate approach for your specific situation. Standard Windows uninstallation tools work for most scenarios, but manufacturer specific removal tools provide the most thorough cleanup when dealing with stubborn or corrupted installations.
The key to successful antivirus removal lies in proper preparation, including system backups and having replacement security ready. Taking time to verify complete removal prevents future conflicts and ensures your system remains stable and secure.
Remember that removing antivirus software temporarily reduces your system’s protection level. Work efficiently through the removal and replacement process to minimize the time your computer remains vulnerable to threats.
Regular maintenance and careful software management prevent many removal challenges. Choose security software based on both protection capabilities and ease of management, including clean removal when the time comes to change products.
Frequently Asked Questions
Can I remove antivirus software without using special removal tools?
Standard Windows uninstallation methods work for most antivirus programs, but manufacturer removal tools ensure more complete cleanup. Use standard methods first, then employ specialized tools if remnants remain or if you encounter removal problems.
Is it safe to manually delete antivirus files and registry entries?
Manual deletion is risky and should only be attempted by experienced users with current system backups. Incorrect manual removal can cause system instability or prevent proper installation of replacement security software. Always use proper uninstallation methods first.
How long should I wait between removing old antivirus and installing new software?
Wait for all required system restarts to complete before installing new security software. This typically means waiting 10-15 minutes after the final restart to ensure all removal processes have finished completely.
What should I do if my antivirus software won’t uninstall normally?
Try running the uninstaller as administrator first, then boot into Safe Mode if that fails. If standard methods don’t work, use the manufacturer’s dedicated removal tool designed specifically for your antivirus brand.
Will removing antivirus software affect my other programs or system performance?
Proper removal shouldn’t affect other programs, but incomplete removal can cause conflicts or performance issues. Using appropriate removal methods and verifying complete cleanup prevents most problems and often improves system performance.

- How to Uninstall Apps from the Start Menu in Windows 11/10 (2026 Guide) - April 2, 2026
- How to Fix Overscan on Windows 11/10: Stop Your Screen Getting Cut Off (2026) - April 1, 2026
- How to Disable Lock Screen on Windows 11/10 in 2026 - April 1, 2026