Press Windows key + H on your keyboard. That single shortcut opens the dictation toolbar in Windows 10 and Windows 11 instantly. Your microphone turns on and you can start speaking right away.
If you have been looking for a faster way to type without actually typing, Windows has a built-in dictation tool that does exactly that. It converts your speech to text in real time. No third-party software. No subscriptions. No setup beyond a microphone.
This guide covers everything you need to know about Windows dictation. You will learn how to open the toolbar, configure it, fix common problems, and get the most out of it every day.
How to Open the Dictation Toolbar in Windows
Opening the dictation toolbar in Windows takes one action. Place your cursor in any text field first. This could be a Word document, a browser search bar, Notepad, an email, or a chat box. Then press:
Win + H
The toolbar appears at the top center of your screen. The microphone activates automatically. Start speaking and your words appear where your cursor is placed.
That is it. No menus. No settings panel to dig through. One shortcut and you are dictating.
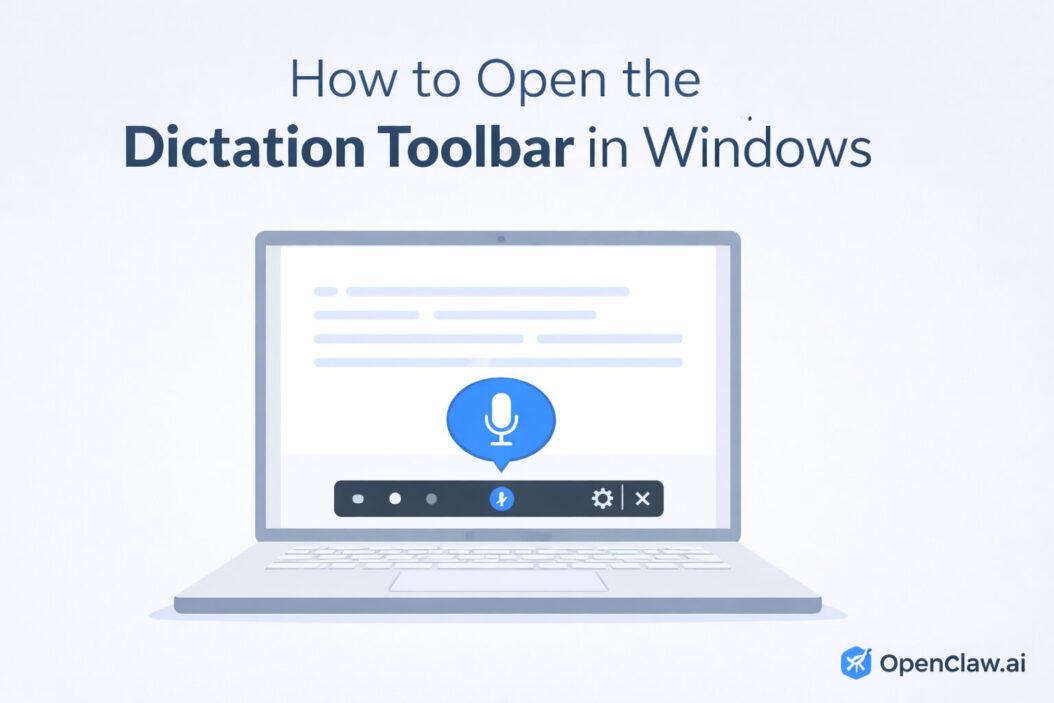
What the Dictation Toolbar Looks Like
The toolbar is a small floating bar. On Windows 11, it looks cleaner and more modern. On Windows 10, it is a simpler strip. Both show these elements:
- A microphone icon (click to pause or resume)
- A settings gear icon (to configure language and microphone)
- A close button
- Status text showing whether it is listening
Tip: The toolbar does not appear if no text field is active. Click inside a text box first, then press Win + H.
Windows 10 vs Windows 11 Differences
The keyboard shortcut is the same on both versions. But the experience is different enough that it matters which version you are on.
| Feature | Windows 10 | Windows 11 |
|---|---|---|
| Shortcut to open | Win + H | Win + H |
| Auto-punctuation | No | Yes (built-in) |
| Toolbar design | Simple strip | Floating pill UI |
| Language options in toolbar | Limited | More accessible |
| Voice command support | Basic | Expanded |
| Needs internet? | Yes (cloud-based) | Yes (cloud-based) |
Windows 11 adds automatic punctuation. That means when you pause, it adds commas and periods without you saying them. This alone makes Windows 11 dictation much more usable for writing full documents.
Setting Up Dictation for the First Time
If Win + H does nothing, or if you get an error, you may need to enable the feature or check your microphone settings. Here is how to get everything working from scratch.
Step 1: Make Sure Your Microphone Works
- Right-click the speaker icon in the taskbar.
- Click Open Sound settings.
- Under Input, check that your microphone is selected and showing activity when you speak.
Step 2: Allow Windows to Use Your Microphone
- Press Win + I to open Settings.
- Go to Privacy and Security (Windows 11) or Privacy (Windows 10).
- Click Microphone.
- Turn on Microphone access at the top.
- Also turn on Let apps access your microphone.
Step 3: Enable Online Speech Recognition (Windows 10)
On Windows 10, dictation relies on online speech recognition. If that is disabled, dictation will not work.
- Go to Settings > Privacy > Speech.
- Turn on Online speech recognition.
Note: Windows dictation sends your audio to Microsoft’s servers for processing. If privacy is a concern, consider the built-in Speech Recognition feature in Windows, which is separate and works locally.
Step 4: Set Your Display Language
Dictation uses your Windows display language. If you are dictating in English but your system language is set to something else, accuracy drops significantly.
- Press Win + I, go to Time and Language.
- Click Language and Region.
- Make sure your preferred language is at the top of the list.
Using the Dictation Toolbar Effectively
Once the toolbar is open and the microphone is on, your words appear in real time. Here is how to control the experience.
Starting and Stopping
- Start dictating: Press Win + H and speak immediately.
- Pause: Click the microphone icon, or say “stop dictation.”
- Resume: Click the microphone icon again, or press Win + H again.
- Close the toolbar: Press the X on the toolbar, or press Win + H when not in a text field.
Where Dictation Works
Dictation works in almost any text input on Windows. You can use it in:
- Microsoft Word and Outlook
- Notepad and WordPad
- Google Chrome, Edge, and Firefox address bars and text areas
- Gmail, Google Docs, and other browser-based tools
- Windows Search bar
- Chat apps like WhatsApp Web or Slack in the browser
Tip: Dictation sometimes does not activate in some desktop apps like older versions of Adobe software. If it fails in a specific app, try switching to the browser version of that tool.
Auto-Punctuation in Windows 11
Windows 11 adds punctuation automatically based on your speech patterns and pauses. You do not need to say “comma” or “period” unless you want to place them precisely.
To turn auto-punctuation on or off:
- Open the dictation toolbar with Win + H.
- Click the gear icon (Settings).
- Toggle Auto-punctuation on or off.
Voice Commands That Actually Work
Windows dictation supports a set of voice commands to control text without touching the keyboard. Here are the most useful ones.
Punctuation Commands
| Say this | Result |
|---|---|
| period or full stop | . |
| comma | , |
| question mark | ? |
| exclamation mark | ! |
| open parenthesis | ( |
| close parenthesis | ) |
| new line | Moves to a new line |
| new paragraph | Starts a new paragraph |
| colon | : |
| semicolon | ; |
| hyphen | – |
| open quote | “ |
| close quote | “ |
Editing Commands
| Say this | What it does |
|---|---|
| delete that | Deletes the last word or phrase spoken |
| undo that | Reverses the last dictation action |
| clear selection | Deselects any selected text |
| stop dictation | Pauses the microphone |
Troubleshooting Common Problems
Win + H Does Nothing
This usually means one of three things:
- No text field is active. Click inside a text input first.
- The shortcut is being intercepted by another app. Check if any shortcut manager or gaming software overrides Win + H.
- Your Windows version is too old. Dictation via Win + H requires at least the Fall Creators Update (version 1709) on Windows 10.
Microphone Icon Shows But Nothing Is Typed
- Make sure the microphone is not muted physically (check the mute button on your headset).
- Go to Settings > Privacy > Microphone and confirm access is enabled for desktop apps.
- Test the microphone in another app like Voice Recorder to confirm it picks up audio.
Poor Accuracy or Wrong Words
- Speak clearly and at a normal pace. Do not rush.
- Move to a quieter environment. Background noise is the number one cause of recognition errors.
- Make sure your language settings match the language you are speaking.
- Use a better microphone. The built-in laptop mic often picks up keyboard and fan noise. A headset mic improves accuracy noticeably.
Dictation Toolbar Keeps Disappearing
The toolbar auto-closes after a period of silence. This is by design. Press Win + H again to reopen it. If you want it to stay active longer, speak in shorter bursts and keep the flow going with the toolbar.
“Something Went Wrong” Error
This error usually means your device cannot reach Microsoft’s speech servers. Check your internet connection. If you are connected and still see this error, try:
- Restarting Windows.
- Checking if a VPN is blocking the connection.
- Disabling and re-enabling online speech recognition in Privacy settings.
Dictation Not Available in Your Region
Microsoft’s online voice typing feature is available in specific regions and languages. As of 2026, supported languages include English (multiple variants), Spanish, French, German, Italian, Portuguese, Chinese Simplified, Japanese, and others. If your language is not supported, the toolbar may open but will not transcribe speech accurately.
Tip: If your language is not supported by Win + H dictation, consider using Windows Speech Recognition instead. It is a different, older tool accessible from the Control Panel that works offline and supports voice commands for controlling the entire desktop.
Pro Tips to Improve Your Dictation Experience
Use a Dedicated Microphone
The biggest single improvement you can make is upgrading your microphone. Built-in laptop microphones pick up sound from all directions, including fan noise, typing, and room echo. A USB headset or a cardioid desk microphone focuses on your voice and cuts out background noise dramatically.
Train Yourself to Speak in Full Sentences
Dictation works best when you speak in full, natural sentences rather than word by word. Think of it like talking to someone. Do not say “comma, next line.” Say “I will be there at three comma and I will bring the documents period.”
Use a Text Expander for Technical Terms
If you regularly dictate content with technical words, product names, or industry jargon, Windows dictation may get them wrong. Consider pairing dictation with a text expander tool. You dictate a short placeholder word, and the expander replaces it with the correct term.
Combine With Windows Clipboard History
Press Win + V to open clipboard history. You can dictate a block of text, copy it, and then paste it into multiple locations quickly. This is useful for repetitive content like email signatures or standard replies.
Keep Other Apps From Competing for the Microphone
Some applications compete for the microphone. If you have a video call open in a browser tab, it may grab the microphone before dictation can. Close or mute apps you are not using before you dictate.
Know When to Switch to Speech Recognition
Windows Dictation (Win + H) and Windows Speech Recognition are two different tools. Dictation is for typing text. Speech Recognition is for controlling the entire computer with your voice, including clicking menus, selecting text, and navigating apps. If you want hands-free control of your PC, look into the full Speech Recognition feature. The Microsoft Windows Speech Recognition guide walks through that setup.
Windows Dictation vs Windows Speech Recognition
| Feature | Dictation (Win + H) | Speech Recognition |
|---|---|---|
| Purpose | Type text by voice | Control entire PC by voice |
| Works offline | No | Yes (after setup) |
| Click menus and buttons | No | Yes |
| Auto-punctuation | Yes (Windows 11) | No |
| Training required | No | Optional but recommended |
| Ease of use | Very easy | Moderate learning curve |
| Best for | Writing, emails, notes | Accessibility, full hands-free use |
Frequently Asked Questions
Does Windows dictation work without the internet?
No. The Win + H dictation toolbar uses Microsoft’s cloud-based speech recognition. Your audio is sent to Microsoft’s servers for processing and returned as text. You need an active internet connection for it to work. If you need offline speech-to-text, use Windows Speech Recognition from the Control Panel, which processes audio locally after an initial setup.
Can I use dictation in any language on Windows?
Dictation supports a specific list of languages including English (US, UK, Australia, India, Canada), Spanish, French, German, Italian, Portuguese, Chinese Simplified, Japanese, and more. The tool uses your Windows display language. To dictate in a different language, change your Windows language settings under Settings > Time and Language > Language and Region. After that, Win + H will use your selected language automatically.
Why is the Win + H shortcut not opening the dictation toolbar?
The most common reasons are: no text field is active (click inside a text box first), another application has taken over the Win + H shortcut, or online speech recognition is disabled in your Privacy settings. Go to Settings > Privacy > Speech and enable online speech recognition. Also check if your Windows version supports it. You need Windows 10 version 1709 or later, or any version of Windows 11.
Is Windows dictation the same as Microsoft 365 voice typing?
They are different tools even though they look similar. Windows dictation (Win + H) is built into the operating system and works in any text field across all apps. Microsoft 365 voice typing appears inside Word, Outlook, and other Office apps and is accessible from the Home ribbon. The Microsoft 365 version sometimes has better accuracy within Office because it is integrated more deeply with those apps. Both use cloud-based recognition.
Does dictation store or share my voice data?
When you use Windows dictation, your audio is processed on Microsoft’s servers. Microsoft states that voice data is used to improve speech recognition services. You can manage or delete voice data through your Microsoft privacy dashboard at account.microsoft.com. If you prefer to keep voice data local to your device, Windows Speech Recognition processes audio without sending it to the cloud after the recognition model is set up.
Conclusion
Opening the dictation toolbar in Windows comes down to one shortcut: Win + H. Click in a text field, press those two keys, and start speaking. Windows does the rest.
The tool is ready to use on any Windows 10 (version 1709 or later) or Windows 11 machine with an active internet connection. Windows 11 improves the experience with auto-punctuation and a cleaner interface, but the core function is the same on both.
If something is not working, the fix is almost always a microphone permission issue or a missing internet connection. Check your Privacy settings, confirm your mic is active, and you will be up and running in minutes.
For everyday writing tasks like emails, notes, or documents, Win + H dictation is genuinely useful once you get comfortable speaking in full sentences. The accuracy is solid with a decent microphone in a quiet room. Give it a few sessions to adjust your speaking rhythm and you will likely find yourself reaching for it regularly.

- How to Uninstall Apps from the Start Menu in Windows 11/10 (2026 Guide) - April 2, 2026
- How to Fix Overscan on Windows 11/10: Stop Your Screen Getting Cut Off (2026) - April 1, 2026
- How to Disable Lock Screen on Windows 11/10 in 2026 - April 1, 2026