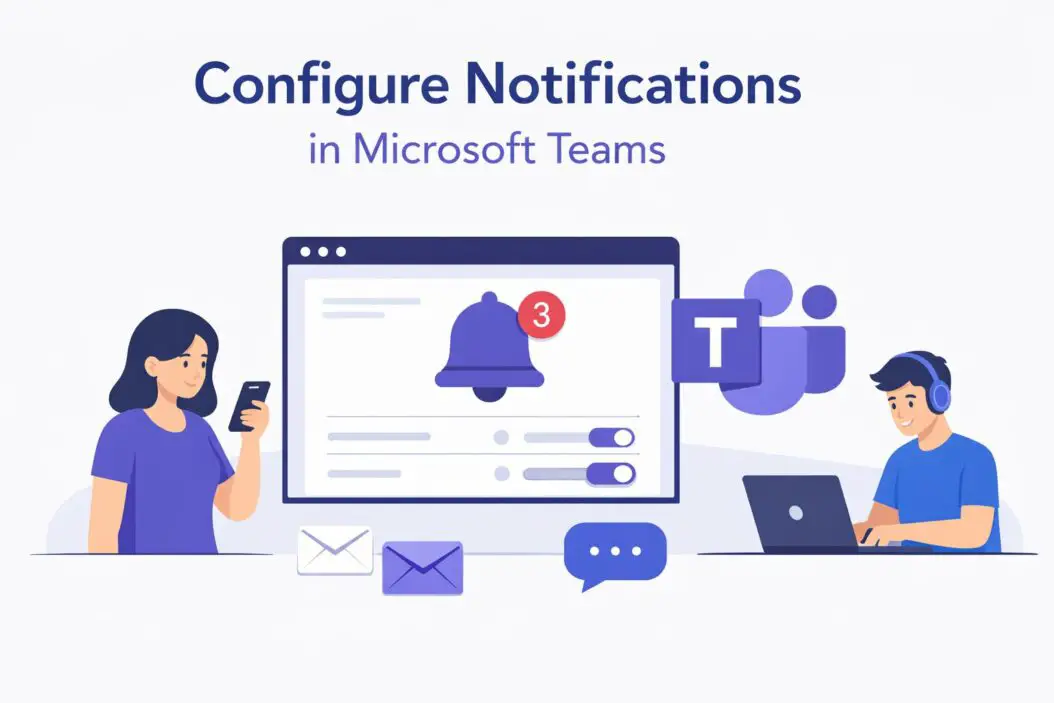
Microsoft Teams notifications can go from helpful to overwhelming fast. Whether you are missing important messages or drowning in pings, the fix is the same: configure your notification settings properly. This guide walks you through exactly how to do that, step by step.
Why Notification Settings Matter
Teams is used for everything now. Channel updates, direct messages, meeting reminders, reactions, mentions. If you do not control what notifies you, everything does. And when everything notifies you, nothing feels important.
Getting this right saves you time, reduces stress, and helps you focus on what actually matters.
How to Open Notification Settings in Teams
This is where everything starts.
On Desktop (Windows or Mac):
- Open Microsoft Teams
- Click your profile picture in the top-right corner
- Select Settings
- Click Notifications in the left sidebar
On Mobile (iOS or Android):
- Tap your profile picture at the top
- Tap Notifications
- You will see categories you can adjust
That is it. You are now inside the notification control panel.
Understanding the Notification Categories
Teams breaks notifications into clear sections. Here is what each one does.
General Activity
This covers things like reactions to your messages, mentions, and replies in conversations you are part of.
| Notification Type | What It Covers |
|---|---|
| Mentions | When someone tags @you or @channel |
| Replies | Responses to your posts |
| Reactions | Likes or emojis on your messages |
| Trending | Popular activity in your org |
Meetings
Controls alerts for meeting starts, recordings, and transcripts being ready.
People
Covers activity from specific contacts. You can set priority notifications for certain people so their messages always come through.
Other
Includes things like app updates, missed activity emails, and suggestions Teams makes automatically.
Step-by-Step: Configure Desktop Notifications
Step 1: Choose Your Notification Style
In Settings > Notifications > General activity, you will see a dropdown for each type. Your options are usually:
- Banner and feed – A pop-up appears AND it shows in your activity feed
- Only show in feed – No pop-up, just logged in your feed
- Off – You get nothing
For direct messages, keeping Banner and feed is smart. For channel activity, Only show in feed often works better unless you are very active in that channel.
Step 2: Set Up Mentions Properly
@mentions are the most important notifications. Configure them separately.
Go to Notifications > Mentions and set:
- @mentions of you – Banner and feed (always)
- @team mentions – Only show in feed (unless you need to act fast)
- @channel mentions – Only show in feed
This way you never miss someone calling you out directly, but you are not pinged every time someone says @general.
Step 3: Control Meeting Notifications
Under Meetings, decide whether Teams should notify you:
- When a meeting is about to start (useful if you are forgetful)
- When a recording or transcript is ready
- For missed calls
Turn off what you do not need. Most people do not need all of these on.
Step 4: Customize Channel Notifications
This is a big one. You can control notifications per channel, not just globally.
- Go to Teams in the left sidebar
- Hover over any channel name
- Click the three dots (more options)
- Select Channel notifications
You will see three options:
| Setting | What Happens |
|---|---|
| All activity | You get notified about everything |
| Mentions and replies | Only when tagged or replied to |
| Off | Complete silence |
For busy channels like #general or #announcements, set it to Mentions and replies. For channels you manage or own, keep it on All activity.
Step 5: Use Do Not Disturb
Sometimes you just need silence.
Click your profile picture and set your status to Do Not Disturb. You will not receive any banners or sounds.
To schedule this automatically:
- Go to Settings > Privacy
- Under Do not disturb, you can set quiet hours
This is perfect for deep work sessions or after-hours peace.
Configure Notifications on Mobile
Mobile settings are separate from desktop. Changing one does not change the other.
iOS and Android Steps
- Open Teams on your phone
- Tap your profile photo
- Tap Notifications
- You will see these main sections:
General: Toggle on or off for mentions, replies, likes, and other activity.
Channels and Teams: Same as desktop. You can mute individual channels here too.
Quiet Hours: Set times when your phone will not ping you for Teams messages. This is one of the most useful settings most people never turn on.
| Setting | Recommended for Most People |
|---|---|
| Mentions | On |
| Replies to your messages | On |
| Likes/reactions | Off |
| Channel: General | Mentions only |
| Quiet hours | 7 PM to 8 AM |
How to Mute a Chat or Channel
Sometimes you need to mute a specific conversation without touching your global settings.
To mute a chat:
- Open the chat
- Click the three dots at the top
- Select Mute
Muted chats still receive messages. You just do not get notified. You can always go check them manually.
To mute a channel:
- Right-click the channel name (desktop) or long-press (mobile)
- Select Channel notifications
- Set to Off
Priority Contacts and Break-Through Notifications
If you are in Do Not Disturb mode but still want certain people to reach you, add them as priority contacts.
- Go to Settings > Privacy
- Under Manage priority access, click Add people
- Search and add the contacts who can always reach you
This is smart for managers, clients, or teammates you work closely with.
Email Notifications from Teams
Teams also sends missed activity emails. If you find them useful, keep them. If not, turn them off.
- Go to Settings > Notifications
- Scroll to Missed activity emails
- Choose: Every hour, Every 24 hours, or Off
Most desktop users can turn this off entirely. It is more useful if you are sometimes away from Teams for long stretches.
Notification Sound Settings
Teams notification sounds can be managed from your device settings or from within Teams on desktop.
On Windows: Go to Settings > Notifications > Sounds and toggle sounds for incoming messages and calls.
On Mac: Teams uses your system notification preferences. Go to System Settings > Notifications > Microsoft Teams to adjust.
Sounds are useful for calls and direct messages. For channel activity, most people are better off with silent notifications.
Common Mistakes People Make
Leaving everything on default. Default settings mean you get notified about nearly everything. Almost no one needs that.
Ignoring mobile settings. Your phone and desktop are independent. Set both.
Not using quiet hours. This alone improves work-life balance significantly.
Muting everything. The other extreme is muting so much that you miss real messages. Balance is key.
Forgetting per-channel settings. Global settings are a baseline. Channel-level settings let you fine-tune things.
Recommended Settings for Different Types of Users
Not everyone uses Teams the same way. Here is a quick guide based on common use cases.
For Focused Individual Contributors
| Setting | Recommendation |
|---|---|
| Direct messages | Banner and feed |
| @mentions | Banner and feed |
| Channel activity | Only show in feed |
| Reactions | Off |
| Quiet hours | Yes, set them |
For Team Leads or Managers
| Setting | Recommendation |
|---|---|
| Direct messages | Banner and feed |
| @mentions | Banner and feed |
| Channel activity | All activity (for your team channel) |
| Meeting reminders | On |
| Priority contacts | Add your key reports |
For Part-Time or Occasional Users
| Setting | Recommendation |
|---|---|
| Missed activity email | Every 24 hours |
| Mentions | Banner and feed |
| Everything else | Feed only or off |
Advanced: Notification Policies (For IT Admins)
If you manage Teams for an organization, you can set notification policies at the admin level.
In the Teams Admin Center:
- Go to Messaging policies
- Create or edit a policy
- Control what end users can and cannot change about notifications
This is useful for call centers, support teams, or any group where notification consistency matters. You can also use Microsoft’s Teams Admin documentation to explore alert rule policies for monitoring specific events across your organization.
Summary
Configuring notifications in Microsoft Teams is not complicated, but it does require a few minutes of intentional setup. Here is what to do:
- Start in Settings > Notifications on desktop
- Set direct messages and @mentions to Banner and feed
- Set most channel activity to Feed only
- Adjust each channel individually based on how active you are in it
- Turn on Quiet Hours on mobile
- Add priority contacts if you use Do Not Disturb
- Do not forget to set mobile separately
The goal is simple: get notified about what needs your attention, and filter out everything else. Once you do this, Teams becomes a tool that works for you instead of one that interrupts you constantly.
FAQs
Why am I not receiving Teams notifications even though they are turned on?
This usually comes down to system-level permissions. On Windows, check System Settings > Notifications > Microsoft Teams and make sure banners are allowed. On Mac, do the same under System Settings > Notifications. Also check that your Teams status is not set to Do Not Disturb.
Can I set different notification sounds for different types of Teams messages?
Teams has limited built-in sound customization. On desktop, you can turn sounds on or off globally under Settings. For more granular control, some users rely on Windows Focus Assist or Mac Focus Modes to manage sound profiles alongside Teams settings.
Do Teams notification settings sync across devices?
No. Desktop and mobile settings are managed independently. If you change settings on your laptop, your phone stays the same. You need to configure each device separately.
How do I stop Teams from sending me notification emails?
Go to Settings > Notifications and scroll to Missed activity emails. Set it to Off. Teams will stop sending you digest emails about missed messages and mentions.
Can I mute a Teams channel temporarily without turning off all notifications?
Yes. Right-click the channel, select Channel notifications, and set it to Off. You can reverse this any time by going back to the same menu and choosing your preferred setting again. The channel stays visible, you just stop getting alerts from it.
