Your phone is full of photos. Your computer needs them. The good news is that getting photos from your phone to your computer in 2026 is easier than most people think. You have several options, and you do not need any special skills to use them.
This guide covers every reliable method for both Android and iPhone users on Windows. Whether your cable is missing, your Wi-Fi is slow, or you just want the fastest way possible, you will find the right answer here.
The Short Answer
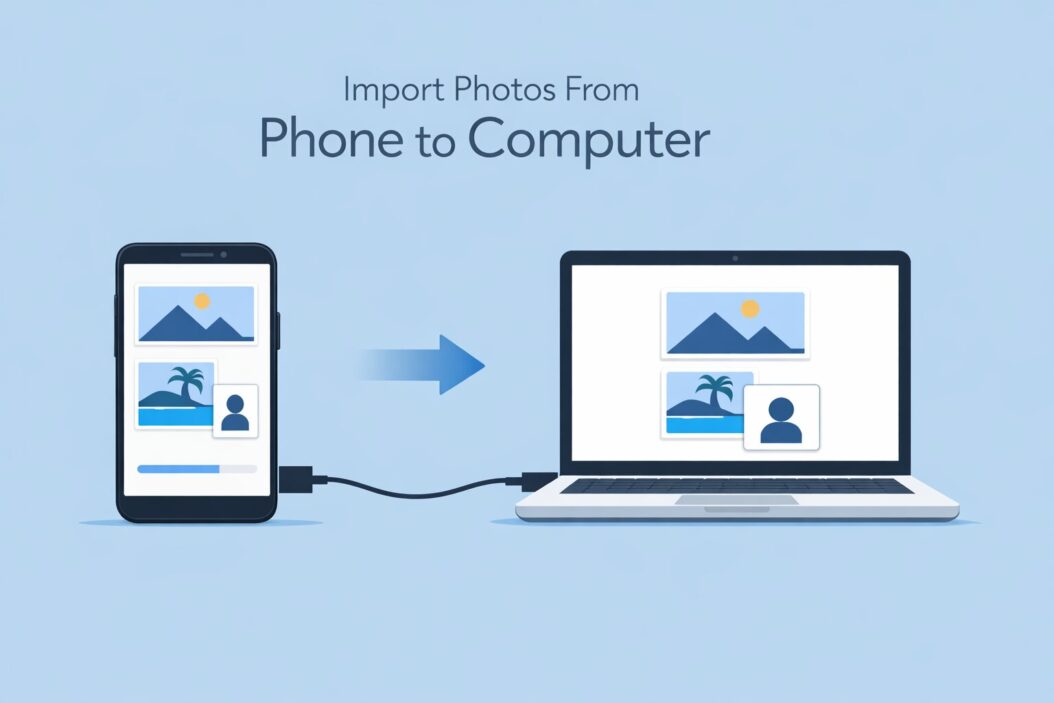
Connect your phone to your PC with a USB cable. On Windows, open File Explorer, find your phone under This PC, and copy your photos from the DCIM folder to any folder on your computer. That is the fastest, most reliable method with no apps needed.
If you prefer wireless, Google Photos, iCloud, or Bluetooth all work well depending on your setup.
Methods at a Glance
| Method | Speed | Works Without Internet | Best For |
|---|---|---|---|
| USB Cable | Fast | Yes | Large transfers, daily backup |
| Windows Photos App | Medium | Yes | Automatic import with USB |
| Google Photos | Medium | No | Android users, auto backup |
| iCloud for Windows | Medium | No | iPhone users on Windows |
| Bluetooth | Slow | Yes | Small batches, no cable |
| Email / Messaging | Slow | No | One or two photos only |
| SD Card Reader | Fast | Yes | Android, older phones |
Method 1: USB Cable (Fastest and Most Reliable)
This is the go-to method for most people. A USB cable gives you a direct, fast connection between your phone and your computer. No internet needed. No apps to install. No account required.
For Android Phones
- Plug your USB cable into your phone and into your PC.
- Your phone screen will show a notification. Tap it.
- Select File Transfer or MTP from the options. Do not choose Charging Only.
- On your PC, open File Explorer (press Windows + E).
- Look for your phone listed under This PC in the left panel.
- Open your phone, then go to Internal Storage, then DCIM, then Camera.
- Select the photos you want. Press Ctrl + A to select all, or hold Ctrl and click individual ones.
- Right-click and choose Copy, then paste them into any folder on your PC.
For iPhones
- Plug your Lightning or USB-C cable into your iPhone and PC.
- Unlock your iPhone. A popup will appear asking Trust This Computer. Tap Trust.
- On your PC, open File Explorer.
- Your iPhone will appear under This PC, usually labeled with your phone model name.
- Open it, go to Internal Storage, then DCIM.
- Inside DCIM you will see folders labeled 100APPLE, 101APPLE, and so on. Your photos are in these.
- Copy and paste them to your PC as normal.
Tip: If Windows does not recognize your iPhone, install Apple Devices for Windows from the Microsoft Store. This replaces the old iTunes driver and is more stable.
Method 2: Windows Photos App (Great for Automatic Sorting)
The Windows Photos app can automatically import and sort your photos by date. This is a clean option if you want Windows to organize the import for you.
Steps
- Connect your phone via USB and set it to File Transfer mode.
- Press the Windows key and type Photos, then open the app.
- Click the Import button at the top right of the app.
- Choose From a USB device.
- Windows will scan your phone and show all the photos it finds.
- Uncheck any photos you do not want. Then click Import Selected.
- Choose the destination folder, and Windows will copy everything there.
This method also works with memory cards if your laptop has an SD card slot or you use an adapter.
Method 3: Google Photos (Best for Android, Works Wireless)
Google Photos gives every Google account 15 GB of free storage. If you use an Android phone and have the Google Photos app installed, your photos are likely already backed up there.
To Download Photos to Your PC from Google Photos
- On your PC, open a browser and go to photos.google.com.
- Sign in with the same Google account you use on your phone.
- Click on any photo or select multiple by hovering and clicking the checkmark.
- Press the three-dot menu at the top right and select Download.
- The file will download to your Downloads folder.
To Select Many Photos at Once
- Click the first photo.
- Hold Shift and click the last photo in the range to select everything in between.
- Then use the three-dot menu to download.
Google also lets you download an entire album or year at once using Google Takeout. This is the best option if you want to move everything off Google Photos in one go.
Method 4: iCloud for Windows (Best for iPhone Users)
If you use an iPhone, iCloud is Apple’s built-in sync service. When iCloud Photos is turned on, every photo you take is uploaded automatically. You can then access them from your PC.
Setup Steps
- Download and install iCloud for Windows from the Microsoft Store.
- Open iCloud for Windows and sign in with your Apple ID.
- Make sure the Photos checkbox is ticked, then click Apply.
- iCloud will create a folder in File Explorer called iCloud Photos.
- Open that folder. You will see your photos organized by year and date.
- Copy them to any other folder on your PC like normal files.
One thing to know: iCloud optimizes photos on your iPhone to save space. This means the full-resolution version lives in iCloud, not on the phone. When you download from iCloud for Windows, you always get the full resolution version, which is what you want.
Method 5: Bluetooth (No Cable, No Internet Needed)
Bluetooth is slow for large photo transfers. But if you just need to move a few photos and you have no cable handy, it works fine.
How to Send Photos via Bluetooth on Windows
- On your PC, click the Start menu and search Bluetooth. Open Bluetooth and other devices settings.
- Make sure Bluetooth is turned on.
- On your phone, go to Settings, then Bluetooth, and turn it on.
- On your PC, click Add device and select your phone from the list.
- Confirm the pairing code on both devices.
- On your PC, right-click the Bluetooth icon in the taskbar and choose Receive a file.
- On your phone, select the photos you want to send, tap Share, and choose Bluetooth, then select your PC.
- Click Finish on your PC when the transfer completes.
Method 6: SD Card or Memory Card Reader
Many Android phones support a microSD card. If yours does, this is one of the fastest ways to transfer photos without needing a cable or internet.
Steps
- Power off your phone and remove the microSD card using a SIM ejector tool.
- Insert the card into a card reader. Most new laptops have a built-in SD card slot. If yours does not, use a USB card reader adapter.
- Open File Explorer. The card will appear as a removable drive.
- Navigate to the DCIM folder and copy your photos to your PC.
This method only works if your photos are saved to the SD card. Some phones save to internal storage by default. You can change this in your camera app settings under Storage Location.
Troubleshooting Common Problems
| Problem | Likely Cause | Fix |
|---|---|---|
| Phone not showing in File Explorer | Wrong USB mode selected | Unlock phone, tap USB notification, select File Transfer (MTP) |
| iPhone not detected on Windows | Missing Apple driver | Install Apple Devices app from Microsoft Store |
| Photos show as thumbnails only | iCloud Optimize Storage is on | Download originals via iCloud for Windows |
| Transfer stops midway | USB cable is loose or faulty | Try a different cable or USB port |
| Photos appear rotated | Metadata not read correctly | Use Windows Photos app to import, it handles rotation |
| HEIC files won’t open on PC | Windows lacks HEIC codec | Install HEIC Image Extensions from the Microsoft Store |
What About HEIC Files From iPhone?
iPhones shoot photos in HEIC format by default. It saves space but Windows does not support it out of the box.
You have two options. First, install the free HEIC Image Extensions from the Microsoft Store. This lets Windows Photos and File Explorer display HEIC files properly. Second, set your iPhone to shoot in JPEG instead. Go to Settings, Camera, then Formats, and choose Most Compatible. This uses more storage but every device can open the files without any extra steps.
How to Organize Photos After Importing
Once your photos are on your PC, a simple folder structure saves you a lot of headache later. Here is one approach that works well.
Suggested Folder Structure
- Photos
- 2026
- 01 January
- 02 February
- Vacations
- Events
- 2026
Windows can help you sort automatically. When using the Windows Photos app to import, it offers to group photos by date or month. Letting it do that once saves you organizing them manually later.
Which Method Should You Use?
| Your Situation | Best Method |
|---|---|
| You have a USB cable nearby | USB Cable directly to File Explorer |
| You have an iPhone on Windows | iCloud for Windows or USB with Apple Devices app |
| You want wireless backup on Android | Google Photos |
| You need to transfer a huge library | USB Cable or SD Card |
| You only need two or three photos | Bluetooth or Email |
| You want automatic, hands-off syncing | Google Photos or iCloud |
Practical Tips Worth Knowing
- Always keep a USB cable with your laptop bag. It saves time on every trip.
- If you use Google Photos auto backup, your photos are already on Google’s servers. You just need to download them.
- RAW files from newer Android phones (like .DNG files) copy the same way as JPEG. They just take up more space.
- Duplicate photos are common when transferring. Use a free tool like dupeGuru to find and remove them after importing.
- After importing, check the count. If you selected 200 photos and 200 copied, you are safe to delete from the phone if you need the space.
Conclusion
Importing photos from your phone to your computer in 2026 takes less than five minutes once you know the right method. For most people, a USB cable and File Explorer is all you need. It is fast, free, and works without internet. If you prefer wireless, Google Photos for Android and iCloud for Windows for iPhone are both solid choices that keep your photos backed up automatically.
Pick the method that fits your setup, do it once, and you will have your photos exactly where you want them.
Frequently Asked Questions
Can I import photos from my phone to a PC without a USB cable?
Yes. You can use Google Photos, iCloud for Windows, or Bluetooth. Google Photos and iCloud require an internet connection. Bluetooth does not, but it is much slower. For large transfers, a cable is always faster and more reliable.
Why are my iPhone photos in HEIC format and how do I open them on Windows?
Apple uses HEIC as the default photo format because it takes up about half the space of JPEG with the same quality. Windows does not support it by default. Fix this by installing the HEIC Image Extensions app from the Microsoft Store for free. Or go to iPhone Settings, Camera, Formats, and switch to Most Compatible to shoot JPEG instead.
How do I import photos from my phone to a Windows 11 PC?
Connect your phone via USB and set it to File Transfer mode. Open File Explorer and find your phone under This PC. Navigate to the DCIM folder and copy your photos. Alternatively, open the Windows Photos app, click Import, and choose From a USB device. Windows 11 also supports the same iCloud and Google Photos methods as older versions of Windows.
Will importing photos delete them from my phone?
No. Copying photos to your PC does not delete them from your phone. It just makes a copy. If you want to free up space on your phone after importing, you need to manually delete the photos from your phone. Always confirm all photos copied correctly before deleting them.
What is the fastest way to transfer a large number of photos from phone to computer?
USB cable is the fastest option. A standard USB 2.0 connection transfers around 60 megabytes per second. If your phone and PC support USB 3.0, speeds can go much higher. An SD card reader is equally fast if your phone stores photos on a removable card. Wireless methods like Google Photos are limited by your internet upload speed, which makes them much slower for large batches.
