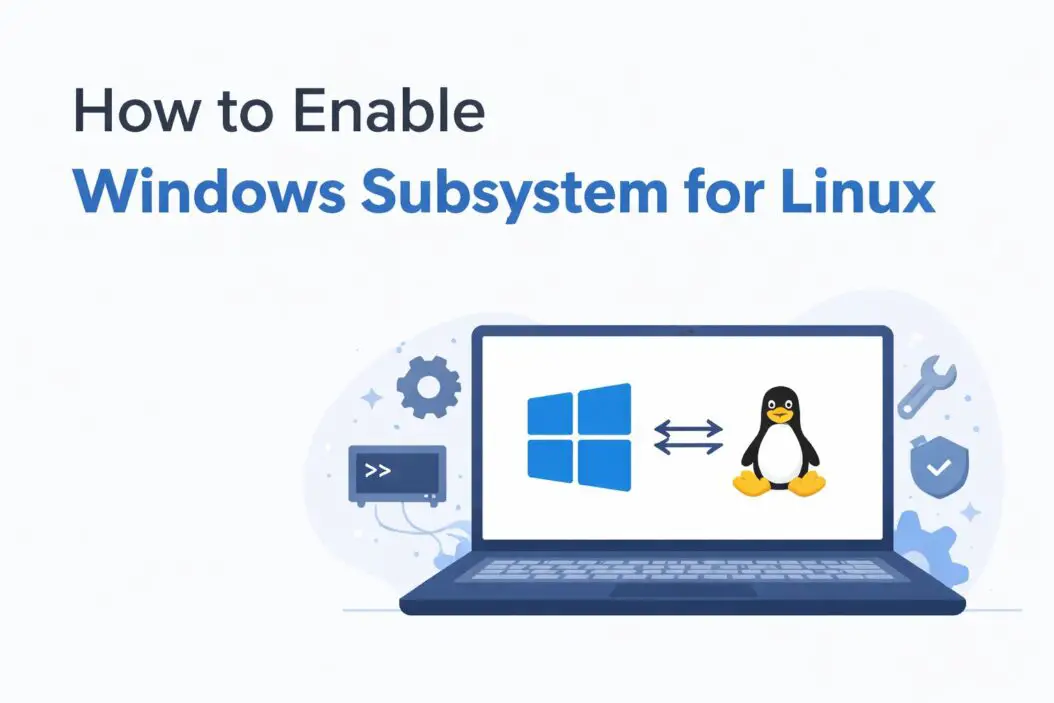
If you want to run Linux on Windows without a virtual machine or dual boot, Windows Subsystem for Linux is the answer. This guide shows you exactly how to enable Windows Subsystem for Linux, step by step, with no fluff.
What Is Windows Subsystem for Linux?
WSL lets you run a real Linux environment directly inside Windows 10 or Windows 11. You get a Linux terminal, command-line tools, and even GUI apps, all without rebooting or leaving Windows.
There are two versions:
WSL 1 runs Linux system calls translated into Windows NT kernel calls. It is fast to start and works well for simple scripting tasks.
WSL 2 runs a real Linux kernel inside a lightweight virtual machine. It is faster for file-heavy workloads, supports Docker natively, and is the recommended version for most users in 2026.
Requirements Before You Start
Make sure your system meets these basics:
- Windows 10 version 2004 or later (Build 19041+) or Windows 11
- A 64-bit processor
- Virtualization enabled in BIOS/UEFI
- Admin access to your PC
To check your Windows build, press Win + R, type winver, and hit Enter.
How to Enable Windows Subsystem for Linux (The Fast Way)
This single command method works on Windows 10 and 11 and installs everything you need automatically.
Step 1: Open PowerShell as Administrator
Click the Start menu, type PowerShell, right-click it, and select Run as administrator.
Step 2: Run the Install Command
Type this and press Enter:
wsl --install
That one command does all of this automatically:
- Enables the WSL feature
- Enables the Virtual Machine Platform feature
- Downloads and installs the latest Linux kernel
- Sets WSL 2 as your default version
- Installs Ubuntu as the default Linux distribution
Step 3: Restart Your Computer
WSL needs a restart to finish setup. Save your work and reboot.
Step 4: Set Up Your Linux User
After restart, Ubuntu opens automatically. You will be asked to create a Linux username and password. This is separate from your Windows login. Choose something simple but remember it, you will use it often.
That is it. WSL is now active and ready.
How to Enable WSL Manually (Older Systems or Custom Setup)
If you are on an older Windows 10 build or you want more control, here is the manual process.
Step 1: Enable the WSL Feature
Open PowerShell as administrator and run:
dism.exe /online /enable-feature /featurename:Microsoft-Windows-Subsystem-Linux /all /norestart
Step 2: Enable Virtual Machine Platform
dism.exe /online /enable-feature /featurename:VirtualMachinePlatform /all /norestart
Step 3: Restart Your PC
Restart now before continuing.
Step 4: Download and Install the WSL 2 Linux Kernel
For older Windows 10 builds, you need to manually install the kernel update. Download it from the official Microsoft WSL documentation at https://learn.microsoft.com/en-us/windows/wsl/install-manual. Run the installer after downloading.
Step 5: Set WSL 2 as Default
wsl --set-default-version 2
Step 6: Install a Linux Distribution
Open the Microsoft Store and search for Ubuntu, Debian, Kali Linux, or whichever distro you prefer. Click Get and install it.
Launch it from the Start menu. It will take a few minutes to set up, then ask you to create a user account.
Choosing the Right Linux Distribution
| Distribution | Best For |
|---|---|
| Ubuntu 24.04 | General use, beginners, wide support |
| Debian | Stability, lightweight systems |
| Kali Linux | Security testing, ethical hacking |
| Fedora Remix | RPM-based workflow on Windows |
| openSUSE | Enterprise environments |
Ubuntu is the most beginner-friendly and has the largest community for help. If you are just starting out, go with Ubuntu.
How to Verify WSL Is Working
Open PowerShell or Command Prompt and run:
wsl --list --verbose
You will see output like this:
  NAME      STATE           VERSION
* Ubuntu    Running         2
The asterisk means it is your default distro. Version 2 confirms WSL 2 is active. If you see Version 1, run:
wsl --set-version Ubuntu 2
This converts your installation to WSL 2.
How to Update WSL
Keeping WSL updated matters for security and performance. Run this from PowerShell:
wsl --update
To update your Linux packages inside WSL, open your Linux terminal and run:
sudo apt update && sudo apt upgrade -y
Do this regularly, especially on Ubuntu or Debian-based systems.
Enable WSL Through Windows Features GUI (Alternative Method)
Some users prefer clicking over typing. Here is how to do it through the graphical interface.
- Press Win + R, type optionalfeatures, press Enter
- Scroll down and check Windows Subsystem for Linux
- Also check Virtual Machine Platform
- Click OK and restart when prompted
- Then install your distro from the Microsoft Store
This method works but does not install WSL 2 automatically. You still need to set the default version with the PowerShell command shown earlier.
Running Linux GUI Apps With WSL 2
In 2026, WSL 2 supports Linux GUI applications natively using WSLg (Windows Subsystem for Linux GUI). You can run apps like gedit, Firefox (Linux build), GIMP, or even VS Code in headless mode.
To test this, install a simple GUI app inside your Linux terminal:
sudo apt install gedit -y
gedit
A real graphical window will open on your Windows desktop. No extra configuration needed on Windows 11. On Windows 10, you may need updated GPU drivers.
Using VS Code With WSL
Visual Studio Code has built-in WSL support. Install the Remote Development extension pack, then from your Linux terminal run:
code .
VS Code opens on Windows but runs your code inside the Linux environment. This is a powerful setup for developers who need Linux tooling but prefer Windows as their desktop. You can read more about setting this up at https://code.visualstudio.com/docs/remote/wsl.
Accessing Files Between Windows and Linux
WSL mounts your Windows drives automatically. Inside your Linux terminal:
cd /mnt/c/Users/YourName/Documents
This gives you access to your Windows files from Linux.
From Windows, you can access Linux files in File Explorer by typing this in the address bar:
\\wsl$\Ubuntu
Avoid editing Linux files from Windows Explorer if possible. It can cause permission issues. Work from the Linux side when doing Linux development.
Common Issues and Fixes
WSL command not found: Your Windows build might be too old. Update Windows first via Settings, Windows Update.
Virtualization error on install: Enter your BIOS/UEFI settings and enable Intel VT-x or AMD-V. The key to enter BIOS is usually F2, F10, Delete, or shown during boot.
WSL 2 is slow with Windows antivirus: Add your WSL folder to the Windows Defender exclusion list. Go to Windows Security, Virus and threat protection, Manage settings, Exclusions, and add the path:
C:\Users\YourName\AppData\Local\Packages\CanonicalGroup...
Ubuntu stuck on first launch: This sometimes happens if the Virtual Machine Platform feature did not install correctly. Re-run the DISM commands from the manual method section and restart again.
Cannot connect to internet inside WSL: Run this inside your Linux terminal to reset DNS:
sudo rm /etc/resolv.conf
echo "nameserver 8.8.8.8" | sudo tee /etc/resolv.conf
WSL Commands You Should Know
| Command | What It Does |
|---|---|
| wsl –install | Installs WSL with Ubuntu |
| wsl –list –verbose | Lists all installed distros |
| wsl –set-default-version 2 | Sets WSL 2 as default |
| wsl –update | Updates WSL kernel |
| wsl –shutdown | Stops all running WSL instances |
| wsl –unregister Ubuntu | Removes Ubuntu from WSL |
| wsl –status | Shows current WSL configuration |
| wsl -d Debian | Opens a specific distro |
WSL 1 vs WSL 2: Which One Should You Use?
| Feature | WSL 1 | WSL 2 |
|---|---|---|
| Linux kernel | Translated | Real Linux kernel |
| Docker support | Limited | Full support |
| Disk performance | Better for Windows files | Better for Linux files |
| Boot time | Faster | Slightly slower |
| System call compatibility | Partial | Full |
| GPU support | No | Yes (via GPU paravirtualization) |
For most people in 2026, WSL 2 is the right choice. Use WSL 1 only if you frequently work with files stored on your Windows drive and need maximum cross-filesystem speed.
Conclusion
Enabling Windows Subsystem for Linux takes under five minutes using the single command method. Run wsl –install in an admin PowerShell window, restart, and set up your Linux user account. That is the whole process for most users.
If you are on an older system or need a custom setup, the manual method gives you full control. Either way, you end up with a fully functional Linux environment running alongside Windows, no dual boot, no virtual machine, no hassle.
WSL has matured significantly. In 2026 it supports GUI apps, GPU access, and seamless file sharing between systems. It is one of the most practical tools available to Windows developers today.
Frequently Asked Questions
Does enabling WSL slow down Windows?
WSL 2 runs a lightweight virtual machine in the background, but it only uses resources when active. If no Linux terminal is open and WSL is not running, it has no measurable impact on Windows performance. You can also run wsl –shutdown to stop it completely when not in use.
Can I install multiple Linux distributions with WSL?
Yes. You can install as many distributions as you want from the Microsoft Store. Each one runs independently. Use wsl –list –verbose to see all installed distros and wsl -d DistroName to launch a specific one.
Is WSL available on Windows 10 Home?
Yes. WSL works on Windows 10 Home, Pro, and Enterprise, as long as you are on build 19041 or newer. The only limitation is that Hyper-V is not available on Home editions, but WSL 2 uses its own virtual machine platform which does not require the full Hyper-V feature.
How do I uninstall WSL or a Linux distribution?
To remove a specific distro, open PowerShell and run wsl –unregister Ubuntu (replace Ubuntu with your distro name). This deletes all data inside it. To fully remove WSL, go to Settings, Apps, and uninstall the Windows Subsystem for Linux app. You can also disable the features through Optional Features.
Can I use WSL for running Docker in 2026?
Yes. Docker Desktop for Windows uses WSL 2 as its backend by default. This gives you better performance and lower resource usage compared to the older Hyper-V backend. Install Docker Desktop normally and enable the WSL 2 integration in its settings. You can then run Docker commands from your Linux terminal inside WSL.
