Full disk access on Mac lets an app read files across your entire system, including protected folders like Mail, Messages, Safari, and Time Machine backups. Without it, many apps simply cannot do their job.
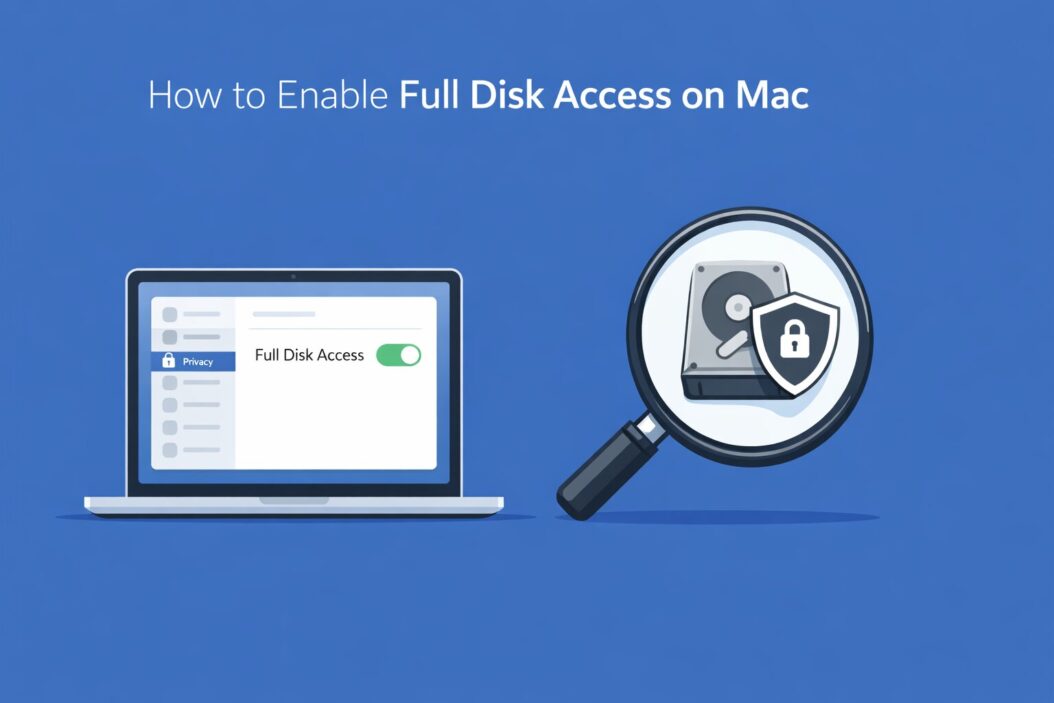
Here is how to enable it: go to System Settings > Privacy & Security > Full Disk Access, then toggle on the app you want to grant access to. That is the short answer. Keep reading if you want the full picture, step-by-step instructions for each macOS version, and fixes for when things go wrong.
Why Full Disk Access Exists on Mac
Apple introduced Full Disk Access as part of macOS Mojave (10.14) back in 2018. It was a privacy move. Before that, apps could quietly read your files without asking. Now macOS blocks apps from accessing sensitive locations unless you manually grant permission.
This is a good thing. But it also means you need to do a bit of setup when using tools like backup software, antivirus apps, terminal utilities, or remote desktop tools.
Common apps that need Full Disk Access include Backblaze, Carbon Copy Cloner, CleanMyMac, Alfred, iTerm2, VS Code (for certain features), and many system utilities.
How to Enable Full Disk Access on Mac (Step by Step)
macOS Ventura, Sonoma, and Sequoia (2023 to 2026)
Apple updated the Settings interface in macOS Ventura. Here is what to do:
- Click the Apple menu in the top left corner.
- Select System Settings.
- Scroll down in the left sidebar and click Privacy & Security.
- Scroll down on the right side until you see Full Disk Access. Click it.
- You will see a list of apps. Toggle on any app you want to grant access.
- If your app is not listed, click the plus (+) button at the bottom left.
- Navigate to your Applications folder, select the app, and click Open.
- The app will now appear in the list. Toggle it on.
- You may be asked to enter your Mac password or use Touch ID.
- Some apps will ask you to quit and reopen them for the change to take effect.
macOS Big Sur and Monterey
The steps are slightly different here because Apple used System Preferences instead of System Settings.
- Click the Apple menu.
- Go to System Preferences.
- Click Security & Privacy.
- Click the Privacy tab at the top.
- In the left panel, scroll down and click Full Disk Access.
- Click the padlock icon at the bottom left and enter your password to make changes.
- Check the box next to any app you want to allow.
- If the app is not listed, click the plus (+) button, find the app, and add it.
- Restart the app after enabling access.
macOS Catalina and Mojave
These older versions work similarly to Big Sur and Monterey. The main steps are the same: System Preferences > Security & Privacy > Privacy tab > Full Disk Access. The interface looks a little older but functions the same way.
What Folders Does Full Disk Access Unlock
When you grant Full Disk Access to an app, it can reach folders that are otherwise off limits. Here is a clear breakdown:
| Protected Location | What It Contains |
|---|---|
| ~/Library/Mail | Your email database |
| ~/Library/Messages | iMessage and SMS history |
| ~/Library/Safari | Browsing history, bookmarks |
| ~/Library/HomeKit | Smart home data |
| /Library/Application Support | App support files |
| Time Machine Backups | All backup data |
| Network volumes | Shared drives on a network |
| Removable volumes | External drives, USB sticks |
Regular apps without Full Disk Access cannot read these folders. That is why backup tools, for example, need the permission. They need to copy everything, not just the stuff macOS allows by default.
How to Check If an App Already Has Full Disk Access
Sometimes you are not sure if access is already granted. Here is how to check:
- Open System Settings (or System Preferences on older macOS).
- Go to Privacy & Security > Full Disk Access.
- Look through the list. If the toggle next to an app is green (or the checkbox is checked), it already has access.
- If the app is not listed at all, it has not been granted access yet.
You can also test this indirectly. If an app gives you an error like “permission denied” or cannot read certain files, Full Disk Access is likely the issue.
Granting Full Disk Access to Terminal
Terminal is a special case. Many developers and power users need to give Terminal Full Disk Access so that scripts and commands can reach protected directories.
Here is how to do it:
- Open System Settings > Privacy & Security > Full Disk Access.
- Click the plus (+) button.
- Press Command + Shift + G to open the Go to Folder dialog.
- Type
/System/Applications/Utilities/and press Enter. - Select Terminal and click Open.
- Toggle it on in the list.
If you use a third-party terminal like iTerm2, follow the same steps but find iTerm2 in your Applications folder instead.
Once Terminal has Full Disk Access, any command or script you run from it will also have access to protected areas.
Giving Full Disk Access to Third-Party Apps
Some apps, especially backup tools and security software, will prompt you during setup and walk you through granting access automatically. They often include a button that opens the right settings panel for you.
If an app does not do this automatically, just follow the manual steps above. Adding an app to the Full Disk Access list is the same regardless of what the app does.
Important note: Only grant Full Disk Access to apps you trust. An app with this permission can read nearly everything on your Mac. Legitimate apps from trusted developers are fine. Be cautious about lesser-known or unsigned apps.
For more on macOS privacy controls and how they work, the official Apple support page at support.apple.com is a reliable reference.
How to Remove Full Disk Access from an App
You can revoke access at any time. Just go back to the same Full Disk Access list and toggle the app off, or select it and click the minus button to remove it from the list entirely.
This does not uninstall the app. It just removes the permission. The app will go back to having normal, limited access.
Troubleshooting Full Disk Access Problems
Sometimes things do not work as expected. Here are the most common problems and how to fix them.
The App Is Not Working Even After Enabling Access
First, make sure you quit the app completely and reopen it. Some apps cache their permission state on launch. A fresh start fixes this most of the time.
If that does not work, try removing the app from the Full Disk Access list and adding it again. This forces macOS to refresh the permission.
The Toggle Is Greyed Out
This usually happens if your Mac is managed by an organization through an MDM (Mobile Device Management) profile. The IT team controls these settings. Contact your IT department if you need access enabled.
The App Does Not Appear in the List and Cannot Be Added
Some apps run as background services or daemons rather than standard apps. In that case, you may need to add the actual binary, not the app bundle. You can find the binary path in the app’s documentation. Use Terminal and the plus button in the Full Disk Access panel to navigate to and add the binary file.
You Are on a Standard (Non-Admin) Account
Full Disk Access settings require an administrator account to change. If you are on a standard user account, you will need to enter admin credentials when prompted. If you do not have admin access, you need to ask someone who does.
Full Disk Access vs Other Privacy Permissions on Mac
Full Disk Access is one of several privacy permissions macOS manages. Here is how it compares to other common ones:
| Permission | What It Controls |
|---|---|
| Full Disk Access | Protected system and user files |
| Files and Folders | Specific folder access (Downloads, Desktop, etc.) |
| Camera | Access to the built-in or external camera |
| Microphone | Access to audio input |
| Contacts | Access to the Contacts database |
| Location Services | Access to GPS and location data |
| Automation | Ability to control other apps via scripts |
Full Disk Access is one of the most powerful permissions. The others are more targeted. macOS tries to use the narrower permissions first. An app only needs Full Disk Access if it genuinely needs to read broadly across the system.
For developers who want to understand the underlying permission model in detail, Apple’s developer documentation at developer.apple.com covers how privacy protections work at the system level.
Using Full Disk Access with Automation and Scripts
If you run shell scripts, Python scripts, or automation tools like Automator or Keyboard Maestro, keep this in mind: the permission follows the process running the script, not the script itself.
So if you run a shell script from Terminal, Terminal needs Full Disk Access. If you run a script from a third-party automation app, that app needs the permission.
Automator itself can be added to the Full Disk Access list. Same with Keyboard Maestro Engine, which is the background process that Keyboard Maestro uses.
To add Keyboard Maestro Engine for example: go to Full Disk Access, click plus, then navigate to the Keyboard Maestro application package (right-click it and choose Show Package Contents) to find the Engine binary inside. Add that specific binary.
Full Disk Access and macOS System Integrity Protection
System Integrity Protection (SIP) is a separate security feature from Full Disk Access. Even with Full Disk Access enabled, SIP still protects certain core system directories from being modified. These include /System, /usr, /bin, and /sbin.
Full Disk Access is about reading files. SIP is about protecting the operating system itself from changes. The two work together but serve different purposes.
You should never need to disable SIP for everyday use. If an app tells you to disable SIP just to work properly, that is a red flag.
A Note About Enterprise and Managed Macs
If your Mac is managed by your company using an MDM solution like Jamf, Microsoft Intune, or Mosyle, the IT team can push Full Disk Access policies directly to your device. This means the permissions appear automatically without you needing to do anything manually.
Conversely, IT teams can also lock down Full Disk Access and prevent employees from changing it. If you find that your Full Disk Access settings are greyed out or locked, this is why.
Conclusion
Enabling Full Disk Access on Mac is a straightforward process once you know where to look. Go to System Settings (or System Preferences), navigate to Privacy & Security, find Full Disk Access, and toggle on the apps that need it. Always quit and relaunch the app after making the change.
Only grant this permission to apps you trust. It gives them broad read access across your system, which is powerful and exactly what legitimate tools like backup software or disk managers need to do their job.
If something is not working after enabling access, the fix is usually a simple app restart or re-adding the app to the list. For managed Macs, the settings may be controlled by your IT team.
The key takeaway: Full Disk Access is a necessary permission for certain tools to work properly on macOS, and it is easy to manage once you understand where the controls live.
Frequently Asked Questions
Is it safe to enable Full Disk Access for an app?
It depends on the app. Trusted, well-known apps from reputable developers are safe to grant access to. Be cautious with apps from unknown sources. Full Disk Access lets an app read nearly all files on your Mac, so only grant it when an app genuinely needs it.
Why does my app keep asking for Full Disk Access even after I enabled it?
This usually means the app was not fully quit and restarted after the permission was granted. Force quit the app, reopen it, and the prompt should stop. If the issue continues, try removing and re-adding the app in the Full Disk Access list.
Can I enable Full Disk Access without an admin password?
No. Changing Full Disk Access settings requires administrator credentials. On a personal Mac, you are likely the admin. On a work Mac, you may need to contact IT.
Does Full Disk Access affect performance?
No, it does not slow down your Mac. It is simply a permission flag. The app reads files the same way as before, just without the access block.
What happens if I remove Full Disk Access from an app?
The app loses the ability to read protected files and folders. It continues to work normally for everything else. You can re-add the permission at any time by going back to the Full Disk Access settings.

- How to Fix Overscan on Windows 11/10: Stop Your Screen Getting Cut Off (2026) - April 1, 2026
- How to Disable Lock Screen on Windows 11/10 in 2026 - April 1, 2026
- Top 7 NFT Integration Ideas for Brands in 2026 - March 31, 2026