If you open File Explorer and want to see all drives on this PC, including hard drives, USB drives, SSDs, and network locations, you are in the right place. This guide walks you through exactly how to find, manage, and troubleshoot every drive visible in Windows, from the basics to the advanced fixes.
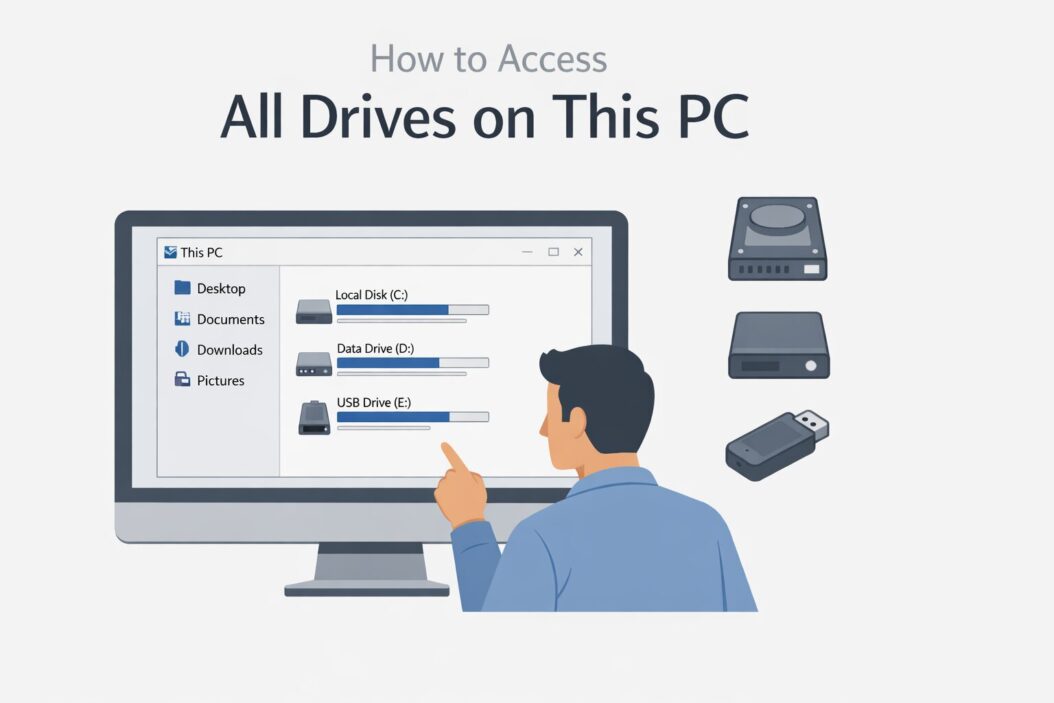
The quick answer: Open File Explorer, click This PC in the left sidebar, and you will see all connected drives listed under Devices and Drives.
Now let me go deeper so you actually understand what you are looking at and what to do when something is missing.
What “All Drives on This PC” Actually Means
When you open This PC in Windows 10 or Windows 11, Windows groups your storage into sections. You will typically see:
- Devices and drives showing your C: drive, D: drive, and any USB flash drives or external hard drives
- Network locations if you have mapped drives from a shared folder or server
- Cloud storage like OneDrive if it is set up as a folder location
Each drive has a letter assigned to it by Windows. C: is almost always your main system drive. Everything else gets D:, E:, F:, and so on depending on how many drives you have plugged in.
How to Open This PC and See All Drives
Step 1: Open File Explorer
Press Windows + E on your keyboard. This opens File Explorer instantly. You can also click the folder icon on your taskbar.
Step 2: Click This PC in the Sidebar
On the left side panel, you will see This PC listed. Click it. The main window now shows all drives Windows can currently detect.
If you do not see the sidebar, press Alt to reveal the menu bar, then go to View and turn on the Navigation Pane.
Step 3: Read What You See
Each drive block shows:
- The drive letter and label (for example, Local Disk C:)
- A colored bar showing used vs available space
- The total size of the drive
If a drive is nearly full, the bar turns red. That is Windows telling you to clean up or upgrade.
How to View All Drive Details at Once
The default tile view is nice but limited. Here is how to get more information:
In Windows 11:
- Open This PC
- Click the View button in the top toolbar
- Select Details or Tiles
In Windows 10:
- Open This PC
- Click the View tab in the ribbon
- Choose Details, Tiles, or Content
In Details view you can see drive letters, file system type (NTFS, FAT32, exFAT), and free space all in a clean list.
Understanding Drive Types You Might See
| Drive Type | Common Letter | Purpose |
|---|---|---|
| System Drive | C: | Windows and installed programs |
| Secondary HDD/SSD | D:, E: | Extra storage or backups |
| USB Flash Drive | E:, F:, G: | Portable file transfers |
| External Hard Drive | Any letter | Large portable storage |
| Optical Drive (DVD) | D: or E: | Reading discs |
| Network Drive | Any letter | Files on another computer or server |
| SD Card | Any letter | Camera or tablet storage |
How to Manage Drives From This PC
Renaming a Drive
You can rename any drive to something more descriptive, like “Games Drive” or “Backup Disk.”
- Right-click the drive in This PC
- Select Rename
- Type the new label and press Enter
This does not affect any data on the drive. It just changes the label you see.
Checking Drive Health and Properties
Right-click any drive and choose Properties. This opens a window with several tabs:
- General tab shows total size, used space, and free space
- Tools tab has Error checking and Defragment options
- Hardware tab shows the physical device details
For a more thorough health check, use Windows built-in tool by opening Command Prompt as administrator and typing:
wmic diskdrive get status
This returns the health status of each physical drive.
Opening Drive Management
If you need to create partitions, format a drive, or assign a letter manually, you need Disk Management. Here is how to open it:
- Right-click the Start button
- Select Disk Management
Or press Windows + R, type diskmgmt.msc, and press Enter.
Disk Management shows every physical disk attached to your PC, including drives that have no letter assigned yet. This is where a missing drive will usually show up.
Why a Drive Is Not Showing in This PC
This is one of the most common problems people face. Here are the real reasons and fixes.
Reason 1: Drive Has No Letter Assigned
A drive without a drive letter will not appear in This PC. Open Disk Management and look for any disk that shows unallocated space or no letter in brackets.
Fix: Right-click that partition, select Change Drive Letter and Paths, click Add, choose a letter, and click OK. The drive will now appear in This PC.
Reason 2: Drive Is Not Initialized
A brand new drive or a drive with a corrupted partition table shows as Not Initialized in Disk Management.
Fix: Right-click the disk in Disk Management and select Initialize Disk. Choose MBR for drives under 2TB or GPT for larger drives. Be aware this only works safely on empty or expendable drives since it erases data.
Reason 3: Driver Issue or Hardware Problem
Sometimes the drive is physically connected but Windows cannot communicate with it properly.
Fix: Open Device Manager (right-click Start, select Device Manager), expand Disk Drives, right-click the problem drive, and select Update Driver or Uninstall Device then restart your PC to reinstall automatically.
Reason 4: USB Drive Not Formatted Correctly
If a USB or external drive is formatted with a file system that Windows does not support natively, it will not mount correctly.
Fix: Format it to NTFS or exFAT using Disk Management. Note that this erases everything on the drive.
Reason 5: Drive Is Failing
A drive that is dying may appear and disappear, show read errors, or simply not show up. If you hear clicking sounds from your hard drive, back up your data immediately.
For a detailed check, download CrystalDiskInfo, a free and trusted tool that reads your drive’s SMART data and tells you its real health status.
How to Show Hidden or System Drives
Some drives are hidden by default in File Explorer. To reveal them:
- Open File Explorer
- Click the View tab (Windows 10) or the three-dot menu (Windows 11)
- Go to Options, then Change folder and search options
- Click the View tab inside that window
- Select Show hidden files, folders, and drives
- Uncheck Hide protected operating system files
- Click Apply and OK
Now all hidden volumes including recovery partitions will appear.
How to Map a Network Drive So It Shows in This PC
A network drive lets you access files on another computer or server directly from This PC.
- Open This PC
- Click the three-dot menu or the Computer tab
- Select Map network drive
- Choose a drive letter
- Enter the network path, for example \\ComputerName\SharedFolder
- Check Reconnect at sign-in if you want it to stay
- Click Finish
The network location now appears in This PC under Network Locations every time you log in.
How to Safely Eject Drives From This PC
Before unplugging any USB or external drive, always eject it properly to avoid data corruption.
- Right-click the drive in This PC
- Select Eject
- Wait for the “safe to remove” notification
- Then unplug the cable
Alternatively, click the small USB icon in the system tray near the clock and select the drive from there.
Using Disk Cleanup to Free Space Across Drives
If a drive in This PC shows low space, you can run Disk Cleanup without any third-party software.
- Right-click the drive in This PC
- Select Properties
- Click Disk Cleanup on the General tab
- Check the types of files you want to delete
- Click OK and confirm
For system files like old Windows update packages, click Clean up system files inside the same window.
Microsoft’s own documentation at support.microsoft.com has detailed guidance on managing drive space if you want to go further.
Keyboard Shortcuts for Managing Drives
| Action | Shortcut |
|---|---|
| Open File Explorer | Windows + E |
| Open This PC directly | Windows + E, then click This PC |
| Open Disk Management | Windows + R, type diskmgmt.msc |
| Open Device Manager | Windows + X, then M |
| Open Run dialog | Windows + R |
| Refresh This PC view | F5 |
Tips for Organizing Multiple Drives
If you have several drives, a few habits make life easier:
Keep your C: drive for Windows and programs only. Store documents, videos, and games on secondary drives. Label each drive clearly so you know what is on it at a glance. Run Disk Cleanup or use TreeSize Free to visualize which folders are eating the most space across all your drives.
Conclusion
Accessing and managing all drives on This PC in Windows is straightforward once you know where to look. File Explorer gives you the quick overview. Disk Management handles the deeper work like assigning letters, formatting, and initializing. Device Manager fixes driver-related problems. Between these three built-in tools, you can handle almost any drive issue without installing anything extra. If a drive is missing, start with Disk Management since that is where most problems hide. If the drive looks fine but feels slow or buggy, check its health with CrystalDiskInfo. Keep your drives labeled, keep space free, and always eject safely before unplugging.
Frequently Asked Questions
Why does my external hard drive not show up in This PC?
The most common reasons are a missing drive letter, an uninitialized partition, or a driver problem. Open Disk Management first. If the drive appears there without a letter, assign one. If it shows as Not Initialized, initialize it carefully. If it does not appear at all in Disk Management, try a different USB port or cable.
How do I see all partitions on a drive, not just the main one?
Open Disk Management. Each physical disk is shown as a horizontal bar divided into sections. Each section is a partition. Partitions without drive letters will not appear in This PC but are fully visible here.
Can I add more drives to This PC without opening the case?
Yes. External USB drives, USB SSDs, and network mapped drives all show up in This PC without any internal hardware changes. This is the easiest way to expand your storage in 2026.
What file system should I use when formatting a drive?
Use NTFS for internal Windows drives and large external drives you use only with Windows. Use exFAT for USB drives or SD cards you share between Windows and Mac. FAT32 is outdated and has a 4GB file size limit so avoid it unless compatibility with old devices is required.
Is it safe to delete drives from This PC view?
You cannot delete a physical drive from This PC view since it is just a display window. You can remove a mapped network drive by right-clicking it and selecting Disconnect. To remove a physical drive from showing up, you would need to remove its drive letter in Disk Management, but there is rarely a good reason to do that.

- How to Uninstall Apps from the Start Menu in Windows 11/10 (2026 Guide) - April 2, 2026
- How to Fix Overscan on Windows 11/10: Stop Your Screen Getting Cut Off (2026) - April 1, 2026
- How to Disable Lock Screen on Windows 11/10 in 2026 - April 1, 2026