You want to talk and have your computer type for you. Good news: Windows 11 has this built in, for free, and it works well. No extra software needed.
Press Windows key + H to open voice typing right now. That is the short answer. The rest of this guide shows you how to set it up properly, fix common problems, and get the most out of it.
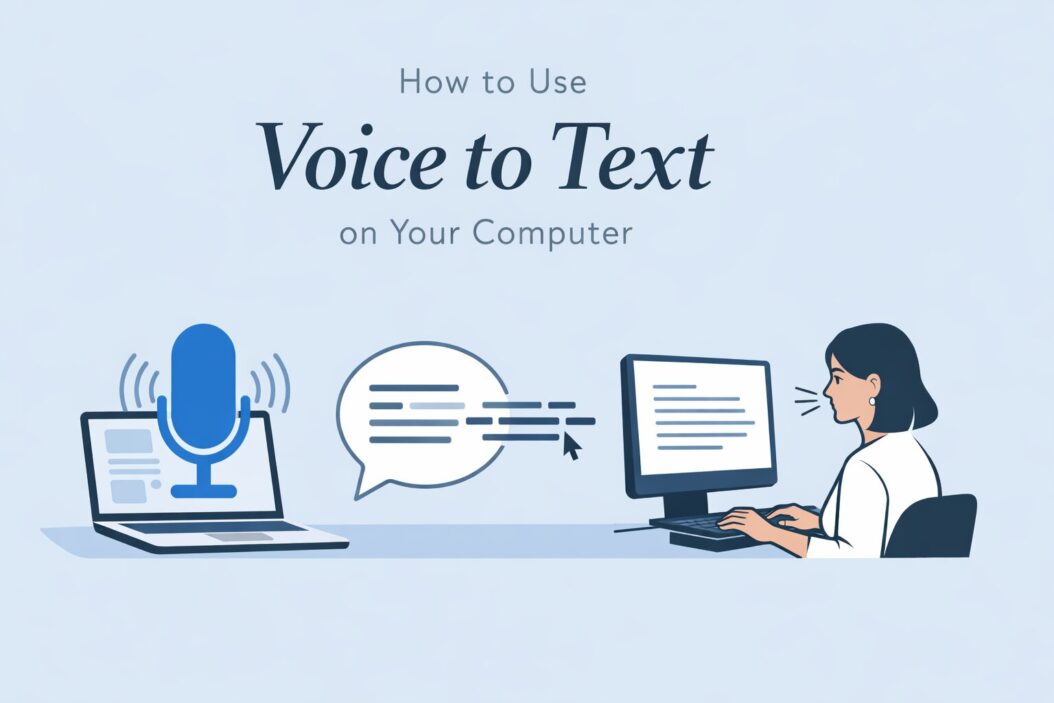
What Is Voice to Text on a Computer
Voice to text, also called voice typing or speech to text, lets you speak into your microphone and your words appear as typed text. You can use it in emails, Word documents, search bars, chat apps, basically anywhere you type.
Windows 11 uses Microsoft’s speech recognition engine. It is cloud-based, meaning it sends your audio to Microsoft servers and returns text. The accuracy is solid, especially for clear speech in English.
What You Need Before You Start
Before you use voice to text on your computer, check these three things:
A working microphone. Your laptop’s built-in mic works fine. A USB or Bluetooth headset gives even better results.
An internet connection. Windows 11 voice typing needs internet to work. It does not function offline.
Windows 11 updated. Older builds had bugs with voice typing. Go to Settings > Windows Update and make sure you are current.
That is it. No account login required, no download needed.
How to Turn On Voice to Text on Windows 11
Step 1: Open Any Text Field
Click inside a place where you would normally type. This could be Notepad, a Word document, a browser search bar, an email compose window, anything.
Step 2: Press Windows Key + H
Hold the Windows key and tap H. A small floating toolbar appears near the top of your screen. It has a microphone icon in the center.
Step 3: Click the Microphone Button
Click the mic icon or just wait a second. It starts listening. You will see a waveform animation when it is active.
Step 4: Start Talking
Speak clearly and at a normal pace. Your words will appear in the text field as you talk. Do not rush. Pausing briefly between sentences helps accuracy.
Step 5: Stop Listening
Click the mic button again to stop, or say “stop listening.” The toolbar stays on screen so you can restart anytime.
Voice Typing Settings You Should Know About
Go to Settings > Time and Language > Speech to find options.
| Setting | What It Does |
|---|---|
| Online speech recognition | Turns the feature on or off globally |
| Microphone setup | Runs a calibration test for your mic |
| Auto punctuation | Adds commas and periods automatically |
| Voice typing launcher | Shows or hides the toolbar shortcut |
Auto punctuation is worth turning on. It detects natural pauses and adds punctuation without you saying “period” or “comma.” Go to the voice typing toolbar, click the gear icon, and toggle it on.
Voice Commands That Actually Work
You do not just dictate words. You can control formatting and editing too.
Punctuation and formatting:
- Say “period” or “full stop” to add a period
- Say “comma” to add a comma
- Say “new line” to go to the next line
- Say “new paragraph” to add a paragraph break
- Say “open quotes” and “close quotes” for quotation marks
- Say “exclamation point” for !
Editing commands:
- Say “delete that” to remove the last word or phrase
- Say “undo that” to undo the last action
- Say “select all” to highlight all text
- Say “delete previous word” to remove one word back
Navigation:
- Say “go to end of line”
- Say “go to beginning of document”
- Say “move right three words”
These commands work well once you practice them a few times. They save you from reaching for the keyboard constantly.
How to Improve Voice Typing Accuracy
Poor accuracy is usually one of three problems: a bad microphone, background noise, or unclear speech.
Fix your microphone first. Go to Settings > System > Sound > Microphone. Check the input level. Speak and watch the bar move. If it barely moves, your mic volume is too low. Raise it to around 80%.
Reduce background noise. Windows 11 has noise suppression built in. Right-click the speaker icon in the taskbar, go to Sound Settings, find your microphone under input, and enable noise suppression if available.
Speak with intention. You do not need to speak slowly like a robot. But enunciate. Do not drop the ends of words. Speak as if you are leaving a voicemail for someone important.
Use a headset. A headset microphone stays the same distance from your mouth regardless of how you move. This consistency improves accuracy significantly compared to a laptop mic that picks up keyboard clacks and fan noise.
Train your voice profile. Go to Settings > Time and Language > Speech and run the speech recognition training. It takes about five minutes and noticeably improves accuracy for your specific voice.
Setting Up Microphone Access for Voice Typing
Sometimes voice typing stops working because app permissions are blocked.
Go to Settings > Privacy and Security > Microphone. Make sure “Microphone access” is toggled on. Scroll down and check that “Let desktop apps access your microphone” is also on.
If you are using voice typing in a browser like Chrome or Edge, that browser also needs microphone permission. When prompted, click “Allow.” If you accidentally clicked “Block,” click the lock icon in the address bar and reset the microphone permission.
Voice to Text in Specific Apps on Windows 11
Microsoft Word
Voice typing works inside Word using Windows + H. But Word also has its own Dictate button. Go to Home > Dictate in the ribbon. This uses the same engine but keeps the toolbar inside Word. It also supports more languages directly.
Google Docs
Google Docs has its own built-in voice typing. Go to Tools > Voice typing or press Ctrl + Shift + S. It works in Chrome and Edge. Google’s voice recognition is also very accurate and a solid alternative.
Outlook and Email
Click inside the email body, press Windows + H, and start talking. Works perfectly. Great for writing long emails quickly without typing a single word.
Notepad and Text Editors
Works in Notepad, Notepad++, VS Code, and most text editors. Just click inside, press Windows + H, and go.
Alternative: Windows Speech Recognition vs Voice Typing
Windows 11 has two different tools that people often confuse.
Voice Typing (Windows + H) is the newer, simpler tool. It works only in text fields. It needs internet. It is the one most people should use.
Windows Speech Recognition (WSR) is the older tool. You find it by searching “Windows Speech Recognition” in the Start menu. It lets you control your entire computer by voice, not just type text. You can open apps, click buttons, and navigate Windows with your voice. It works offline. It takes more setup but is powerful for hands-free computer use.
For most people who just want to type by speaking, use Voice Typing (Windows + H). If you want full computer control by voice, explore Windows Speech Recognition.
According to Microsoft’s official voice typing documentation, the feature supports over 25 languages, and switching is as simple as changing your keyboard language.
Voice to Text for Accessibility
Voice typing is especially useful for people with:
Repetitive strain injuries (RSI). If typing causes wrist or hand pain, dictating is a game changer. Many people with RSI use voice typing as their primary input method.
Dyslexia. Speaking ideas out loud, then editing, is easier for many people with dyslexia than typing from scratch.
Physical disabilities. Combined with Windows Speech Recognition, people with limited hand mobility can control their entire computer by voice.
Speed. The average person types 40 words per minute. Most people speak at 130 or more. Dictating is simply faster.
For users who need deep accessibility features, the Microsoft Accessibility support page covers additional tools including eye control and screen readers that pair well with voice typing.
Troubleshooting Common Voice Typing Problems
The toolbar does not appear after pressing Windows + H. Make sure you clicked inside a text field first. The toolbar only appears when your cursor is in a place that accepts text input.
Voice typing says “You’re offline.” Check your internet connection. Voice typing needs internet. If connected, restart the voice typing toolbar and try again.
Words come out wrong repeatedly. Run the microphone setup in Settings > Speech. Also try speaking slightly more slowly and check for background noise.
Microphone not detected. Go to Settings > Privacy > Microphone and make sure access is enabled. Replug a USB mic or reconnect a Bluetooth headset.
Auto-punctuation is not working. Click the gear icon on the voice typing toolbar and confirm auto-punctuation is toggled on. Some language settings do not support it.
Voice typing keeps stopping on its own. This happens when there is a long pause. After a few seconds of silence, it stops listening. Just click the mic again to restart.
Tips for Using Voice to Text More Effectively
Keep sentences short when dictating. Long run-on sentences confuse the engine and are harder to edit later.
Say formatting words clearly. When you say “new paragraph,” pause slightly before and after. This helps the engine recognize it as a command, not content.
Do not correct every word as you go. Dictate a full paragraph, then edit. Stopping to fix every small mistake breaks your flow and slows you down.
Use voice for first drafts. Dictate the whole thing, then edit by keyboard. Many writers and professionals use this two-phase approach.
Quiet room equals better results. Even closing a window to cut street noise makes a real difference in accuracy.
Voice Typing Options on Windows 11
| Tool | Cost | Internet Needed | Best For |
|---|---|---|---|
| Windows Voice Typing (Win+H) | Free | Yes | Quick typing in any app |
| Windows Speech Recognition | Free | No | Full PC voice control |
| Word Dictate | Free with Office | Yes | Long document writing |
| Google Docs Voice Typing | Free | Yes | Docs in browser |
| Dragon NaturallySpeaking | Paid | No | Professional heavy use |
Conclusion
Voice to text on your Windows 11 computer is straightforward. Press Windows + H, click the mic, and start talking. Turn on auto-punctuation from the toolbar settings. Fix your microphone levels if accuracy is poor. Use a headset for best results.
If you want more control over your whole computer by voice, try Windows Speech Recognition from the Start menu. For document-heavy work, the built-in Dictate button in Word is worth using.
Frequently Asked Questions
Does voice to text on Windows 11 work without internet?
Standard voice typing (Windows + H) requires an internet connection. If you need offline speech to text, use Windows Speech Recognition, which processes audio locally on your device.
Why is my voice typing not accurate in Windows 11?
The most common causes are a low-quality microphone, background noise, or skipping the microphone calibration. Go to Settings > Time and Language > Speech and run the microphone setup. Also enable noise suppression in your sound settings.
Can I use voice to text in any language on Windows 11?
Yes. Windows Voice Typing supports over 25 languages. Change the language by switching your Windows keyboard input language. The voice typing tool picks up the active keyboard language automatically.
Is Windows voice typing private and secure?
Your audio is sent to Microsoft servers for processing. Microsoft says it does not store voice typing audio linked to your account. If privacy is a concern, use Windows Speech Recognition instead, which works completely offline.
What is the difference between voice typing and Windows Speech Recognition?
Voice typing (Windows + H) only lets you type text in a text field. Windows Speech Recognition lets you control your entire computer by voice, including opening apps, clicking menus, and navigating. Voice typing is simpler. Speech Recognition is more powerful.

- How to Fix Overscan on Windows 11/10: Stop Your Screen Getting Cut Off (2026) - April 1, 2026
- How to Disable Lock Screen on Windows 11/10 in 2026 - April 1, 2026
- Top 7 NFT Integration Ideas for Brands in 2026 - March 31, 2026