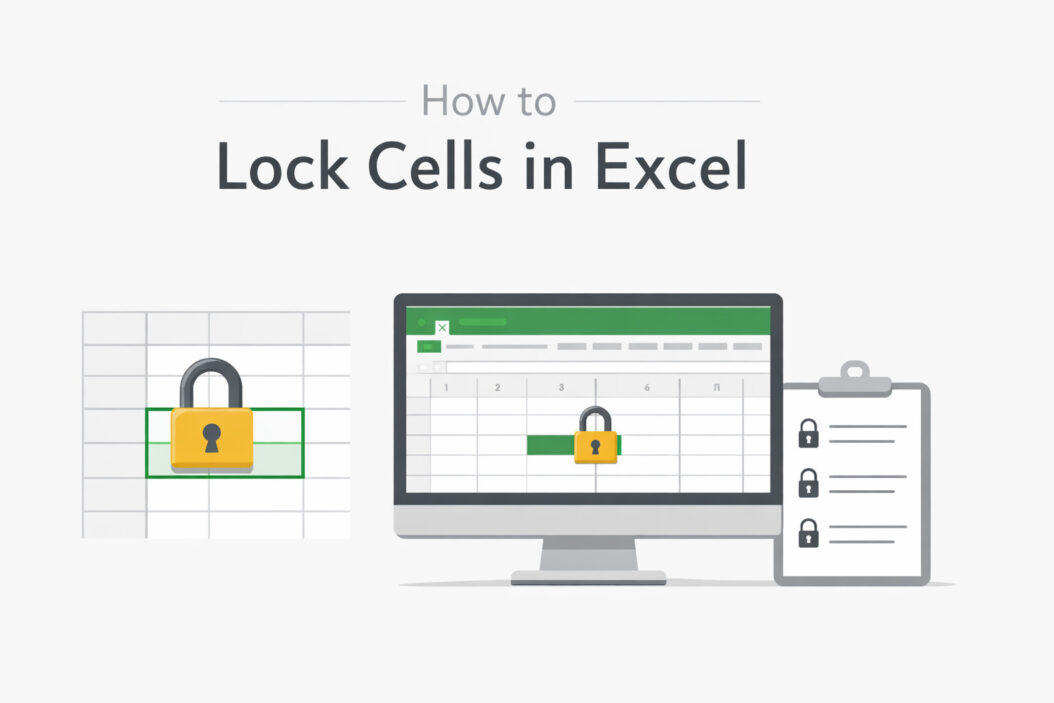
You need to share a spreadsheet, but you’re worried someone will accidentally mess up your formulas. Good news: Excel lets you lock specific cells so only you can edit them while others can still use the rest of the sheet.
Here’s what you need to know: All Excel cells are locked by default, but this does nothing until you protect the worksheet. The trick is unlocking the cells you want people to edit, then protecting the sheet to lock everything else.
This guide shows you exactly how to do it, step by step, in plain English.
Why Lock Cells in Excel?
Locking cells protects your work from accidental changes. Here are the most common reasons people lock cells:
- Protect formulas: Keep complex calculations safe while letting others enter data
- Preserve formatting: Prevent people from changing colors, fonts, or layouts you’ve carefully set up
- Control data entry: Allow input in specific cells only, reducing errors
- Share templates: Distribute worksheets where users fill in designated areas
- Maintain data integrity: Ensure critical information stays unchanged
Think of it like giving someone a form to fill out. You want them to write in the blanks, not change the questions.
How Cell Locking Actually Works
Before we jump into the steps, you need to understand two key facts:
Fact 1: Every cell in Excel starts with the “Locked” property turned on. But this property does absolutely nothing until you activate worksheet protection.
Fact 2: When you protect a worksheet, Excel locks all the locked cells and allows editing only in unlocked cells.
This means the process always involves two stages:
- Unlock the cells where you want people to type
- Protect the worksheet to activate the locks
Got it? Let’s do this.
How to Lock Specific Cells in Excel: Step by Step
Here’s the complete process to lock only certain cells while leaving others editable.
Step 1: Select All Cells You Want to Keep Editable
First, select every cell where users should be able to type. This might be input fields, data entry rows, or blank spaces in a form.
To select multiple separate cells or ranges:
- Hold down Ctrl (Windows) or Command (Mac)
- Click each cell or drag to select each range
- Release the key when you’ve selected everything
To select all cells at once:
- Click the triangle button at the intersection of row and column headers (top left corner)
- This selects the entire worksheet
Step 2: Unlock These Cells
Now you’ll turn off the “Locked” property for your selected cells.
Windows instructions:
- Right-click on your selection
- Choose Format Cells from the menu
- Click the Protection tab
- Uncheck the box next to Locked
- Click OK
Mac instructions:
- Right-click (or Control-click) on your selection
- Select Format Cells
- Go to the Protection tab
- Remove the checkmark from Locked
- Click OK
You won’t see any visible change yet. That’s normal.
Step 3: Protect the Worksheet
This is where the magic happens. Protecting the worksheet activates all those locks.
For Windows:
- Go to the Review tab on the ribbon
- Click Protect Sheet
- A dialog box appears
- (Optional) Enter a password if you want to prevent others from unprotecting
- Make sure Protect worksheet and contents of locked cells is checked
- Review the list of allowed actions and check what users can do
- Click OK
- If you set a password, type it again to confirm
For Mac:
- Click the Review tab
- Select Protect Sheet
- The same dialog appears with identical options
- Follow steps 4 through 8 above
Now try clicking on a locked cell. Excel won’t let you edit it. Try clicking on an unlocked cell. You can type freely.
Step 4: Test Your Protected Sheet
Always test before sending your spreadsheet to others.
- Try editing locked cells (you should get an error message)
- Try editing unlocked cells (should work fine)
- Test any formulas to make sure they still calculate
- Check if users can do what they need to do
If something isn’t right, unprotect the sheet and adjust your settings.
What Can Users Still Do on a Protected Sheet?
When you protect a worksheet, Excel blocks most editing actions by default. But you can choose what to allow.
In the Protect Sheet dialog box, you’ll see a list of checkboxes. Here’s what each one means:
| Permission | What It Allows |
|---|---|
| Select locked cells | Click on protected cells (checked by default) |
| Select unlocked cells | Click on editable cells (checked by default) |
| Format cells | Change fonts, colors, borders, etc. |
| Format columns | Adjust column width, hide/unhide columns |
| Format rows | Adjust row height, hide/unhide rows |
| Insert columns | Add new columns |
| Insert rows | Add new rows |
| Insert hyperlinks | Add clickable links |
| Delete columns | Remove columns |
| Delete rows | Remove rows |
| Sort | Rearrange data in order |
| Use AutoFilter | Filter data using dropdown arrows |
| Use PivotTable reports | Interact with pivot tables |
| Edit objects | Modify charts, shapes, or images |
| Edit scenarios | Change scenario manager settings |
Pro tip: For most data entry forms, only keep “Select locked cells” and “Select unlocked cells” checked. This gives users the cleanest experience.
How to Lock All Cells Except Specific Ones
This is the most common scenario: you want to lock everything except a few input fields.
Here’s the fast way to do it:
- Select the entire worksheet: Click the triangle at the top left corner where row and column headers meet
- Unlock everything first: Right-click, choose Format Cells, go to Protection tab, uncheck Locked, click OK
- Select only the cells you want to lock: Hold Ctrl (or Command) and click each cell or range
- Lock just those cells: Right-click, Format Cells, Protection tab, check Locked, click OK
- Protect the worksheet: Review tab, Protect Sheet, set your options, click OK
Wait, why unlock everything first? Because it’s usually faster to unlock the whole sheet and then lock a few important cells than to unlock dozens of input fields one by one.
How to Lock Cells with Formulas Only
You’ve built a complex model with formulas throughout. You want to lock formula cells but let users edit regular data.
Excel doesn’t have a one-click “lock all formulas” button, but here’s a workaround:
Method: Using Go To Special
- Press Ctrl + Home to go to cell A1
- Press Ctrl + A to select all cells
- Press Ctrl + G (or F5) to open Go To dialog
- Click Special button at the bottom
- Select Constants
- Click OK
Excel now selects only cells with constants (typed values, not formulas).
- Right-click the selection and choose Format Cells
- Go to Protection tab
- Uncheck Locked
- Click OK
- Go to Review tab and click Protect Sheet
Now only formula cells are locked. Users can edit any cell with typed data.
How to Unlock or Unprotect Cells
Need to make changes? Here’s how to undo protection.
To Unprotect a Worksheet:
- Go to Review tab
- Click Unprotect Sheet (this button replaces “Protect Sheet” when a sheet is protected)
- If you set a password, enter it
- Click OK
The sheet is now fully editable again.
To Remove Lock From Specific Cells:
Once you’ve unprotected the sheet:
- Select the cells you want to unlock
- Right-click and choose Format Cells
- Click Protection tab
- Uncheck Locked
- Click OK
- Protect the sheet again when you’re done
Forgot Your Password?
Unfortunately, if you forget the password you set for worksheet protection, Microsoft doesn’t provide an official recovery method. There are third-party tools that claim to unlock Excel sheets, but use them with caution.
Prevention tip: Store your passwords in a secure password manager before protecting sheets.
How to Lock Cells in Excel Online
Excel Online (the web version) works a bit differently from the desktop application.
Current limitation: As of 2026, Excel Online has limited cell locking functionality compared to desktop Excel. You can view and edit sheets that were protected in desktop Excel, but you cannot protect or unprotect sheets directly in Excel Online.
What to do:
- Protect your sheets using Excel desktop application
- Upload them to OneDrive or SharePoint
- Share the protected file, it will maintain protection in Excel Online
Users can still edit unlocked cells through their web browser, but they cannot remove protection without the desktop app and password.
Advanced Tips for Cell Protection
Lock Cells But Allow Filtering and Sorting
Many people want users to filter and sort data without editing it. Here’s how:
- Unlock your data range as described earlier
- When protecting the sheet, check these boxes:
- Use AutoFilter
- Sort
- Keep everything else unchecked except “Select locked cells” and “Select unlocked cells”
Now users can filter and sort, but they can’t change the data.
Hide Formulas While Locking Cells
Want to lock cells AND hide the formula bar so users can’t see your formulas?
- Select cells with formulas
- Right-click, choose Format Cells
- Go to Protection tab
- Check both Locked AND Hidden
- Click OK
- Protect the worksheet
When users click on these cells, they’ll see the result but not the formula in the formula bar. This is useful for protecting proprietary calculations.
Create Different Protection Levels
You can allow certain users to edit certain ranges while keeping other ranges locked from everyone.
Set up user permissions:
- Before protecting the sheet, go to Review tab
- Click Allow Edit Ranges (this option appears before you protect the sheet)
- Click New button
- Give the range a title
- Select the cells for this range
- Set a password for this specific range
- Click OK
- Repeat for other ranges with different passwords
- Finally, protect the worksheet with a master password
Now different people can have different access levels using different passwords. Learn more about this feature from Excel’s official documentation on protection.
Lock Entire Rows or Columns
Need to lock entire rows or columns?
- Click the row number or column letter to select it
- Hold Ctrl (or Command) to select multiple rows or columns
- Right-click and choose Format Cells
- Go to Protection tab and ensure Locked is checked
- Click OK
- Protect the worksheet
Common Problems and Solutions
Problem: Locked Cells Still Editable
Solution: You probably forgot to protect the worksheet. Locking cells does nothing until you activate protection via Review > Protect Sheet.
Problem: Can’t Edit Anything After Protection
Solution: You forgot to unlock the input cells before protecting. Unprotect the sheet, unlock the necessary cells, then protect again.
Problem: Users Can’t Use Filters
Solution: When protecting the sheet, make sure you checked “Use AutoFilter” in the Protect Sheet dialog box.
Problem: Protection Keeps Getting Removed
Solution: Set a password when you protect the sheet. Without a password, anyone can click Unprotect Sheet and remove your protection.
Problem: Some Cells Are Gray and Won’t Unlock
Solution: These cells might be in a table or have other special formatting. Try converting tables back to ranges (Table Design > Convert to Range) before unlocking.
Excel Cell Locking Across Different Versions
The core functionality works the same across versions, but here’s what’s different:
Excel 2016 and Later (Windows/Mac):
- Full cell protection features
- Allow Edit Ranges available
- Modern ribbon interface
Excel 2013 and Earlier:
- Same protection capabilities
- Slightly different ribbon layout
- May say “Protect Worksheet” instead of “Protect Sheet”
Excel for Microsoft 365:
- All desktop features included
- Regular updates may add new options
- Co-authoring features work with protected sheets (with limitations)
The steps in this guide work for all versions from Excel 2010 onwards.
Quick Reference
| Task | Quick Steps |
|---|---|
| Lock specific cells | Select cells > Format Cells > Protection > Check Locked > Protect Sheet |
| Lock all except specific cells | Select all > Unlock > Select cells to lock > Lock > Protect Sheet |
| Lock only formulas | Select all > Go To Special > Constants > Unlock those > Protect Sheet |
| Allow filtering on locked data | Protect Sheet > Check “Use AutoFilter” |
| Hide formulas | Select formula cells > Format Cells > Protection > Check Hidden and Locked > Protect Sheet |
| Remove protection | Review > Unprotect Sheet > Enter password if required |
Conclusion
Locking cells in Excel protects your hard work from accidental changes while still letting others use your spreadsheet. The key is remembering this simple truth: unlock the cells where people should type, then protect the worksheet to lock everything else.
Start with small projects. Lock a few cells in a simple budget template or timesheet. Once you’re comfortable, move on to more complex scenarios like hiding formulas or setting up multiple protection levels.
Frequently Asked Questions
Can I lock cells in Excel without password protection?
Yes, you can protect a worksheet without setting a password. When you click “Protect Sheet” in the Review tab, simply leave the password field blank and click OK. This locks your cells, but anyone can unprotect the sheet by clicking Unprotect Sheet. It’s useful for preventing accidental changes but not for security.
How do I lock cells in Excel so only I can edit them?
Lock the cells you want to protect, then protect the worksheet with a password that only you know. Go to Review > Protect Sheet, enter your password, confirm it, and click OK. Now only someone with your password can unprotect the sheet and edit locked cells. Keep your password safe, because Microsoft cannot recover lost worksheet passwords.
Can you lock individual cells in Excel instead of entire rows?
Absolutely. You can lock any individual cell or group of cells. Select just the specific cells you want to lock, right-click, choose Format Cells, go to the Protection tab, ensure Locked is checked, and click OK. Then protect the worksheet. This gives you complete control over which exact cells are editable and which aren’t.
Why can’t I lock cells in Excel even after following the steps?
The most common reason is forgetting to protect the worksheet after locking the cells. Remember, just checking the “Locked” property in Format Cells doesn’t activate protection. You must go to Review > Protect Sheet as the final step. Also check if the workbook itself is protected, which can prevent worksheet protection.
Does locking cells in Excel prevent copying and pasting?
Not by default. When you protect a worksheet, users can still copy data from locked cells (they just can’t edit them). If you want to prevent copying, you need to uncheck “Select locked cells” when you protect the sheet. This prevents users from even clicking on locked cells, which also prevents copying. However, there’s no foolproof way to prevent someone from manually retyping visible data.

- How to Fix Overscan on Windows 11/10: Stop Your Screen Getting Cut Off (2026) - April 1, 2026
- How to Disable Lock Screen on Windows 11/10 in 2026 - April 1, 2026
- Top 7 NFT Integration Ideas for Brands in 2026 - March 31, 2026